Ever thought about unlocking the untapped potential of your food by dehydrating it? You’re in the right place! This article aims to serve as your comprehensive guide to using an Oster food dehydrator to preserve and enhance the flavors of various food types. From fruits and vegetables to herbs, meats, nuts and seeds, we’ll dive into which foods are most compatible with dehydration. Whether you’re an adventurous foodie excited about new culinary experiments, an avid gardener fighting against food waste, or a health-conscious individual in search of nutritious snacks, dehydrating food could be your next big step. So, ready to step up your dehydration game and unlock a whole new world of food possibilities? Read on and find out more!
Fruits: Unlocking the Flavorful Potential of Dehydration
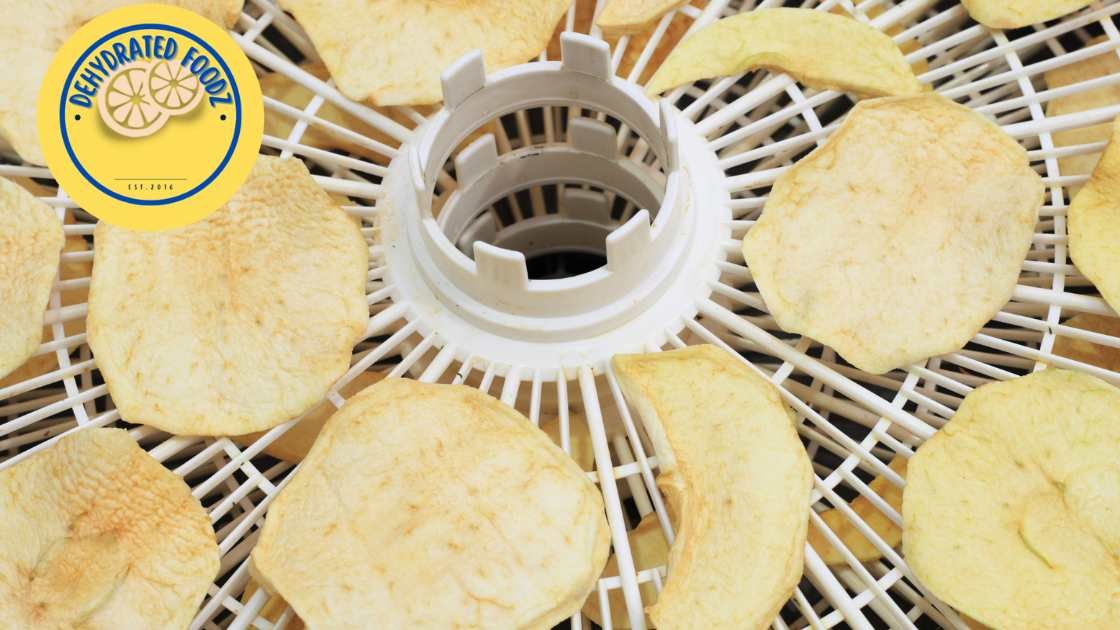
Where would we be without the sweet and tangy sapidity of fruit? You’ve probably enjoyed an array of dehydrated fruits before, but have you ever tried making them at home with an Oster food dehydrator? Not only is it remarkably simple, but it also unlocks a whole new world of flavor potential. Let’s explore!
Apples, bananas, and strawberries, Oh my! These fruits are particularly well-suited to dehydration because their natural sweetness intensifies during the process, creating a fantastic healthy alternative to candy. Bear in mind that bananas and apples will darken slightly during dehydration, but a quick dip in lemon juice before dehydrating can help to prevent this.
Have you ever thought about boasting the flavor potencies of pears, peaches, and pineapples in your diet? They are also fabulous options, delivering a light, naturally sweet snack when dehydrated. Just make sure you get rid of the core and seeds before you start dehydrating.
Now, let’s jump into cherries and grapes. These do require a bit more prep work, as they have to be halved or pricked before dehydration to accelerate the process and ensure even drying. But trust us, your efforts will be rewarded with succulent and intensely tasty results!
Dehydrating fruits with an Oster food dehydrator is an adventure. It’s an exciting way to transform the fruits you love into long-lasting, nutritious, and delicious snacks.
Vegetables: Taking Your Snacking Game to the Next Level
Have you ever dehydrated vegetables in your Oster food dehydrator? You should, and here’s why. Dehydrating vegetables is not only an excellent method of preserving them, it also allows you to enjoy vegetable chips, which can be an ideal alternative to less healthy snacks.
Do you fancy a zucchini chip? Or how about a crispy slice of sweet potato? These all tasty choices for dehydrated vegetables. On that note, keep scrolling through to discover the best vegetables to use in your dehydrator and tips to enhance the dehydrating process.
Always blanch your vegetables before dehydrating. This simple process of boiling them briefly and then cooling them in ice water helps to preserve their vibrant colors, halt enzyme action and kill bacteria, enabling you to get optimal results from your dehydrated vegetables.
Uniformity is key. Make sure you are cutting your vegetables all in the same size. Smaller pieces will dehydrate quicker while larger pieces can take longer.
Keep a steady dehydrating temperature. Vegetables generally dehydrate well at around 125°F, according to the USDA guidelines.
Dehydrating vegetables doesn’t have to be a complicated process. With the right information, you can easily add a variety of tasty, nutrient-dense snacks to your diet. So why not give it a try? And remember, the wonder of a fruit or vegetable’s flavor lies in its water, but when that water is removed, it leaves the essence of flavor behind, concentrated and intensified in a way that can make for some truly extraordinary and healthful snacking!
Herbs: Preserving the Freshness and Aromas
If you’re in the pursuit of maximizing the yield of your herb garden or just looking to extend the shelf life of those fresh-picked aromatics, dehydrating them is your best bet. Preserving the true essence and freshness of your favorite herbs, your Oster food dehydrator could very well be your new best friend.
Imagine being able to enjoy your beloved basil, mint, thyme, or oregano season round, without compromising on that farm-fresh flavor. Amazing, isn’t it? Whether you’re crafting the perfect seasoning blend or adding a punch of flavor to your favorite dishes, dehydrated herbs offer concentrated flavors and remarkable versatility.
But, how do you ensure that your beloved garden produce doesn’t lose its quintessential aroma and flavor during the dehydration process, you may ask? Well, here’s a list of pointers that will keep you in the know.
Herb
Tips for Dehydration
Basil
Harvest in the morning after dew has evaporated and before it flowers for maximum flavor, dehydrate at 95°F.
Mint
Harvest any time but before it flowers, dehydrate at 95-105°F.
Thyme
Pick in the morning for optimal freshness, dehydrate at 95-115°F.
Oregano
Harvest before flowering, ideally in the morning, and dehydrate at 95-115°F.
Remember, over-dehydration could lead to a significant loss of essential oils, thereby reducing the flavor and aroma of your herbs. So, it’s crucial to monitor the dehydration process closely.
Pro tip: Store your dehydrated herbs in a cool, dark place to retain their color and taste for a longer period of time. And there you go! A dash of your favorite seasoning, readily available anytime, courtesy of your Oster food dehydrator.
What’s next in line for dehydration fun, you ask? Wait till we dive deep into our next delectable delight – Meat!
Meats: A Savory Twist on Dehydrated Delights
When you think of dehydrating foods, the first things that might come to mind are fruits and vegetables, right? But what about meats? Can they tag along on this dehydrating journey too? You might be surprised to learn that they certainly can, and they result in some delicious treats. Dive into the wonderful world of dehydrating meats using your Oster food dehydrator.
Take beef jerky as an example. How does this delectable, high-protein snack come about? That’s right, folks — dehydration! The Oster food dehydrator can be a fantastic asset here. The process involves removing moisture from the meat to prolong its shelf life and decrease spoilage. This isn’t solely about preservation, though. It’s also about flavor. Dehydration condenses and intensifies the flavor of the meat, leading to that savory, mouth-watering taste that fans of jerky know all too well.
So, what kind of meats are best suited for dehydration you may ask? While most meats can be dehydrated, some are more popular due to their lean nature and great flavor when dried. Below are some of the notable examples:
Lean and versatile, great for adding to dried soups and pastas
Turkey
Makes for a different, yet equally delicious, take on jerky
Fish (particularly salmon and tuna)
Can be dried to make a unique and protein-packed snack
Dehydrating meats in your Oster dehydrator is not a difficult task. By following a few key guidelines and implementing some tried-and-true techniques, you can transform your favorite meats into delightful and nutritious snacks.
Nuts and Seeds: Crunchy and Nutritious Snack Options
Pumpkin seeds: Commonly known as ‘pepitas’, these seeds provide a tasty treat once dehydrated, making them ideal for a quick and healthy snack on the go.
Flaxseeds: Rich in omega-3 fatty acids, flaxseeds are often ground into meal and dehydrated for a nutritional boost. Just imagine: the satisfying snap of dehydrated almonds, the delicate crunch of sunflower seeds, the appealing texture of pumpkin seeds, and the health-benefiting crisp of dehydrated flaxseeds. Sounds divine, doesn’t it? Process of Dehydrating Nuts and Seeds Step 1: Depending on the type of nut or seed, you may need to blanch, soak, or simply rinse them. Step 2: Spread them evenly on your dehydrator trays, ensuring they are not overlapping – we want each little gem to receive ample airflow, don’t we? Step 3: Set your Oster food dehydrator to the recommended temperature for nuts and seeds, which is usually between 100 to 115 degrees Fahrenheit. Step 4: Allow them to dehydrate until they reach your preferred level of crunchiness. This can be anywhere from 12 to 24 hours, but it’s totally worth it, right? With these simple steps, you can create a pantry full of delectable, portable, and healthful snacks using your Oster food dehydrator. Who knew that nutrition could be so addictive and delectable? Well, you did, because you’re on the inside track with dehydration! Ready to crunch your way into superb health?
Final Say
In closing, it’s safe to say that just about any food type can be effectively dehydrated in your Oster food dehydrator. Food dehydration, an age-old preservation technique, breathes a new lease of life into your food, enhancing their flavors and prolonging their shelf-life. It doesn’t just apply to fruits and veggies, folks! Have you thought about meats, herbs, nuts, and seeds? The possibilities are utterly tantalizing!
Whether you’re an outdoors enthusiast looking to prep meals for your next adventure or a health-conscious individual seeking nutrient-dense, convenient snacks, it all boils down to choosing the right foods and dehydrating them correctly. And the beauty of it all? You are in total control of what goes into your food, goodbye additives and preservatives!
A word to the wise though, success often lies in the details. Remember to blanch your veggies prior to dehydration. Why? It helps retain their vibrant colors and nutrients. For your meats, a marination step can be the difference between a passable jerky and one bursting with savoriness. How about your fruits and herbs? Choose the ripe ones, but watch out, not too ripe!
As you delight in the art and science of dehydration, remember that it’s all about balance. Too high temperature? You risk hardening the surface and trapping moisture inside.Too low? Let’s just say bacteria and mold are fans of such conditions. This is where a food dehydrator, like Oster’s, with its adjustable temperature settings and fan for air circulation, plays a key role.
So, are your taste buds already tingling at the thought of your homemade dehydrated snacks? I know mine are! Time to turn those high-water content foods you love into tasty, portable snacks that can be enjoyed anywhere, at any time. Happy dehydrating!
DannyContent Writer
Hey there, since 2016, my mission has been to provide you with the information and guides you need to make food dehydrating simple and fun. Whether you're a newbie or a seasoned pro, my site offers helpful guides, reviews, and recipes to enhance your dehydrating experience. I take pride in only recommending products I believe in, ensuring my readers' trust. As an affiliate of various programs, including Amazon Associates, your support helps me continue providing quality content. Thanks for stopping by, and happy dehydrating!