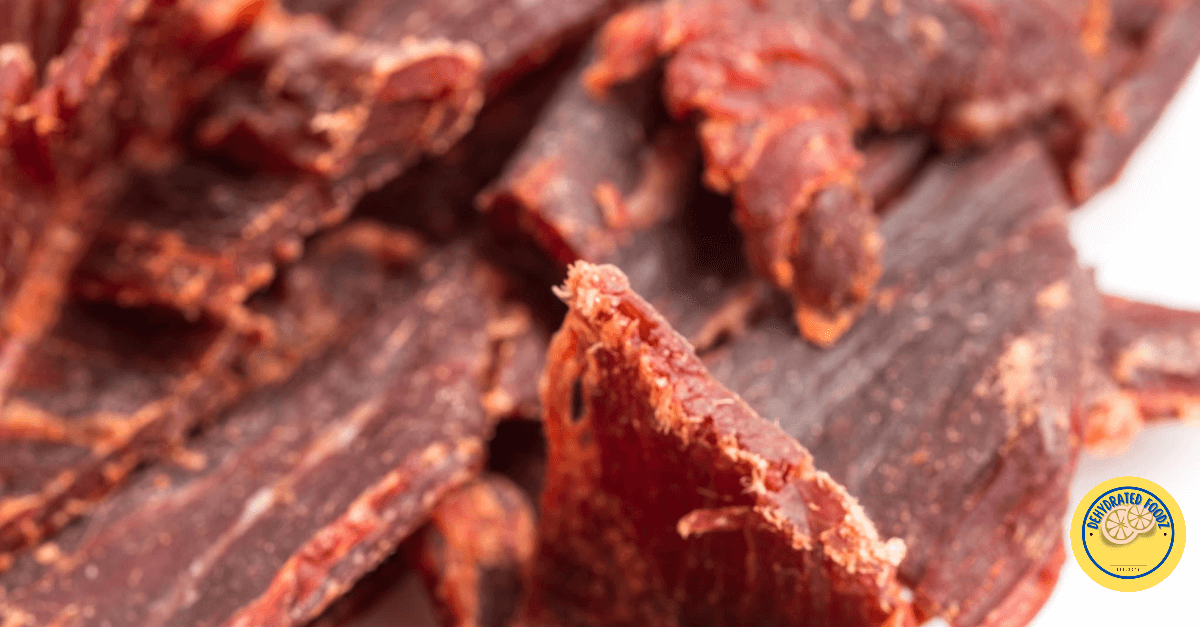
Making homemade duck jerky is an enjoyable endeavor that results in a remarkably tasty, protein-rich treat. By following these steps, you can create delectable jerky right in your own kitchen using a food dehydrator. Duck jerky, not only a savory delight but also a healthier alternative to store-bought snacks, allows you to control the quality and flavor of the ingredients that go into your meat.
Choosing Your Ingredients
Begin with selecting top-quality, fresh duck breast meat. It’s essential to trim away any visible fat because fat does not dehydrate well and can spoil your jerky. The clean, lean cuts of duck will dehydrate most efficiently and have the best texture for your duck jerky.
Crafting the Perfect Marinade
A delectable aThe marinade isn’t just about taste; it also works as a tenderizer, allowing the flavors to deeply penetrate each slice of meat.
Preparing Your Duck
For uniform dehydration, cut the duck breast into even, thin slices. The consistency in thickness ensures an even dry and the best results for your jerky. A little trick to achieving perfectly thin slices is to semi-freeze the duck breast—this firms up the meat, making it easier to slice.
The Marination Process
Submerge the duck slices fully in your prepared marinade. Each piece should be well coated to capture the full spectrum of flavors in your final duck jerky. It’s critical to allow ample time for marination—ideally overnight in the refrigerator—to ensure the meat fully absorbs the savory marinade for a robust and rich final product.
Dehydrating with Precision
Set your food dehydrator to a precise temperature of 160°F (70°C). The right temperature is paramount when making jerky, as it helps to destroy any potential bacteria during the dehydration process, ensuring your duck jerky is not only scrumptious but safe to eat.
Arranging Your Duck on the Trays
Lay out the marinated duck slices on your dehydrator trays. Proper spacing is vital; it allows air to circulate around each slice, promoting consistent dehydration. Patience is key at this stage—overcrowding can lead to unevenly dried jerky which can affect both texture and taste.
The Drying Process
The drying process typically spans 4-6 hours. It’s recommended to rotate your dehydrator trays every two hours for uniform drying. Judging when the jerky is done requires attention—the jerky should be firm yet slightly pliable to the touch. Overdrying can make your duck jerky tough and less enjoyable.
Cooling and Storage
Once dried to perfection, allow your duck jerky to cool entirely before storing it. Place it in an airtight container to preserve freshness. When stored properly, your homemade duck jerky can stay fresh at room temperature for up to two weeks, but if you wish to keep it for longer, refrigeration is recommended.
Homemade duck jerky is a snack you can feel good about indulging in. From the careful selection of ingredients to the patient process of dehydration, creating duck jerky in the comfort of your own kitchen is a satisfying pursuit that yields a snack you can be proud of. Enjoy the fruits of your labor, and remember, practice makes perfect as you refine your techniques and create the ultimate batch of homemade duck jerky.

