We earn a commission if you make a purchase, at no additional cost to you.
09/22/2026 04:39 pm GMT
🍊 Dehydrated Food Info Finder — Temperatures & Drying Times
Choose a category, then pick a food to see its drying temperature and time.
⚠️ Safety Disclaimer: Drying times are estimates and vary based on slice thickness, food moisture content, humidity, and your dehydrator model. Always check for doneness before storing — food should feel dry, leathery, or brittle with no moist spots. Improperly dried food can harbour mould and bacteria. For meat and poultry, follow USDA safe internal temperature guidelines: beef and pork to 160°F (71°C), poultry to 165°F (74°C). Use a food thermometer when in doubt. Store all dehydrated foods in airtight containers in a cool, dark place and discard anything showing moisture, mould, or off odours.
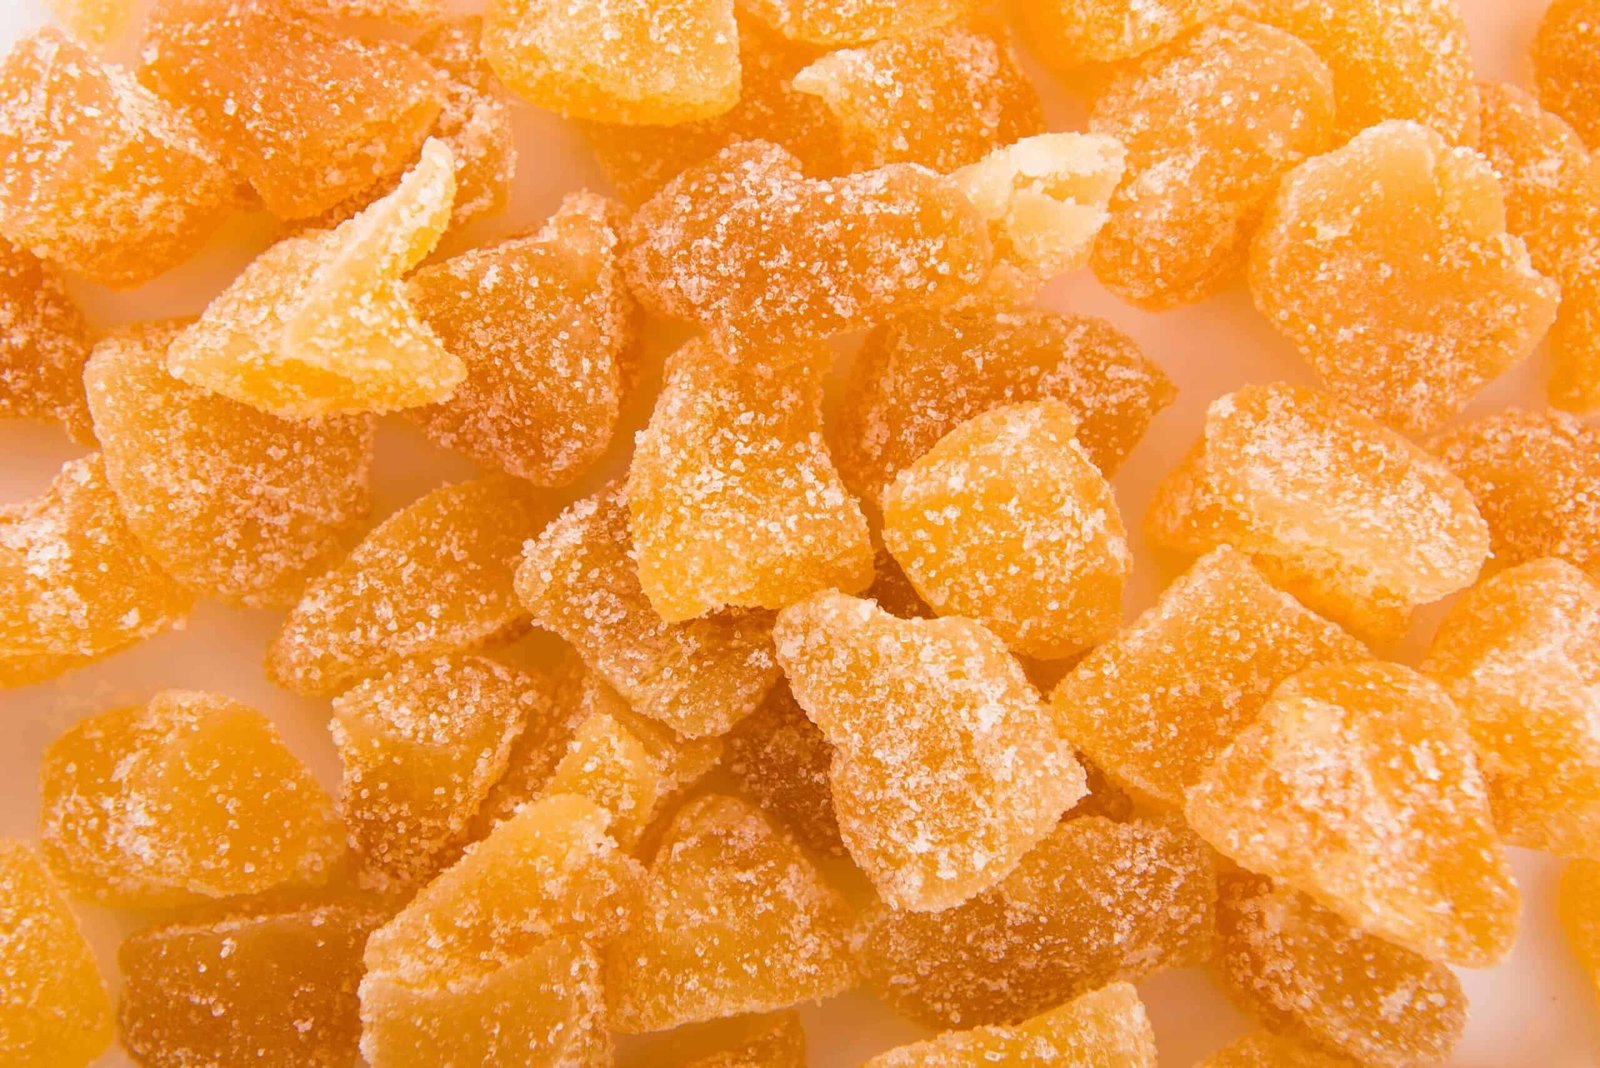
Dried candied ginger pieces, perfect for healthy snacks and baking.
How to Dehydrate Pears in a Dehydrator: Great Recipe That Will Please Your Family
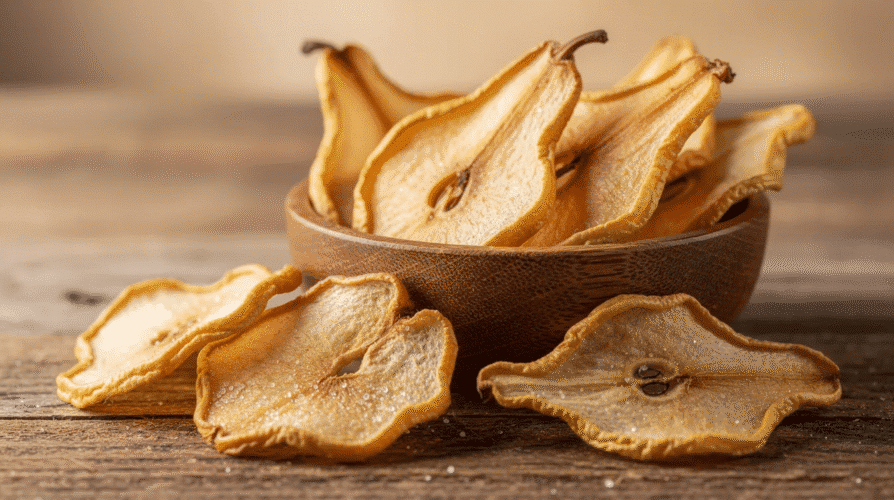
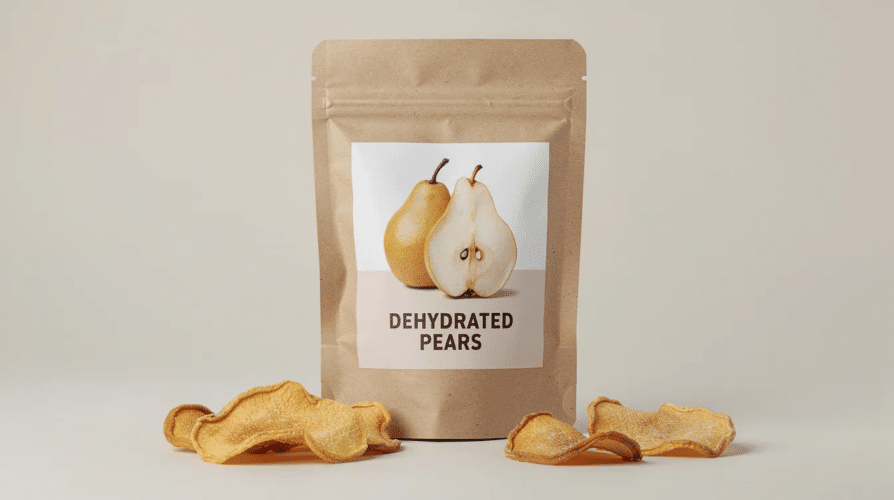
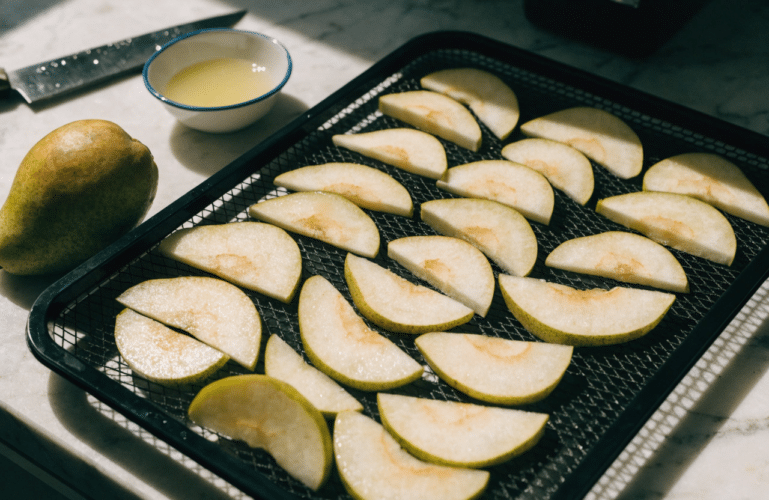
To dehydrate pears in a dehydrator, wash the pears, slice them into even 1/8- to 1/4-inch pieces, soak them briefly in lemon water to slow browning, lay them on the trays without overlap, and dry them at about 135°F for 4 to 8 hours until they are dry but still pliable. For home cooks and food preservation enthusiasts, this is one of the easiest ways to turn fresh pears into a healthy, sweet snack you can keep on hand for the family, pack for work, and enjoy long after pear season ends.
One of the most interesting options that you should consider when looking into new snacks will be dehydrated pears. There is a very good dehydrated pears recipe that will be sure to please the entire family. If you decide to make use of it, then you will be able to enjoy a tasty treat that will also be providing your family with decent nutrition.
Dehydrated fruit is really a great option that people should start making use of more often, and you can explore dehydrator fruit recipes to find new ways to enjoy a variety of dried fruits at home. The benefits of dehydrated fruit include preserving flavor, reducing food waste, and making nutritious snacks easier to keep ready for busy days. Most dehydrated fruits are both chewy and sweet, making them a very satisfying snack to take with you on the go. Dried apples are another simple and versatile snack, known for their sweet flavor and ability to be enjoyed on their own or added to salads, cereals, and cheese plates. For more inspiration, explore these dehydrated fruit recipes. You can easily put some dehydrated pears in a baggie and take them with you to work for lunch.
This guide also walks you through pear prep, the equipment you need, how to dehydrate fruit using a food dehydrator, dehydrator and oven methods, drying time, how to tell when the pears are done, ways to boost flavor, storage tips, and fixes for common drying problems.
What You Need:
Fresh, firm pears (mostly green)
Sharp knife or mandolin slicer
Large bowl for lemon water soak
Lemon juice (1 tbsp per quart of water)
Dehydrator with trays (settable to 135ºF) or oven
Parchment paper (if using oven)
Airtight containers or freezer bags for storage
Optional: seasoning like cinnamon or nutmeg
Recipe Step
Description
Select Pears
Choose fresh, firm pears that are mostly green for best results. Avoid overripe or bruised fruit.
Wash and Prep
Wash pears thoroughly. Peel if desired, remove cores and seeds, and slice into 1/8 to 1/4 inch thick slices.
Prevent Browning
Soak sliced pears in a bowl of cold water mixed with lemon juice (1 tbsp per quart) for 5-10 minutes.
Arrange on Trays
Place pear slices on dehydrator trays or baking sheet lined with parchment paper, ensuring slices do not overlap.
Dehydrate
Dry in dehydrator at 135°F for 6-10 hours or in oven at 160°F for 3-4 hours, flipping slices halfway through.
Check Doneness
Pears are done when they feel leathery and pliable with no moisture pockets; thinner slices may become crisp.
Condition Dried Pears
Store dried pears loosely in a sealed container for 5-7 days, shaking daily to equalize moisture.
Store
Keep conditioned pears in airtight containers; store in a cool, dry place, refrigerator, or freezer for long-term storage.
Why Dehydrate Pears?
Dehydrating pears is a fantastic way to preserve their natural goodness and enjoy them year-round. By removing the water content, you can prevent spoilage and extend the shelf life of these delicious fruits. Dehydrated pears are not only a convenient snack but also a nutritious one, packed with fiber, vitamins, and minerals. They make a delightful addition to oatmeal, yogurt, or salads, and can even be rehydrated to create a refreshing pear lemonade. Dehydrated pears offer a variety of flavors that can be enjoyed as a snack or ingredient, appealing to different taste preferences, and they share many of the benefits of dehydrating food such as long shelf life and convenience. Whether you’re looking for a healthy snack or a versatile ingredient, dehydrated pears are a great choice.
Should You Buy Dried Fruit?
While looking for a dehydrated pears recipe, you might be wondering to yourself “should I just buy the dehydrated fruits instead?” It is true that this is an option that is out there for you. You could make the decision to go out and buy dehydrated pears instead of making things for yourself. I guess it comes down to whether you want full control over the ingredients and process. There are many reasons why you should consider doing things on your own, though.
Firstly, buying fruit at the supermarket is not going to be organic in many situations. This can lead to you getting fruit that is less than ideal. Many of the fruits that are sold at the supermarket are full of chemicals and various forms of sugar. You might be thinking that you are purchasing a delicious, nutritious snack but it is really going to wind up being a sugar-laden treat that isn’t benefiting you as much as you had hoped. For this reason, it is worthwhile to make your own dehydrated pears.
Before you get started with your dehydrated pears recipe, you should take the time to buy the best organic pears that you can. If you are growing your own pears, then that is even better. Most people will need to find a reliable source of organic fruit to start things off. It should not be too difficult but just be sure that you have the best ingredients before moving forward.
Introduction to Dehydrated Pears
Dehydrated pears are a delicious way to enjoy the sweet, natural flavor of pears all year round. Drying pears not only preserves the fruit, but also concentrates its taste, making for a healthy snack that’s easy to store and take on the go. To get started, select fresh pears that are firm and still mostly green rather than fully ripe, as they hold up best during the drying process and yield the tastiest results. Begin by washing pears thoroughly under cold water to remove any dirt or residue. Next, carefully peel the pears and remove the core using a sharp knife. For even drying, slice the pears into thin slices, aiming for your desired thickness—about 1/8 to 1/4 inch is ideal. To protect the pear slices from oxidization and keep them looking fresh, soak them in a large bowl of cold water mixed with a splash of lemon juice for a few minutes before drying. This simple step helps preserve both the color and flavor of your pears, ensuring a delicious result every time.
Preparing Fresh Pear Slices for Dehydrating
To get started with dehydrating pears, you’ll need to prepare your fresh pears properly. Begin by washing pears thoroughly with cold water to remove any dirt or bacteria. Pat them dry with a paper towel to eliminate excess moisture. Cut away any bruised or damaged areas before proceeding. Peeling is optional—use a vegetable peeler or a sharp knife to peel the pears if you prefer, and remove the cores and stems. You can cut the pears in half to make coring easier. When slicing, cut the fruit into uniform pieces so the sliced pears are ideally between 1/8 to 1/4 inch thick. Using a mandoline slicer can help achieve consistent slices, ensuring even dehydration. You may choose to leave the skins on or peel them; the skins add fiber and can slightly change the texture of the dried pears.
Recommended Equipment for Dehydrating Pears
Having the right equipment makes dehydrating pears a breeze. A dehydrator is the most efficient tool for this job, as it provides consistent heat and airflow, allowing you to dry multiple trays of pear slices at once. Look for a dehydrator with several trays so you can process a larger batch in one go. If you don’t have a dehydrator, oven drying is a great alternative, though using a dehydrating machine—much like when you dehydrate mangos with a dehydrator—can make the process even more efficient. Simply line a baking sheet with parchment paper and arrange your pear slices in a single layer, making sure they don’t overlap. You’ll also need a sharp knife for slicing, a cutting board for prep, and a bowl for soaking the pears in lemon juice and cold water. When your dried pear slices are ready, a slotted spoon can help you remove them from the baking sheet without breaking them. With these basic tools—dehydrator or oven, trays or baking sheets, knife, bowl, and slotted spoon—you’ll be set to dehydrate pears at home with ease.
Dehydration Methods
There are two popular methods for dehydrating pears: using a dehydrator or oven drying. For the dehydrator method, arrange your sliced pears in a single layer on dehydrator trays lined with parchment paper or a mesh screen to prevent sticking. Set your dehydrator to the fruit setting, typically around 135°F, and let the pears dehydrate for 6 to 20 hours, depending on slice thickness, moisture content, and machine settings, checking periodically until they reach your desired level of dryness. If you’re using the oven, preheat it to the lowest temperature setting, typically between 140-170°F. Line a baking sheet with parchment paper and lay out the pear slices in a single layer. Place the baking sheet in the oven and dry the pears for 3 to 4 hours, flipping the slices halfway through to ensure even drying. Keep an eye on the drying time, as it can vary depending on the thickness of your slices and the moisture content of the fruit. Adjust as needed until the pears are soft and chewy, or dry them longer for a crispy texture if the slices are very thin.
Enhancing Flavor with Lemon Juice
Lemon juice is a simple yet effective way to enhance the flavor of your dehydrated pears. Soaking the pear slices in a mixture of lemon juice and water not only prevents browning but also adds a delightful tangy taste. To prepare the lemon juice solution, mix 1 tablespoon of lemon juice with 1 quart of water. For a stronger flavor or to better prevent browning, you can also use 1 2 cup of lemon juice instead. Soak the pear slices in this solution for 5-10 minutes before placing them on the dehydrator trays or oven rack. This step will ensure your dehydrated pears look and taste their best.
How Long Will Making Your Own Dehydrated Fruits Take?
How long it will take to make your own dehydrated fruits is going to depend on different factors. The delicious dehydratedpears recipe that you will find below will take approximately five hours to complete. It is true that it will take a bit of time and effort to accomplish this recipe but it is not difficult to do. As long as you have a little bit of time, you will be able to pull this off and get good results.
Dried pears can be stored for up to a week at room temperature, or longer if refrigerated or frozen, similar to other fruits like dehydrated peaches that keep well when properly dried and stored. Properly stored dehydrated pears can last for 6 to 12 months, making them a convenient and long-lasting snack option.
Getting the perfect texture for your dried pears is all about monitoring the drying process. To check if your pear slices are ready, remove one from the dehydrator trays or baking sheets and let it cool completely for a few minutes. If the slice feels sticky or tacky, it needs more time to dry. If it’s dry to the touch and slightly flexible, it’s just right, and if you want chips, it may turn crisp after cooling. Dried pears are done when they are pliable and leathery, taking about 4-8 hours to dehydrate. For those who prefer a crispier pear chip, very thin slices produce the crispiest results. Remember, the thickness of your pear slices and your personal preference for texture will affect the total drying time. To ensure even results, rotate your dehydrator trays or baking sheets every few hours during the process. With a little attention, you’ll achieve the perfect dried pear slices every time.
Delicious Dehydrated Pears
Making these dehydrated pear slices should be a lot of fun. You need to make sure that you have all of the right ingredients before beginning. You need to grab your organic pears and you will also want to use some lemon juice. The lemon juice is mostly there to help your dehydrated pear slices to look the best that they can.
Wash your pears to start things off. Go ahead and eliminate any bruises or undesirable spots on the pear by cutting them out. Slice your pears next by making them into rings. You can choose to use an apple corer on the pear ahead of slicing it, but it isn’t a necessity.
Soak your pears in a mixture of lemon juice and water for approximately ten minutes. After soaking, drain the pear slices using a strainer to remove excess liquid. Next, arrange the pear slices on a dehydrator tray, making sure to leave enough space between each slice for proper airflow. If you are using an oven, arrange the slices on a parchment lined baking sheet. Oven dried pears are a delightful and healthy snack option, suitable for both sweet and savory dishes.
Heat your oven up to 160 degrees Fahrenheit. Some ovens do not go this low so you can set it to “warm” to achieve the same effect with many units. Place your parchment lined baking sheet in the oven and bake the pears for three hours. Check on them periodically to judge their progress. Dehydrating pears can take longer or shorter amounts of time depending on certain factors. The moisture of the fruit plays a big role in how long it will take to dry itself out. Repeat the process of checking and rotating the trays or baking sheets to ensure even drying.
Once the pears have been properly dried to your liking, you can take them out of your oven or dehydrator. Let them sit for a while so that they can cool. Allowing the pears to cool to room temperature before storing them is important. Once the dried pear slices are cool enough, check if they are edible by testing their texture and dryness. You can then place them into airtight containers to be properly stored. They should turn out quite deliciously and you will be proud of the results.
Make Yours Today
If you like the idea of making delicious dried pears, then you should try out the recipe today. This dehydrated pears recipe is going to be a big hit with your family. It can take some time to make these dehydrated pears properly but the overall taste is going to be worth the effort. It just might become a new favorite snack in your household.
Making your own organic dehydrated pear slices will be good fun when you go into it with the right mindset. This is going to be an easy snack to make even if it does take a fair amount of time in the oven or food dehydrator. Give it a shot so that you can enjoy some chewy, sweet, and tantalizing pears today. They make a naturally sweet treat the whole family can snack on. You’ll be happy that you added a new healthy snack to your repertoire. Kids love pear chips as an easy homemade snack.
Don’t forget to leave a comment below sharing your results or any tips you have for dehydrating pears!
Seasoning and Storage
Once your pears are perfectly dehydrated, you can take their flavor to the next level with some seasoning. Popular options include a sprinkle of cinnamon, nutmeg, or ginger, which can add a warm, spicy kick to your dried pears. For storage, condition the dried fruit in a sealed container for 5 to 7 days to equalize moisture before long-term storage. Some people condition for 5 to 10 days, shaking the container daily and checking for any sign of mold. A helpful trick is to add a food-safe desiccant packet or a paper towel to the container to absorb excess moisture and keep the pears extra fresh. For long-term storage, transfer conditioned pears to airtight jars or a sealed bag kept in a cool, dry, and dark place, or freeze them for extended storage. You can also dehydrate serrano peppers for a spicy, long-lasting snack, using similar storage methods. This way, you can enjoy your delicious snack for months to come.
Tips for Customizing Your Dehydrated Pears
Customizing your dehydrated pears can be a fun and rewarding experience. Here are a few tips to help you create the perfect snack:
Experiment with different types of pears, such as Bartlett or Anjou, to discover unique flavor profiles.
Add a sprinkle of cinnamon or nutmeg to the pear slices before dehydrating them for an extra burst of flavor.
Use a dehydrator with multiple trays to dehydrate several batches of pears at once, saving time and effort. Make sure the pear slices do not touch when placed on the trays to ensure proper airflow.
Play around with different drying times, temperatures, and slice thicknesses to achieve your preferred texture; extra-thin slices make crisper pear chips, while slightly thicker slices stay softer and chewier.
Store the dehydrated pears in a single layer on a baking sheet to prevent them from sticking together.
Chopped dried pears can also be mixed into muffins for extra flavor and texture.
To keep your head organized, prepare all your ingredients and tools before starting the dehydration process.
If your sense of excitement starts to fade, try new seasonings or methods each time you dehydrate pears to keep things fresh.
By following these tips, you can create a variety of delicious and personalized dehydrated pear snacks that your family will love.
Troubleshooting Common Issues
Dehydrating pears is simple, but a few common issues can pop up along the way. If your pear slices turn out too brittle or dry, they may have been over-dried—next time, check them more frequently and reduce the drying time. On the other hand, if your dried pears are still sticky or tacky, just return them to the oven or dehydrator for another hour or so until they reach the right texture. Browning or an off flavor can be a sign of oxidization, which is easily prevented by soaking your pear slices in a mixture of cold water and lemon juice before drying. If pears show condensation inside their storage container, they were likely not dried long enough. Once your dried pears are ready, store them in an air tight container to keep them fresh and flavorful for weeks. With these simple tricks, you’ll be able to enjoy perfectly dried pears every time you make this recipe.
DannyContent Writer
Hey there, since 2016, my mission has been to provide you with the information and guides you need to make food dehydrating simple and fun. Whether you're a newbie or a seasoned pro, my site offers helpful guides, reviews, and recipes to enhance your dehydrating experience. I take pride in only recommending products I believe in, ensuring my readers' trust. As an affiliate of various programs, including Amazon Associates, your support helps me continue providing quality content. Thanks for stopping by, and happy dehydrating!