
How to Make Deer Jerky in a Meat Dehydrator
Learn how to make deer jerky in a meat dehydrator and unlock a world of tasty, homemade snacks that are healthy and filling. With the right seasonings and techniques you can turn venison into a jerky that is better than any store bought. This will walk you through the whole process from choosing the best cuts of deer meat to marination and dehydration. Whether you are an experienced hunter or just looking for a healthier snack option, learning how to make this venison jerky recipe is a fun adventure.
- 1. Procure the Meat
- 2. Pick the Cut
- 3. Slice It Thin
- 4. Make the Marinade
- 5. Marinate the Meat
- 6. Start Drying
- 7. Enjoy Your Snacks
- Safety and Storage
- Common Issues with Venison Jerky
- Tips for making the best Ground Venison Jerky
- Venison Jerky Nutrition and Health Benefits
- Ready to Use Your Meat Dehydrator?
- FAQ
1. Procure the Meat
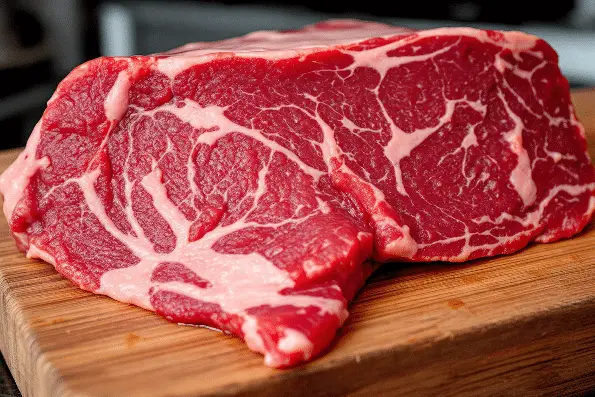
Before you can make deer jerky, of course, you need to have the venison.
Venison can be a little pricey at the store, but it’s well worth it. Of course, if you hunt, you can save a lot of money.
In fact, venison that you hunted can be cheaper than any meat you’d find at the store. It’s also cheaper than raising meat on a farm, since you don’t have to feed the animals you hunt.
If you’re an experienced hunter, hunt your deer instead of buying venison. Then, you’ll process the meat to get it ready for the meat dehydrator.
After your deer is hunted and butchered – or you’ve gone to the store – it’s time to choose the right cut.
2. Pick the Cut
Jerky can really be made using any cut of meat, so this step is easy. Many hunters use as many parts of the deer as possible. If you’re at the store, you can go with what’s available or what’s least expensive.
Once you have your meat, rinse any excess blood away. Some people also soak the meat for a day or more. This helps remove the “gamey” flavor by draining away the blood from the meat.
No matter what, just be careful to handle the meat properly so you avoid contamination. Without safe handling, the meat can go bad and put you at risk for foodborne illnesses.
3. Slice It Thin
One of the keys to making great jerky is to slice it extra thin.
You can try cutting it by hand, but no matter how sharp your knives are, you might have trouble getting a thin enough slice.
What’s the problem with thick slices of meat? It won’t cure quickly in the meat dehydrator, so you’ll have to wait a really long time for it to finish. You might also end up with jerky pieces that are dry on the outside, but not completely dry on the inside, which gives an unpleasant texture.
For a consistent outcome, you need really thin slices, which is why investing in a meat slicer is a great idea. You can use a meat slicer for lots of different tasks, so it’s a worthwhile investment if you spend much time in the kitchen.
With a meat slicer, you can easily get the venison thin enough for the dehydrator. The meat should be nearly shaved if it’s thin enough.
One other great thing about a meat slicer is that it prevents injuries. When you try to slice meat thin using a knife, you run the risk of accidentally slicing your own fingers instead.
4. Make the Marinade
To make great deer jerky, you need the right blend of spices. If you have more than one person in the kitchen, have one person start creating the perfect spice mixture while the other person is slicing the meat.
You can follow a recipe, or you can get creative using what you have on hand. However, there are a few key ingredients that you’ll want to include. Many recipes for jerky include soy sauce, teriyaki sauce, crushed red pepper, plenty of sugar, and other spices as desired.
5. Marinate the Meat
Now, combine the sliced meat with the marinade sauce. Put the marinade in a bowl, and pack it full of meat to let the spices soak in.
The bigger the bowl the better, since you’ll need room for all the venison. Now, put the mixture int the fridge, cover it, and let it sit overnight. In the morning, the meat will be ready for the dehydrator.
6. Start Drying
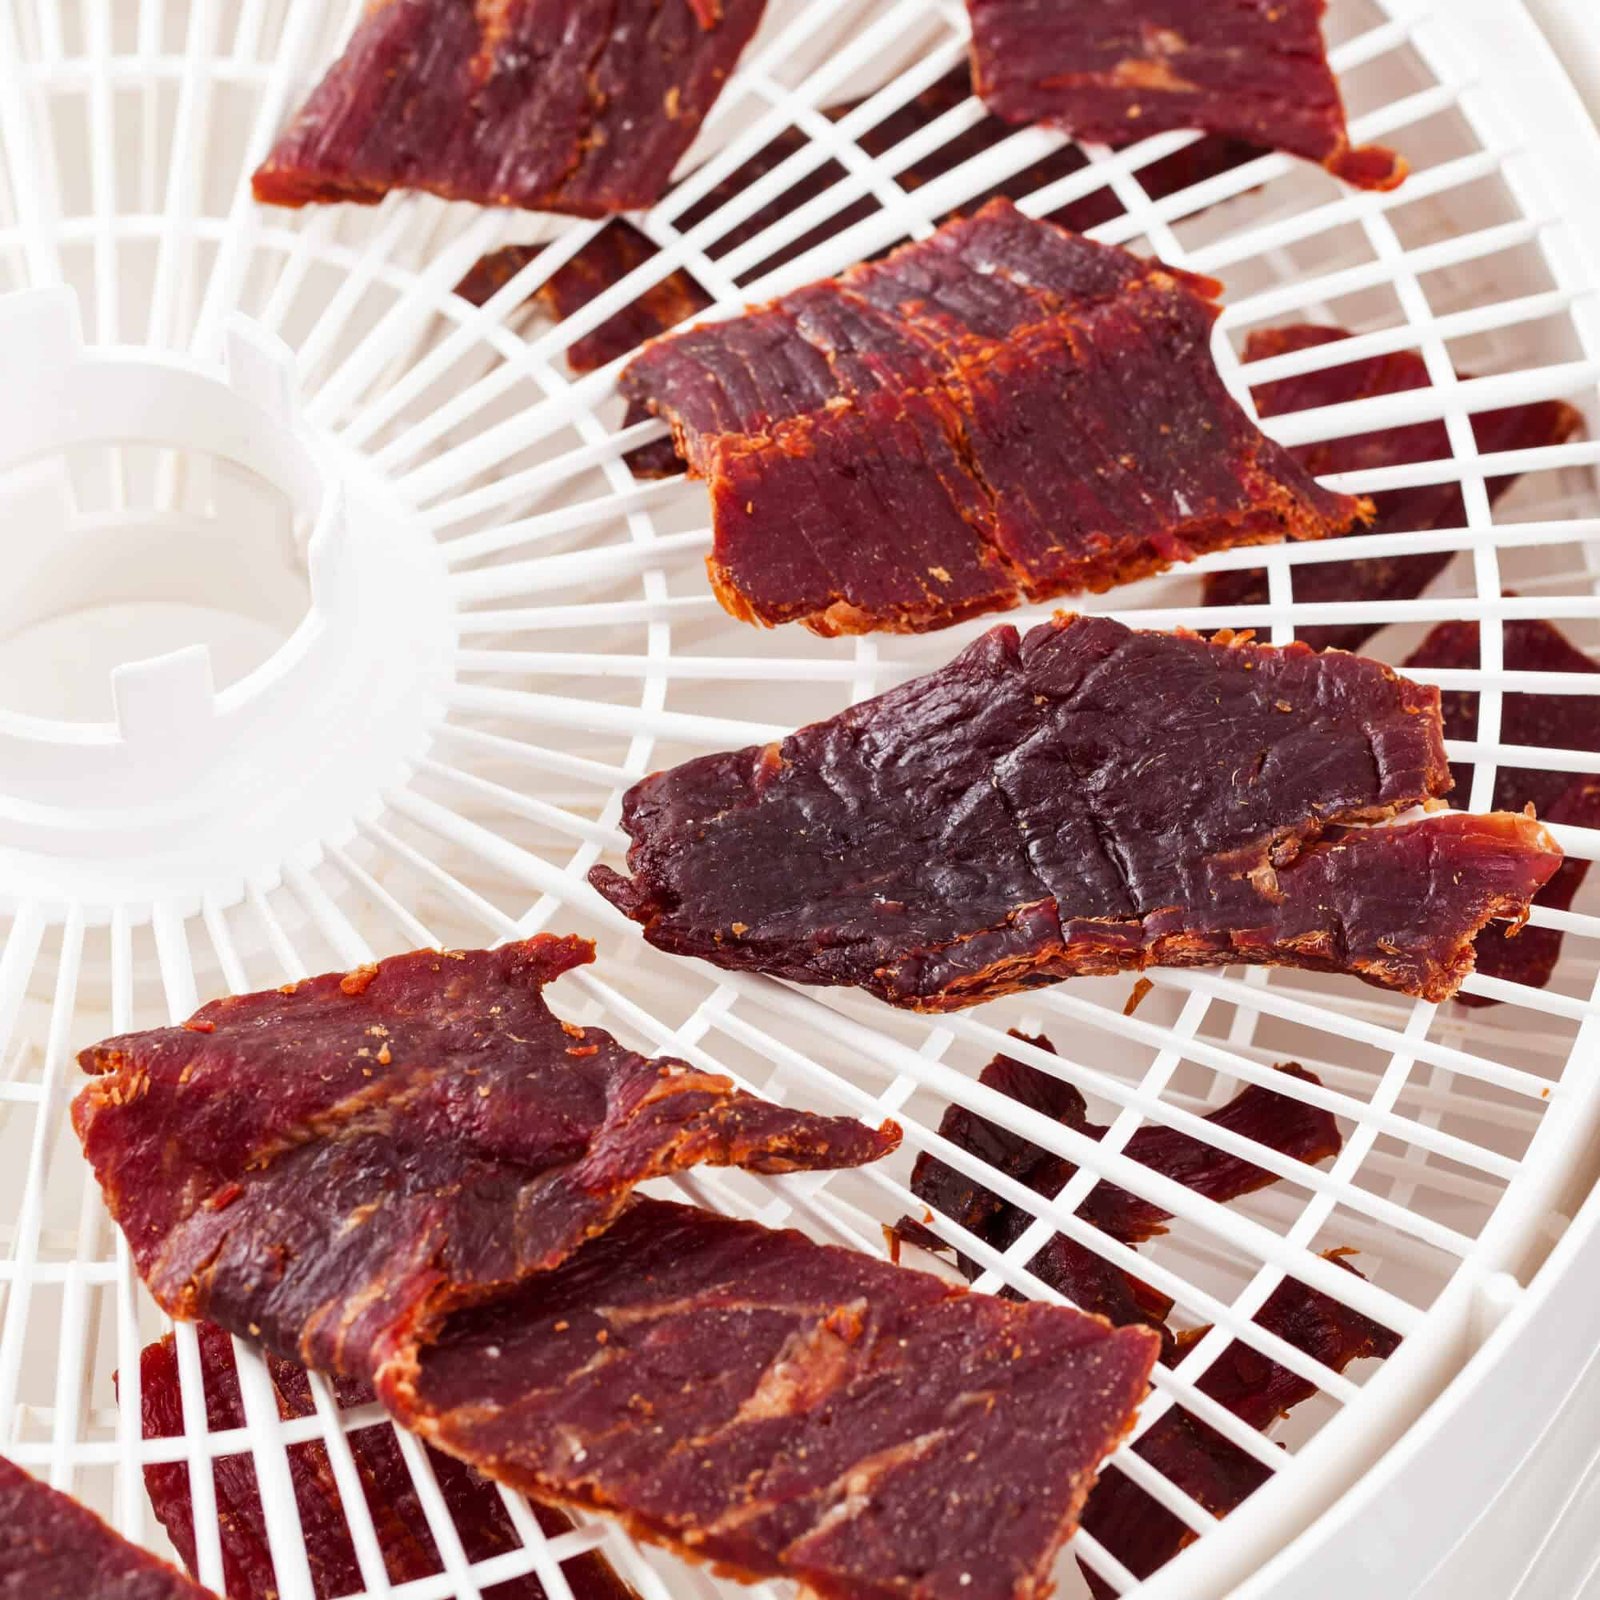
Now, put the meat on the trays in your meat dehydrator. If your dehydrator is small, it’s okay to work in a number of small batches.
Follow whatever instructions are included with your dehydrator. Most of the time, your jerky will be finished in about a day or two at the most. Check it regularly throughout the process to see if the outside of the meat is getting dry.
If the outside seems dry but you’re not sure about the inside, break a couple of pieces apart to check how it’s coming along. After the meat seems dry, and the amount of time recommended by the instructions is up, you can remove the finished jerky from the dehydrator.
7. Enjoy Your Snacks
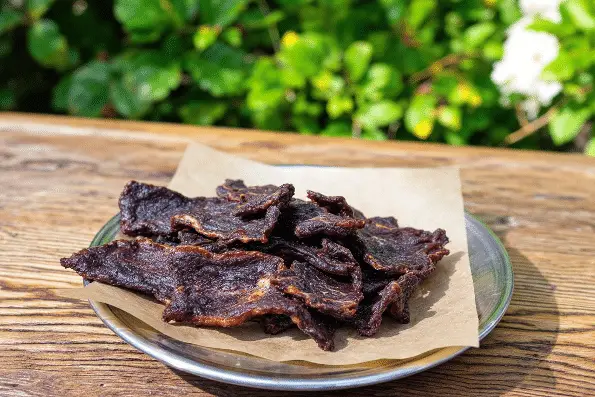
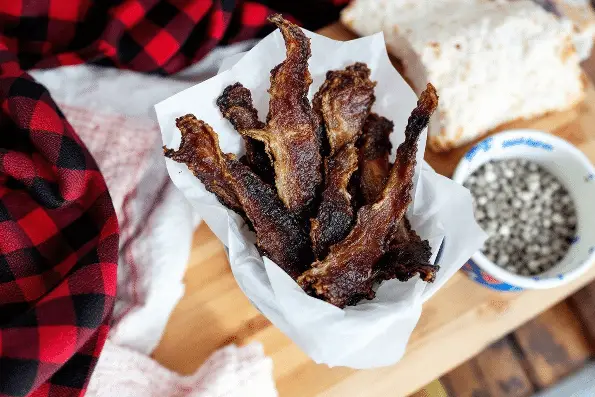
Now, you can either eat your fresh deer jerky or store it. One of the best things about dehydrated meat is that it will last for a long time!
To store it, fill big plastic bags with the jerky, squeeze out all the air, and seal the bags. Now, you’ve got an easy, healthy snack that you can take anywhere you go.
Each time you make jerky, you can try out different recipes to make different flavors. You can even make a few different marinades and have multiple flavors in the dehydrator at once. Try ingredients like bourbon, liquid smoke, and honey to switch up the taste.
Safety and Storage
- When making venison jerky you must follow food safety guidelines. Make sure your surfaces, utensils and hands are clean before you start. Keep raw meat separate from other food to prevent cross contamination.
- Handle raw meat safely and store it properly to prevent contamination. Marinate in the fridge not on the counter to keep the temperature safe. Using curing salt will help preserve the jerky and prevent bacteria growth.
- Store the finished jerky in an airtight container to keep it fresh. For longer storage vacuum seal to keep it fresh and extend shelf life. Jerky can be stored at room temperature for a short time but for optimal longevity store in the fridge or a cool dark place.
Common Issues with Venison Jerky
- If your jerky is too dry it may be due to over dehydrating or too much salt. To prevent this monitor the drying process closely and adjust the salt in your marinade. Add a bit of liquid smoke or a splash of soy sauce to add moisture and flavour.
- If your jerky is too chewy it may be due to under dehydrating or too little salt. Make sure the jerky is dry to the texture you want by checking it regularly. You can also try adjusting the marinade by adding more curing salt or ingredients like Worcestershire sauce to the mix.
- Try different marinades and seasonings to get the flavour you want. Popular combinations are garlic powder, onion powder and red pepper flakes for a spicy kick. You can also add brown sugar to sweeten the mix or coconut aminos to balance the flavours. Don’t be afraid to look up recipes and try new ones to get the recipe ratings and taste you want.
Tips for making the best Ground Venison Jerky
- Use a jerky gun to make uniform strips of meat. This tool is especially useful when working with ground venison so your jerky strips are the same size and thickness which helps with even drying. The jerky gun makes shaping your meat mixture into perfect strips a breeze and is a must have for any homemade jerky lover.
- Try different marinades and seasonings to get the flavour you want. Consider a mix of soy sauce, Worcestershire sauce and garlic powder for a savoury base. If you like a bit of heat add red pepper flakes or a dash of hot sauce. Brown sugar or honey will balance out the heat and coconut aminos will give you a new flavour dimension.
- Always follow food safety guidelines when handling raw meat. This includes using curing salt to reduce bacterial growth especially when working with venison meat. Make sure your hands and all utensils are clean and marinate the jerky meat in the fridge to keep the internal temperature safe. Proper handling and preparation is key to making venison jerky that’s both tasty and safe to eat.
Venison Jerky Nutrition and Health Benefits
- Venison jerky is a healthy snack, high in protein low in fat. It’s a great option for those who want to keep a balanced diet and have a tasty treat. Unlike most store bought snacks venison jerky is a natural source of energy so perfect for outdoor activities like hiking or hunting.
- It’s also a good source of iron and other nutrients. Iron is important for healthy blood cells and getting oxygen around the body. Venison jerky also contains zinc, phosphorus and B vitamins which support immune health, bone strength and energy metabolism.
- Making your own venison jerky allows you to control the ingredients and avoid added preservatives. This means you can get the flavour you want and preservative free jerky. By trying different spices and marinades like soy sauce, Worcestershire sauce and garlic powder you can create a snack that suits your dietary needs. And homemade jerky can be more cost effective especially if you get your venison during deer season so you can have a healthy snack without breaking the bank.
Ready to Use Your Meat Dehydrator?
With a home dehydrator, you can get creative and have fun with all kinds of different deer jerky recipes.
This can be a slow process, so be patient. Make it a bonding experience with friends or family. Although there’s a bit of prep work involved, with practice you’ll soon be able to make jerky without even looking at the directions.
Never made dehydrated food before? Then be sure to check out our food dehydration tips here.
FAQ
Do you flip jerky in a dehydrator?
Flipping jerky in a dehydrator is not necessary as most dehydrators are designed to circulate air evenly around the trays. But if you notice uneven drying you can rotate the trays or flip the venison jerky strips halfway through the drying process to get even results. This is more important if you have a smaller or older dehydrator. Just keep an eye on the drying process to get the perfect texture for your venison jerky.
Is Deer Good for Jerky?
Yes deer meat or venison is great for jerky. Venison jerky is a delicious and healthy snack. It’s high in protein low in fat and rich in iron, zinc and B vitamins. The lean nature of deer meat makes it perfect for jerky as it dries well and absorbs marinades well. Whether you’re using ground venison or whole cuts venison jerky has a unique flavour profile that’s savoury and satisfying. And making your own homemade deer jerky allows you to control the ingredients and customise the flavours to your taste so you get a tasty and healthy snack.
