Wondering how to slice meat for jerky for the best flavor and texture? The thickness, grain direction, and cut of meat are all crucial to crafting the perfect jerky. This article will guide you through the slicing process to ensure your jerky is evenly marinated and dehydrated, producing the ideal chewiness and preserving its taste.
Key Takeaways
Choose lean cuts like top round, bottom round, and eye of round for making jerky, as fat can cause spoilage and affect texture.
Freezing meat until semi-frozen makes it easier to slice into even strips, which is essential for proper drying and texture.
Slicing against the grain results in tender jerky, while slicing with the grain makes for chewier jerky; maintaining consistent thickness is key for even drying.
Selecting the Right Cut of Meat for Jerky
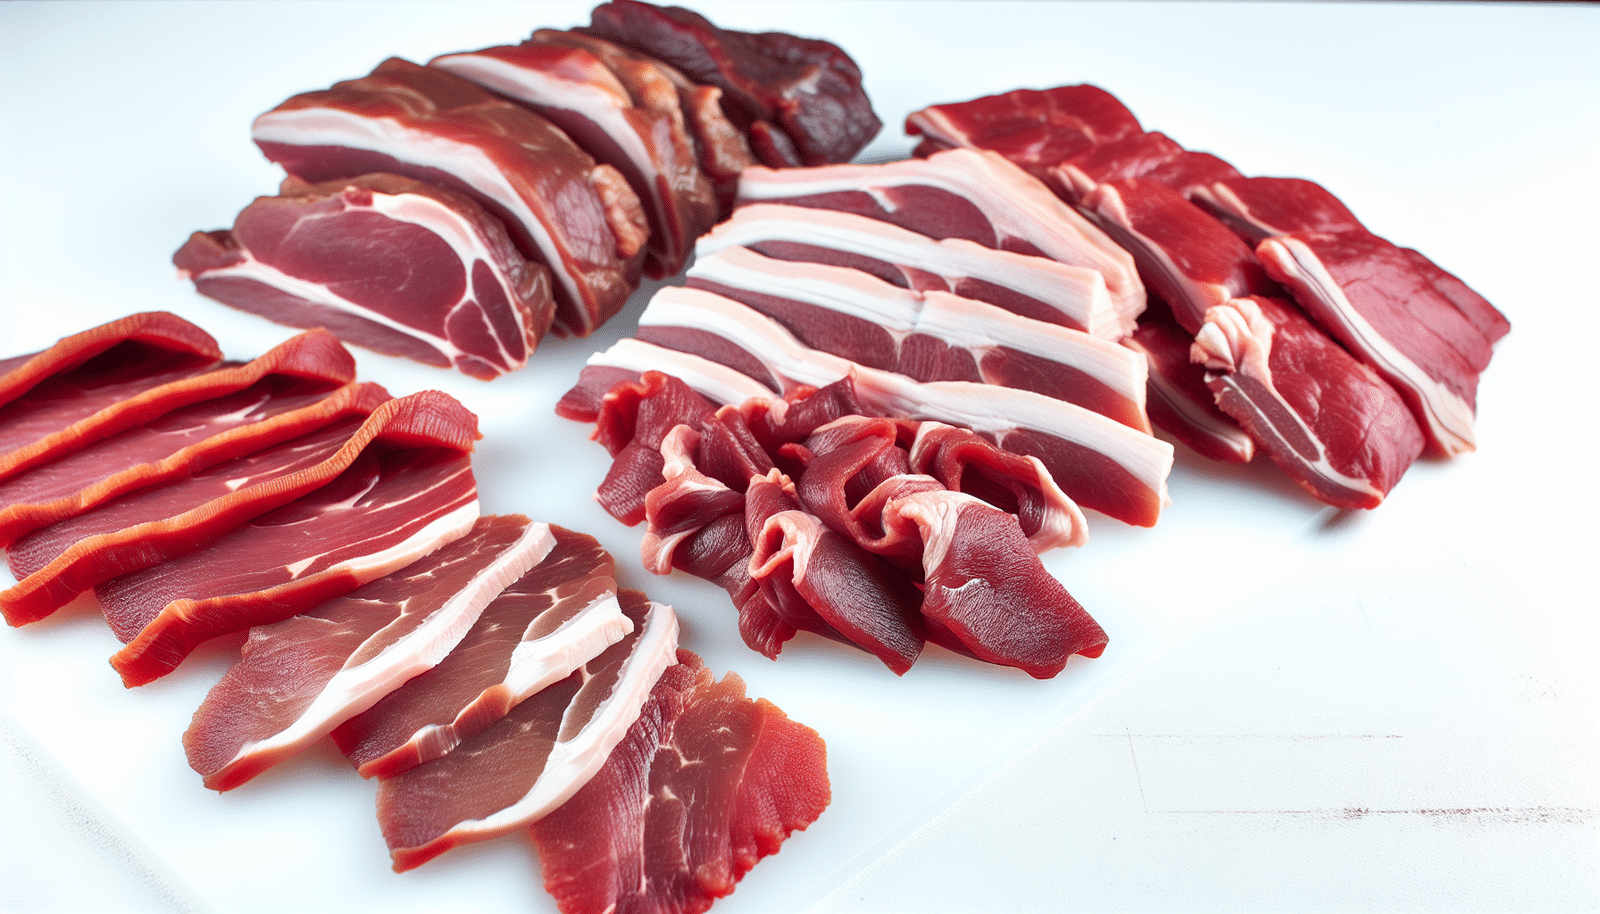
The initial and vital step in crafting homemade beef jerky is selecting the appropriate cut of meat. Lean meat with minimal fat is the hero in our homemade jerky making saga, as fat can lead to quicker spoilage and may affect the texture of the finished product. But not all lean cuts are created equal, you see. Some cuts stand out as champions in the jerky making arena:
Top round
Bottom round
Eye of round
Flank steak
These cuts are known for their low fat content and ability to be turned into thin slices, making them perfect for homemade beef jerky, chewy jerky, and even chewier jerky.
Beef, with its various cuts, is a popular choice. Eye of round, bottom round, and top round are the frontrunners, thanks to their tenderness, low fat content, and cost-effectiveness. Sirloin tip, while a bit pricier, is another lean and tender option, and let’s not forget about venison and elk, both known for their leanness and distinct game flavors. Or, if you’re in the mood for a tender and flavorful option, pork loin and tenderloin are slightly fattier cuts that can deliver some delicious surprises.
Preparing Your Tools: The Essentials for Slicing Meat
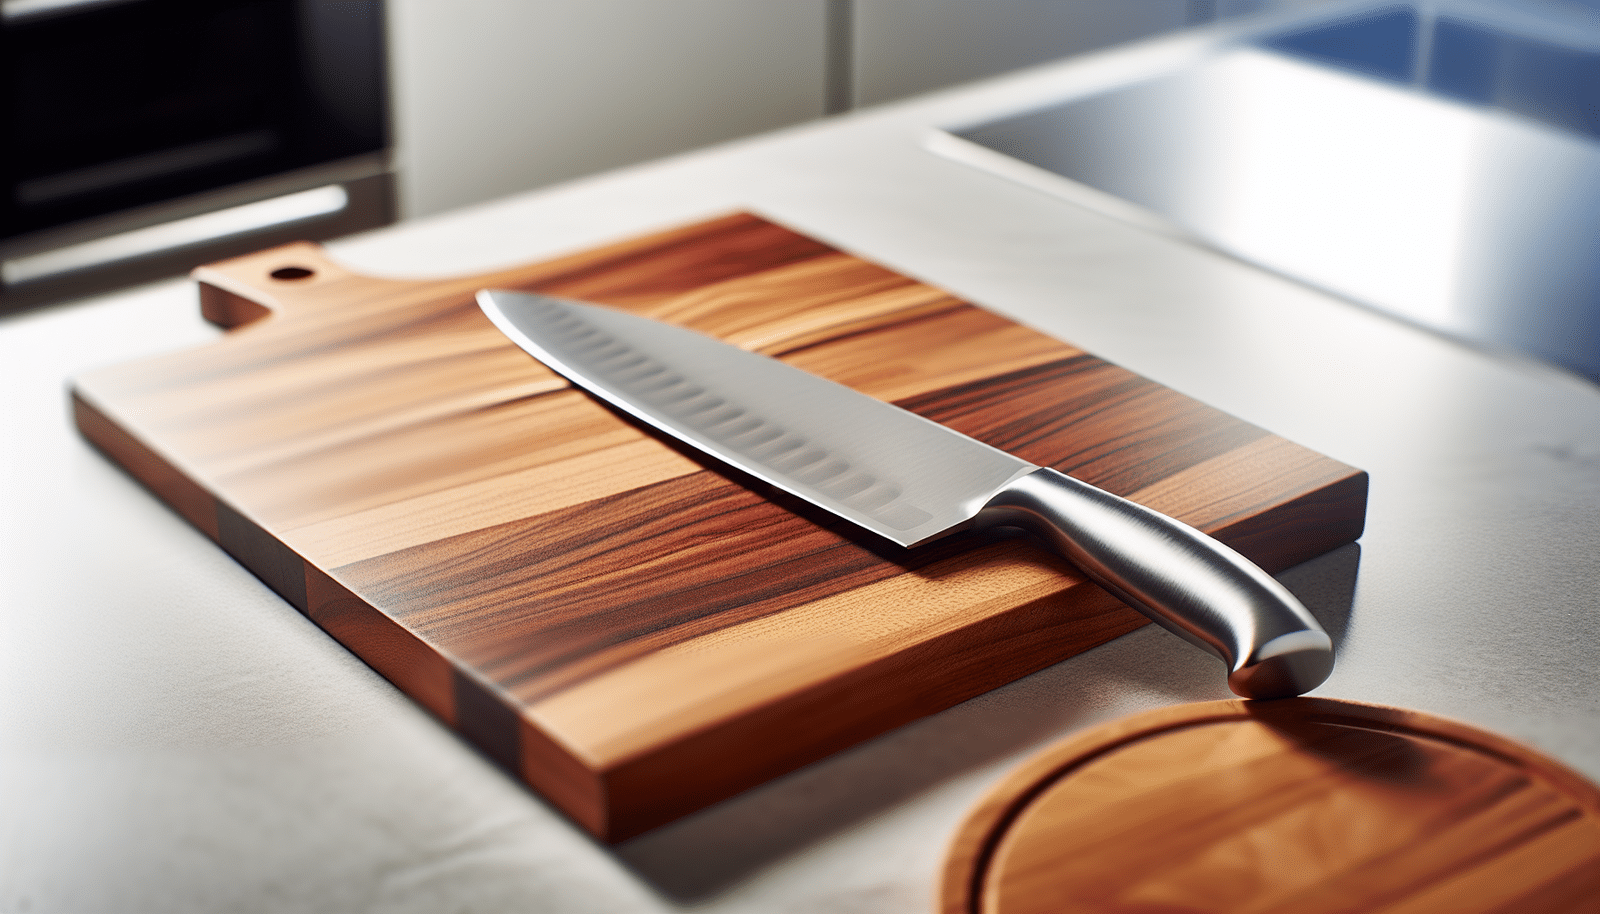
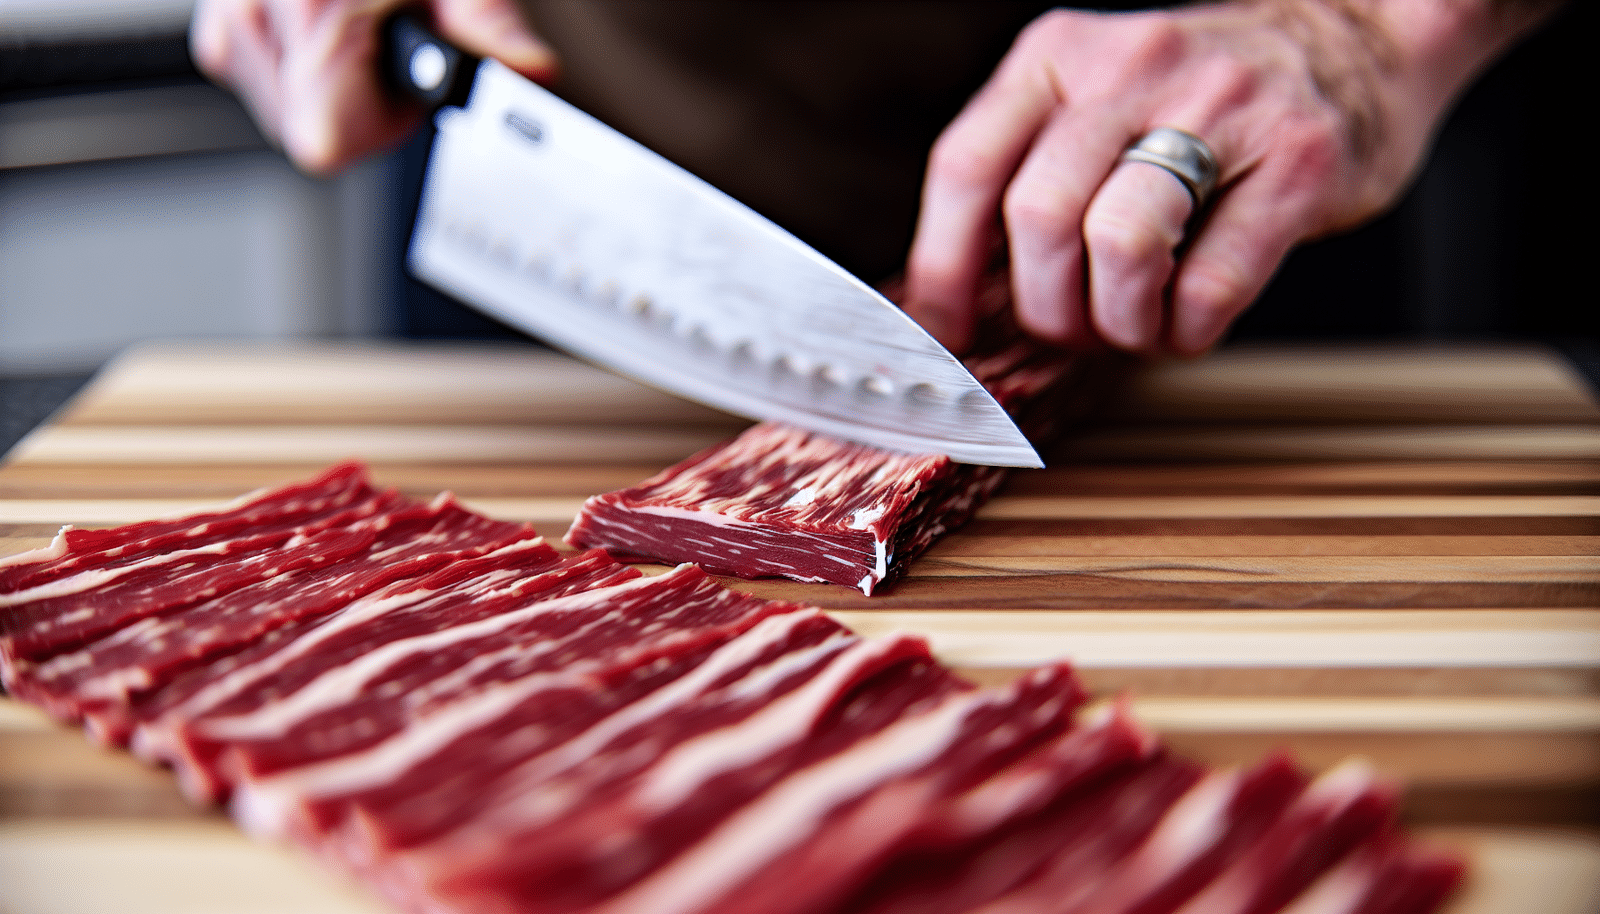
Once you’ve selected the appropriate cut of meat, you can start preparing your tools. Every craftsperson needs their toolbox, and jerky making is no different. When it comes to slicing meat for jerky, a sharp knife is your best friend. A sharp, well-maintained knife will give you those thin, even slices that are crucial for proper marination and even drying.
But don’t overlook the cutting board. Whether you choose wooden, plastic, bamboo, or teak, ensure it provides a non-porous, knife-friendly surface. And remember, cleanliness is next to godliness. Keep your equipment, utensils, and work surfaces clean, and always wash your hands before and after handling raw meat. Safety first, folks!
The Chill Factor: Why Freezing Matters
With your tools prepared, we can introduce an additional ‘chill’ to the process. You see, chilling meat in the freezer until it’s partially frozen isn’t just for cool points. It’s a trick of the trade that makes meat firmer and easier to handle, and it helps us get those precise cuts that are crucial for the optimal jerky texture.
But how long does the meat need to chill out in the freezer? Well, it depends on the temperature of the meat and the freezer. Generally, you want to aim for about 15-30 minutes until the meat is semi-frozen, not solid. This state is ideal for easier slicing, especially if you’re going old school and using a knife rather than a mechanical meat slicer.
Trimming the Fat: A Step Toward Tastier Jerky
Despite the appeal of a little fat in our steaks, jerky preparation requires the trimming of fat. Literally. Before you start slicing, it’s time to get lean. Trimming visible fat from the meat not only helps prevent faster spoilage but also contributes to a finer texture ranging from chewy to tender for the beef jerky.
And no, cutting corners on this step won’t do. You see, the jerky-making process involves removing as much fat as possible to extend the product’s shelf life. You want to keep it from spoiling by preventing rancidity and off odors. So, take a sharp knife, trim off all large chunks of fat, and make sure your meat is as lean as possible. This will mitigate spoilage risks during and after the drying process.
To Grain or Not to Grain: Cutting Meat for Desired Texture
Next, we need to discuss texture. When slicing your meat, the direction you cut – with or against the grain – can make a difference in the final texture of your jerky. The term “grain” in this context specifically signifies the alignment of the muscle fibers within the meat. This can affect the tenderness and texture of the cooked product..
This section will delve into the concept of grain and its impact on the texture of your jerky in two subsections.
Understanding the Grain
Grasping the grain in meat is akin to mastering the rules of the road prior to driving. When you look at a piece of meat, those streaks running through it, often highlighted by white strips of marbling, are the muscle fibers or grain. Knowing how to slice meat properly, taking into account the direction of these muscle fibers, can make all the difference in the tenderness and flavor of your dish.
When it comes to jerky slicing, cutting with the grain, or along the muscle fibers, yields tougher jerky, while slicing against the grain, or perpendicular to the fibers, results in more tender jerky.
Achieving Consistent Thickness
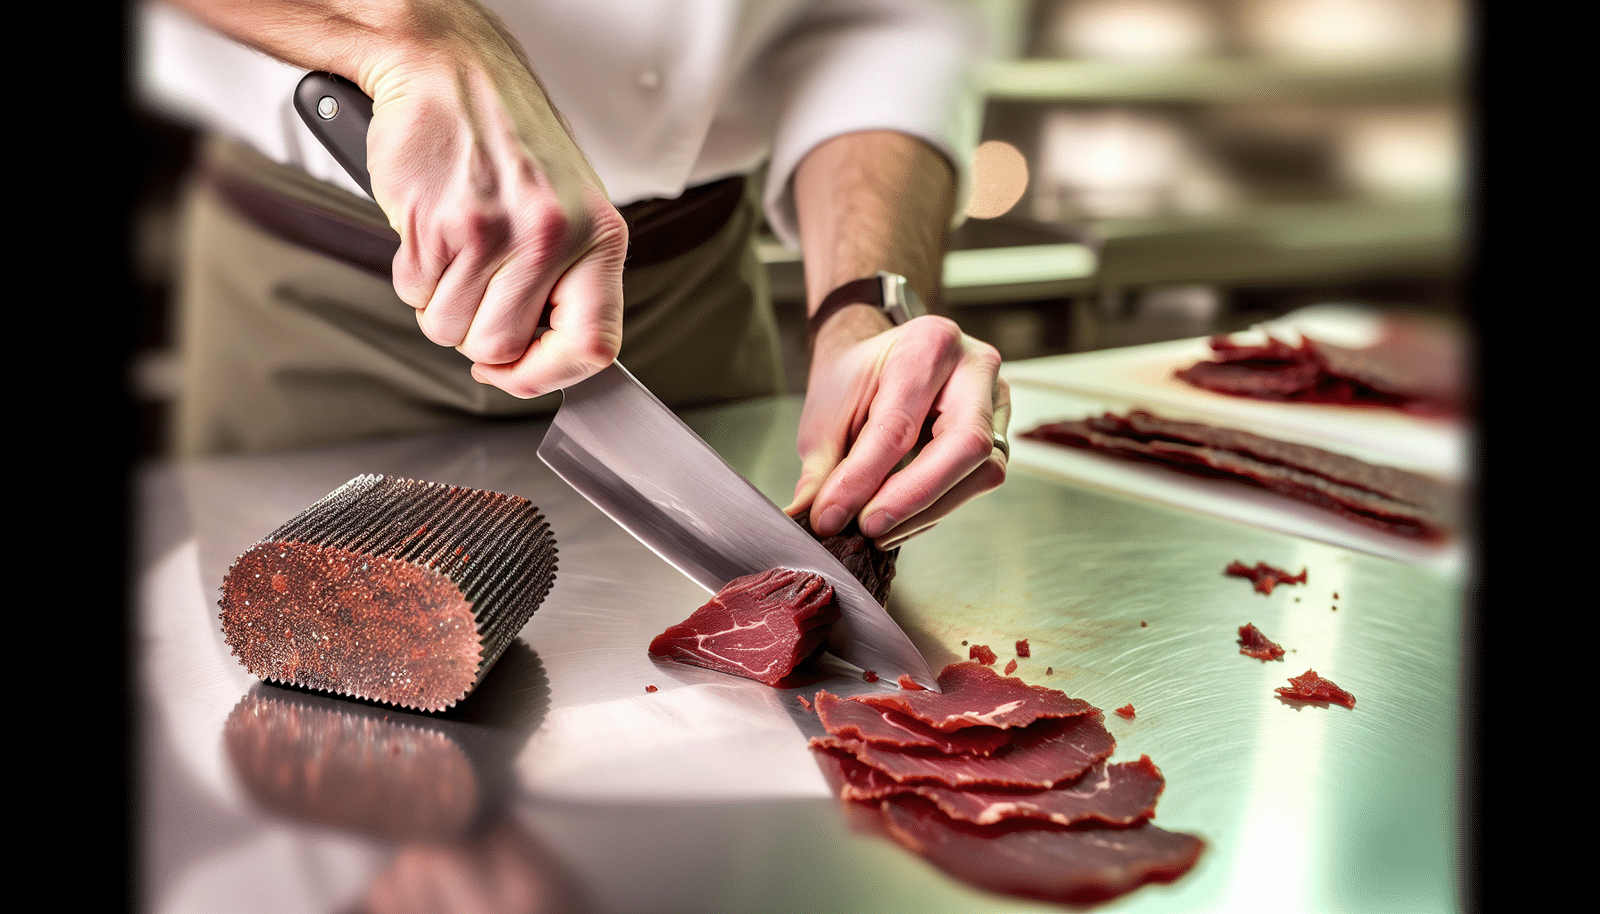
Irrespective of whether you’re slicing with or against the grain, maintaining consistent thickness in your jerky slices is essential. This is crucial to ensure all pieces cook and dry at the identical rate, preventing uneven results. So, what’s the sweet spot for slice thickness? Aim for between 1/8” and 1/4”, with 3/16” being ideal for even cooking and drying. And remember, a sharp chef’s knife and long, even strokes can help you achieve uniformly thick slices.
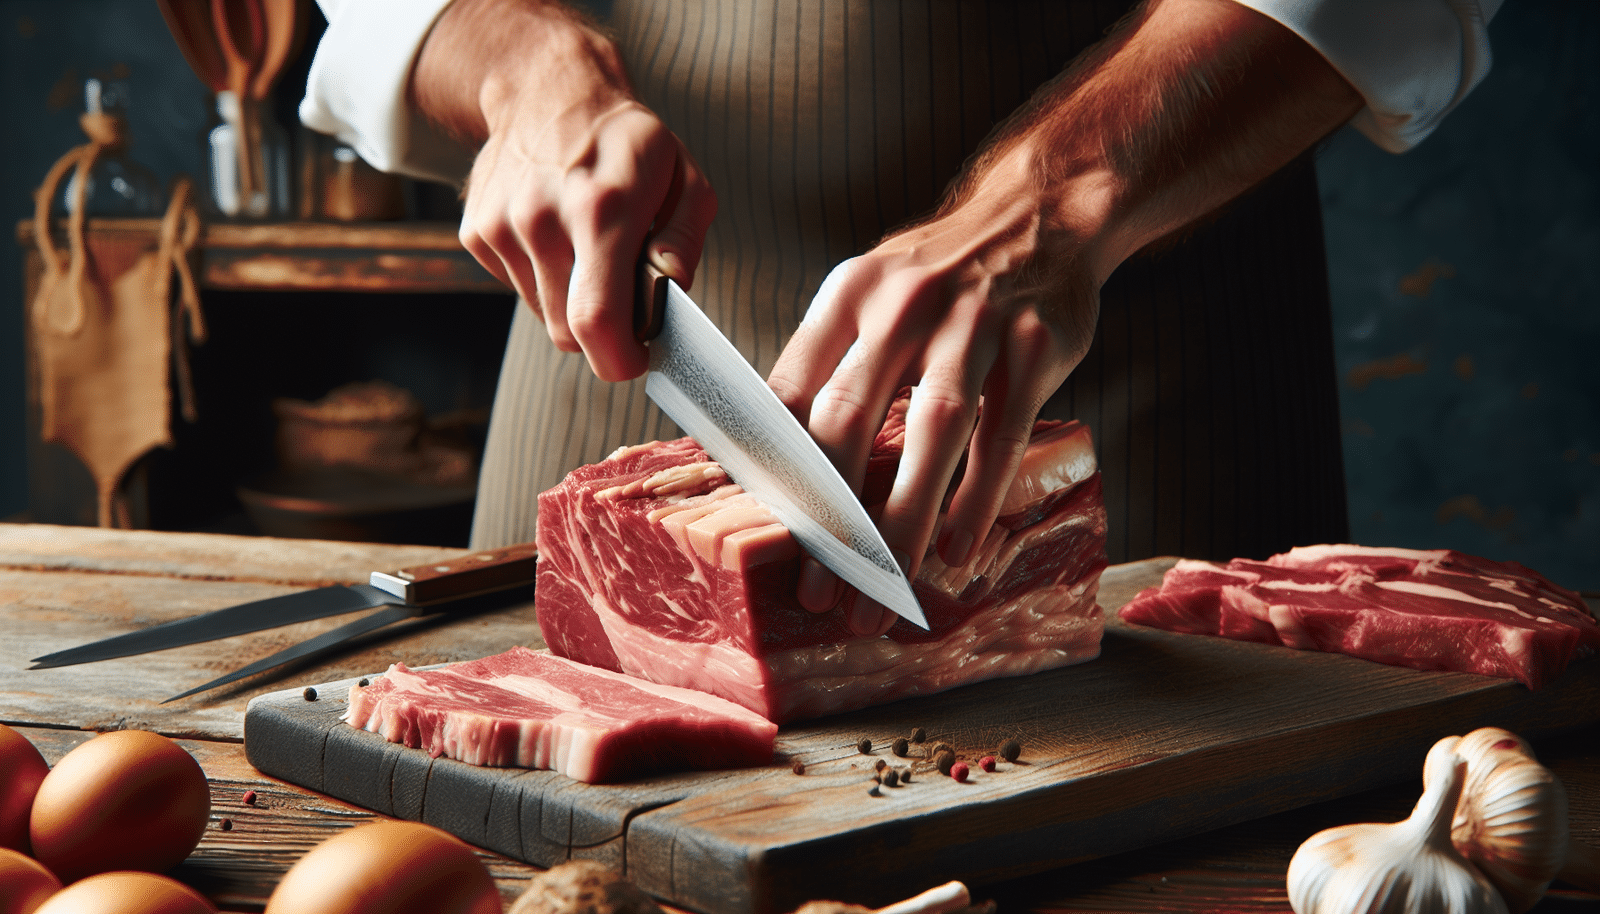
The Art of Slicing: Techniques for Perfect Jerky Cuts
It takes practice and precision to master the art of slicing. Here are some steps to follow:
Start by cutting the roast into 1 ¼” slabs.
Select whether to slice with or against the grain.
If you prefer a more hands-on approach, use a sharp paring or boning knife with its thin edge to slice thin strips.
But slicing isn’t all there is to creating perfect jerky. To tenderize the meat and adjust chewiness without over-softening it, slice the meat with the grain and then use a meat mallet with the pyramid pointed side to gently break down the muscle fibers. And remember, the thickness of the meat slices directly influences the time it will take to dehydrate the jerky to the perfect consistency, making even thickness crucial for quality jerky.
Enhancing Flavor and Texture: Post-Slicing Tips
Our flavorful journey starts with slicing. Post-slicing, it’s time to infuse your jerky with a flavor profile that will make your taste buds dance. Using a heated marinade can infuse the flavors more deeply into jerky slices. And don’t forget the power of acidic components in the marinade, such as vinegar or citrus juice. These can help tenderize the meat and infuse flavor.
Meat should marinate for at least 6 to 24 hours for optimal flavor absorption.
Periodically mix the jerky slices during marination to ensure even flavor distribution.
After marinating, allow the meat to rest in the refrigerator to deepen the flavor infusion.
For even more flavor boost, consider vacuum sealing the marinated meat to ensure full contact between the marinade and meat.
Choosing Between Homemade and Store-Bought Jerky Slicers
The homemade versus store-bought debate isn’t solely confined to the jerky, but also applies to the tools utilized in the process. High-quality store-bought jerky slicers like the Westin Jerky Slicer can save time and optimize your jerky-making process. These slicers not only ensure operator safety and minimize fatigue but also reduce product waste through precise cutting.
However, slicing by hand offers its own rewards. It might be less expensive for start-up processors and gives a personal touch to each slice, although it lacks the efficiency and production capacity of professional jerky slicers.
Ultimately, the choice between homemade and store-bought jerky slicers boils down to your budget, production needs, and personal preference.
Jerky Enthusiasts’ Corner: Advanced Slicing Tips
Congratulations on making it this far, jerky enthusiasts! Now it’s time to explore some advanced slicing tips to give your jerky-making process an extra edge. First off, remember to handle raw meat safely. This isn’t just about hygiene, but also about preventing accidents during the slicing process. Using Cut Resistant Stainless Steel Wire Metal Butcher Gloves, for example, can provide protection against injuries during the slicing process.
And don’t forget about hygiene! Aside from washing your hands thoroughly before and after handling raw meat, it’s also important to clean your tools and work surfaces. This not only helps prevent cross-contamination but also ensures the best possible flavor for your jerky.
Summary
We’ve traveled a long way on this jerky making journey. From choosing the right cut of meat, preparing your tools, understanding the significance of freezing, trimming the fat, to learning the art of slicing and post-slicing tips, you’ve gained a wealth of knowledge to help you craft the perfect jerky.
But remember, the journey doesn’t end here. Keep experimenting, keep refining your techniques, and above all, keep enjoying the process. After all, the joy of jerky making isn’t just in the tasting, but in the making. So go forth, fellow jerky enthusiasts, and slice your way to delicious, homemade jerky!
Frequently Asked Questions
Should you cut meat with or against the grain for jerky?
For a more tender texture, it’s best to cut the meat against the grain when making jerky. If you prefer a different texture, you can experiment by cutting with the grain and then tenderizing the meat.
How long to freeze meat before slicing for jerky?
Freeze the meat for about 1 hour and 30 minutes before slicing, ensuring it is firm for easier cutting. Trim the fat before freezing to make the slicing process easier and preserve the jerky.
What is the best cut of meat for beef jerky?
The best cut of meat for beef jerky is lean cuts like beef eye of round, bottom round, top round, and sirloin tip. They are popular for their tenderness, low fat content, and cost-effectiveness.
Why is it important to trim the fat when making jerky?
Trimming the fat from the meat is important when making jerky because it prevents faster spoilage and helps create a better texture for the beef jerky. Happy jerky making!
What is the significance of chilling meat in the freezer before slicing?
Chilling meat in the freezer before slicing makes it firmer, easier to handle, and allows for more precise cuts, which is crucial for the optimal jerky texture. Happy jerky-making!
DannyContent Writer
Hey there, since 2016, my mission has been to provide you with the information and guides you need to make food dehydrating simple and fun. Whether you're a newbie or a seasoned pro, my site offers helpful guides, reviews, and recipes to enhance your dehydrating experience. I take pride in only recommending products I believe in, ensuring my readers' trust. As an affiliate of various programs, including Amazon Associates, your support helps me continue providing quality content. Thanks for stopping by, and happy dehydrating!