When thinking about preserving the beauty of fresh flowers, many people automatically consider traditional methods like air drying or pressing. However, there’s an unsung hero in the world of flower preservation: drying flowers in the oven. This oven method is not only efficient but also ensures that the vibrant colors and delicate blooms of your flowers are retained. If you’ve ever wondered, “Can you dry flowers in the oven?” or “How to dry flowers in the oven?” you’re in for a treat. This guide will walk you through the entire process, from selecting the best flowers to gathering your supplies and ultimately creating beautiful dried flower arrangements.
Drying flowers in the oven is a quick and fantastic way to preserve your most cherished floral memories, such as wedding bouquets or any beautiful bouquet from special occasions.
In the following sections, we will explore the ideal flowers to dry, the necessary tools for oven drying, and the step-by-step procedure. Whether you’re new to flower drying or looking for an alternative to traditional air drying flowers, the oven drying method might just be your new favorite technique!
How to Dry Flowers in the Oven
Preserve your flowers quickly and beautifully!
Supplies Needed:
Fresh flowers (e.g., roses, daisies, lavender)
Conventional oven
Baking sheet
Parchment or wax paper
Oven thermometer (optional)
Scissors
Soft brush (for cleaning flowers)
Instructions:
Preheat your oven to the lowest heat setting (150-200°F).
Line a baking sheet with parchment or wax paper.
Trim the stems of your flowers and remove excess foliage.
Arrange the flowers on the baking sheet, leaving space between them.
Place the baking sheet in the oven and leave the door slightly ajar to allow moisture to escape.
Check the flowers every 15-20 minutes. Smaller flowers may dry in 1-2 hours, while larger ones may take longer.
Once the petals feel crisp and brittle, remove the flowers from the oven and let them cool.
Tips:
Use an oven thermometer to ensure the temperature stays low.
For larger flowers, consider using silica gel for better results.
Store dried flowers in a cool, dry place to maintain their beauty.
When it comes to oven drying flowers, choosing the right type is crucial for achieving the best results. Some flowers are more suitable for oven drying due to their structure and moisture content. Dainty and delicate flowers, such as baby’s breath, lavender, and small roses, tend to dry more evenly and maintain their shape and color well throughout the drying process. It’s important to select flowers that are relatively fresh and free from morning dew or excess moisture, as this ensures a more efficient drying process.
While air drying flowers works well for hardy varieties, for oven drying, it’s best to opt for flowers that can withstand the heat without becoming too brittle or losing their vibrant hues. Flowers like daisies, chrysanthemums, and certain types of lilies can also be successfully oven dried. Larger blooms, such as peonies and hydrangeas, require special attention during the drying process to ensure they dry completely and evenly.
If you’re working with a wedding bouquet, consider separating the more delicate blooms and drying them individually. This approach allows you to preserve the most cherished elements of your beautiful bouquet without compromising their intricate details. Additionally, pressing flowers between wax paper and under a heavy book is an excellent way to prepare them for oven drying if you aim to create flat flowers for craft projects or wall art.
Ultimately, the best flowers for oven drying are those that fit your aesthetic preference and desired use. Whether you’re aiming to create dried bouquets, pressed flowers, or other floral arrangements, selecting the right flowers from the start will set the stage for a successful and enjoyable oven drying experience.
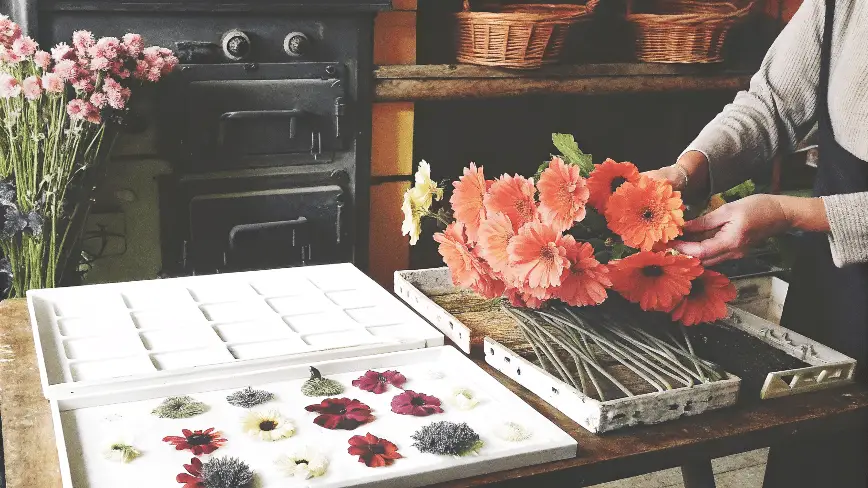
Gathering Your Supplies
For drying flowers in the oven, you’ll need to gather some essential supplies to ensure the process goes smoothly. First, you’ll need a conventional oven since the method relies on its controlled heat to dry the flowers efficiently. While not strictly necessary, having an oven thermometer can help you maintain the lowest heat setting, which is crucial to avoid scorching the delicate petals.
Next, prepare a baking sheet or cookie sheet lined with parchment paper or wax paper. This will provide a non-stick surface for drying and prevent the flowers from sticking. Additionally, a baking rack placed on top of the baking sheet can help improve air circulation around the flowers, promoting even drying.
You’ll also need paper towels or tissue paper to gently pat the fresh flowers dry and remove any excess moisture left by morning dew or recent watering. Scissors will come in handy for trimming the stems.
Lastly, consider using a soft brush to gently remove any dirt or debris from the flower heads before starting the drying process. This helps ensure that your dried flowers remain clean and free from imperfections, making them perfect for craft projects or displaying as dried bouquets in your home.
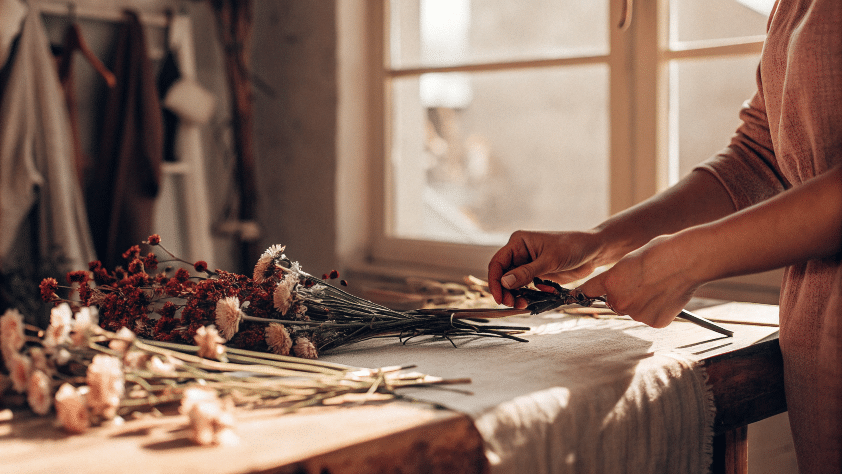
Preparing Fresh Flowers for Drying
Before diving into the oven drying process, it’s essential to properly prepare your fresh flowers. Start by selecting blooms at their peak, as these will result in the most vibrant dried flowers. Avoid flowers with spots, brown edges, or wilting petals, as these imperfections will be more pronounced once dried.
Once you’ve chosen the best flowers, remove any excess foliage since it can trap moisture and prolong the drying process. For delicate flowers like roses, sunflowers, and baby’s breath, be particularly gentle as you strip away the leaves. Cut the stems to the desired length, leaving a few inches to easily handle and arrange your blooms later.
Next, ensure that your flowers are free of morning dew or rainwater by letting them air dry for a few hours in a cool, dry place. This step is crucial, as damp petals can rot or develop mold during the drying process. When your flowers are completely dry to the touch, you’re ready to move on to the next stage.
If your flowers have a thick stem or large flower heads, they might retain more moisture. In such cases, consider placing the blooms in a cup of water with a small amount of bleach (a few drops) for about 24 hours before drying. This method helps inhibit mold growth and keeps the flowers looking fresh.
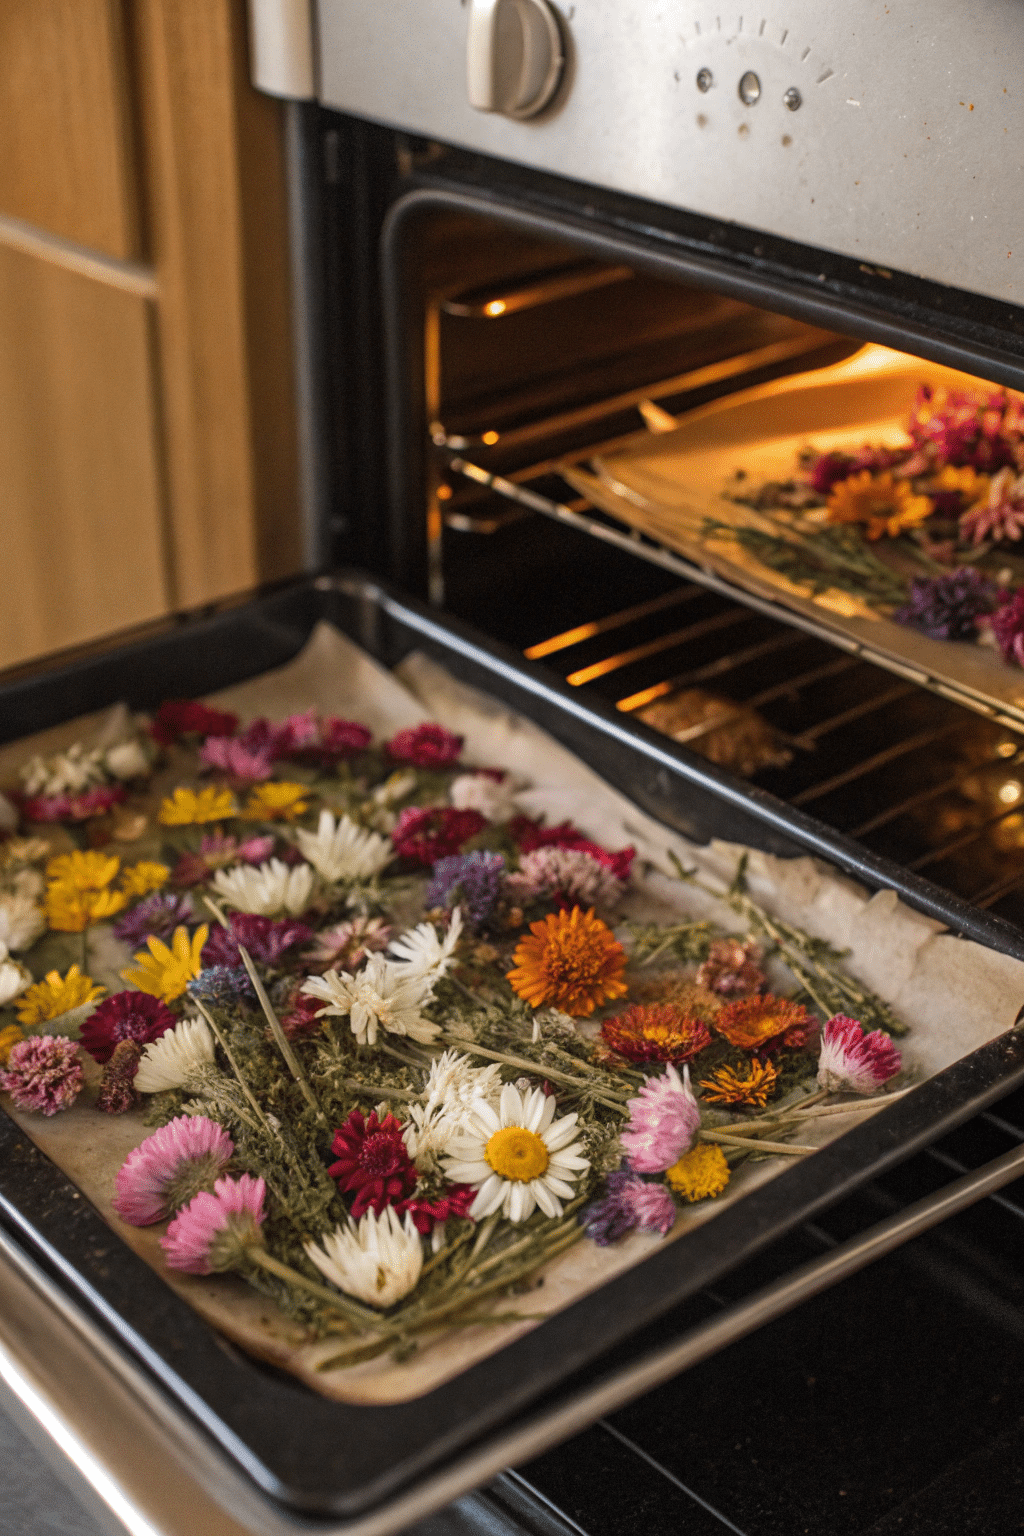
Using a Conventional Oven to Dry Flowers
Drying flowers in a conventional oven is an efficient method that can offer quick results if done correctly. Before you begin, ensure that your oven is clean and free of any odors that might transfer to the flowers. This method is particularly useful for preserving the vibrant colors of delicate blooms and floral arrangements.
Start by preheating your oven to the lowest heat setting, ideally between 150-200 degrees Fahrenheit (65-93 degrees Celsius). The gentle heat will help in the slow removal of moisture without scorching the petals. While the oven is warming up, prepare your baking equipment.
Line a baking sheet with parchment paper or wax paper to prevent the flowers from sticking. Arrange your flowers with enough space in between them to ensure even drying. For flat flowers, you can press them with another sheet of parchment or tissue paper on top and weigh them down with a heavy baking rack. This helps in maintaining their flattened shape.
Place the baking sheet in the oven and leave the door slightly ajar. This step is crucial as it allows the moisture to escape, aiding in the drying process. Check on your flowers frequently, as drying times can vary depending on the flower type and size. Smaller, more delicate flowers might dry completely within 1-2 hours, whereas larger flowers may take longer.
To test if the flowers are completely dried, gently touch the petals. If they feel crisp and brittle, they are ready. Remove them from the oven and let them cool. Avoid touching them too much during cooling to prevent any breakage. Once cooled, use a soft brush to remove any remaining debris or dirt.
Oven drying flowers is a fantastic way to preserve the beauty of fresh bouquets or wedding bouquets for years to come. Whether you’re crafting with dried flowers, making potpourri, or simply wanting to keep a beautiful bouquet, this method is fast and reliable. Remember that practicing patience and careful monitoring is the key to achieving perfect oven-dried flowers.
Tips for Drying Larger Flowers
Drying larger flowers can be particularly challenging because they have thicker petals and a higher moisture content compared to smaller blooms. Ensuring that these larger flowers dry completely is essential to prevent mold and achieve the desired preservation. Here are some expert tips for tackling this process effectively:
1. Pre-Drying Preparation: Begin by prepping your larger flowers. Remove any excess foliage that could trap moisture and cause deterioration during the drying process. It’s vital to cut the stems to your preferred length and discard any damaged or bruised petals.
2. Silica Gel Method: For larger blooms like roses or peonies, the silica gel method is often the best choice. Fill a microwave safe container with an inch or two of silica gel, place the flower heads in it, and gently pour more silica gel around them until they’re fully covered. This method accelerates the drying process and helps maintain the flowers’ vibrant colors and shapes.
3. Oven Drying: If you prefer the oven method for larger flowers, start by setting your conventional oven to the lowest heat setting, usually around 150-200°F. Place your flowers on a baking sheet lined with parchment paper or a baking rack to ensure proper air circulation. Keep the oven door slightly ajar to allow moisture to escape and check the flowers every 15-20 minutes to avoid over-drying. The oven drying method is efficient but requires close monitoring.
4. Air Drying Flowers: Though it takes longer, air drying is a gentle method suitable for delicate blooms. Bundle the flowers together using a rubber band and hang them upside down in a dark, well-ventilated area. This process can take two to three weeks, but it helps retain the natural shape and color of larger flowers.
5. Spacing and Airflow: Regardless of the method you choose, ensure your flowers are well-spaced to allow for adequate airflow. Crowding can lead to uneven drying and potential mold growth. If using the oven method, spread the flower heads evenly on the cookie sheet or baking sheet for the best results.
By following these steps, you can dry larger flowers effectively, preserving their beauty for various craft projects or as a keepsake from a wedding bouquet. Patience and attentiveness are key to achieving perfectly dried flowers ready to be used in stunning floral arrangements or dried bouquets.
Common Mistakes to Avoid
Drying flowers in the oven might seem straightforward, but several common mistakes can impact the quality of your oven-dried flowers. Let’s explore these pitfalls and how to steer clear of them for beautiful bouquets.
Overcrowding the Baking Sheet
A common mistake when drying flowers in the oven is overcrowding the baking sheet. When flowers are too close together, they do not dry evenly. Make sure to space them out adequately, allowing hot air to circulate around each flower head and dry them completely.
Using Direct Sunlight
While sunlight can speed up drying, it’s best to avoid direct sunlight during the oven drying process. Too much exposure can cause delicate blooms to become brittle and colors to fade. Instead, the oven method allows you to control the drying environment more effectively.
Skipping the Pre-Drying Step
It’s tempting to place fresh flowers directly into the oven, but skipping the initial pre-drying step can hinder the drying process. Allowing flowers to air dry for a few hours reduces moisture content and ensures better results when oven drying.
Not Monitoring the Temperature
Using the lowest heat setting on your conventional oven is crucial. A higher temperature can cook the flowers rather than dry them, causing them to lose their natural beauty. Consistent monitoring of the temperature will help preserve the integrity of the flowers.
Insufficient Drying Time
Rushing the drying process can lead to mold formation. Flowers should dry completely; hence, patience is key. Larger flowers might take longer, so it’s essential to give them ample time to become fully oven-dried flowers.
How Long Do Dried Flowers Last?
The dried flower can last countless years, however, the color can fade or develop yellowish stains over time.
When to Use Pressed Flowers
Flattened flowers are needed when creating shallow resin crafts. Press flowers are handy for creating wall art with the use of an ordinary photo frame. My plans involve decorating candle holders, mason jars, bookmarks and case cases with my pressable beauty.
Final Thoughts: The Beauty of Preserved Flowers
The world of dried flowers opens up a realm of creative possibilities, from making stunning floral arrangements and wedding bouquets to crafting potpourri and exquisite wall art. Knowing how to dry flowers in the oven offers a quick and reliable method to preserve your favorite blooms, whether they are from a garden, a special event, or a beautiful bouquet received as a gift.
By mastering the oven drying method, you can ensure that your flowers dry completely while maintaining their vibrant colors and delicate structures. This technique proves particularly useful when compared to traditional air drying, as it significantly speeds up the drying process. While air drying flowers can take a few weeks, oven drying can achieve the same results in just hours.
Remember to select the best flowers for drying, preferably those without morning dew or excess moisture. Preparing fresh flowers properly and using the right supplies, such as silica gel, wax paper, and the lowest heat setting on your conventional oven, can make all the difference. Avoid common mistakes like using direct sunlight or high temperatures, which can cause your flowers to fade or become too brittle.
Ultimately, the joy of preserving flowers lies in the endless creative avenues they open up. Whether you’re looking to press flowers for a flat design, incorporate oven dried flowers into a dried flower bouquet, or use epoxy resin to create 3D artwork, the skills you develop in oven drying will serve you well. So, why not give it a try and add a touch of everlasting nature to your home decor or craft projects? The beauty of preserved flowers is timeless, allowing cherished memories and vibrant colors to brighten your space for years to come.
DannyContent Writer
Hey there, since 2016, my mission has been to provide you with the information and guides you need to make food dehydrating simple and fun. Whether you're a newbie or a seasoned pro, my site offers helpful guides, reviews, and recipes to enhance your dehydrating experience. I take pride in only recommending products I believe in, ensuring my readers' trust. As an affiliate of various programs, including Amazon Associates, your support helps me continue providing quality content. Thanks for stopping by, and happy dehydrating!