Unlock the full potential of your dehydrator with The Ultimate Guide to Dehydrator Recipes! This comprehensive ebook is your go-to resource for crafting delicious, healthy, and long-lasting snacks and meals. Perfect for beginners and experienced dehydrating enthusiasts alike, this guide provides everything you need to know to boost your kitchen game.
We earn a commission if you make a purchase, at no additional cost to you.
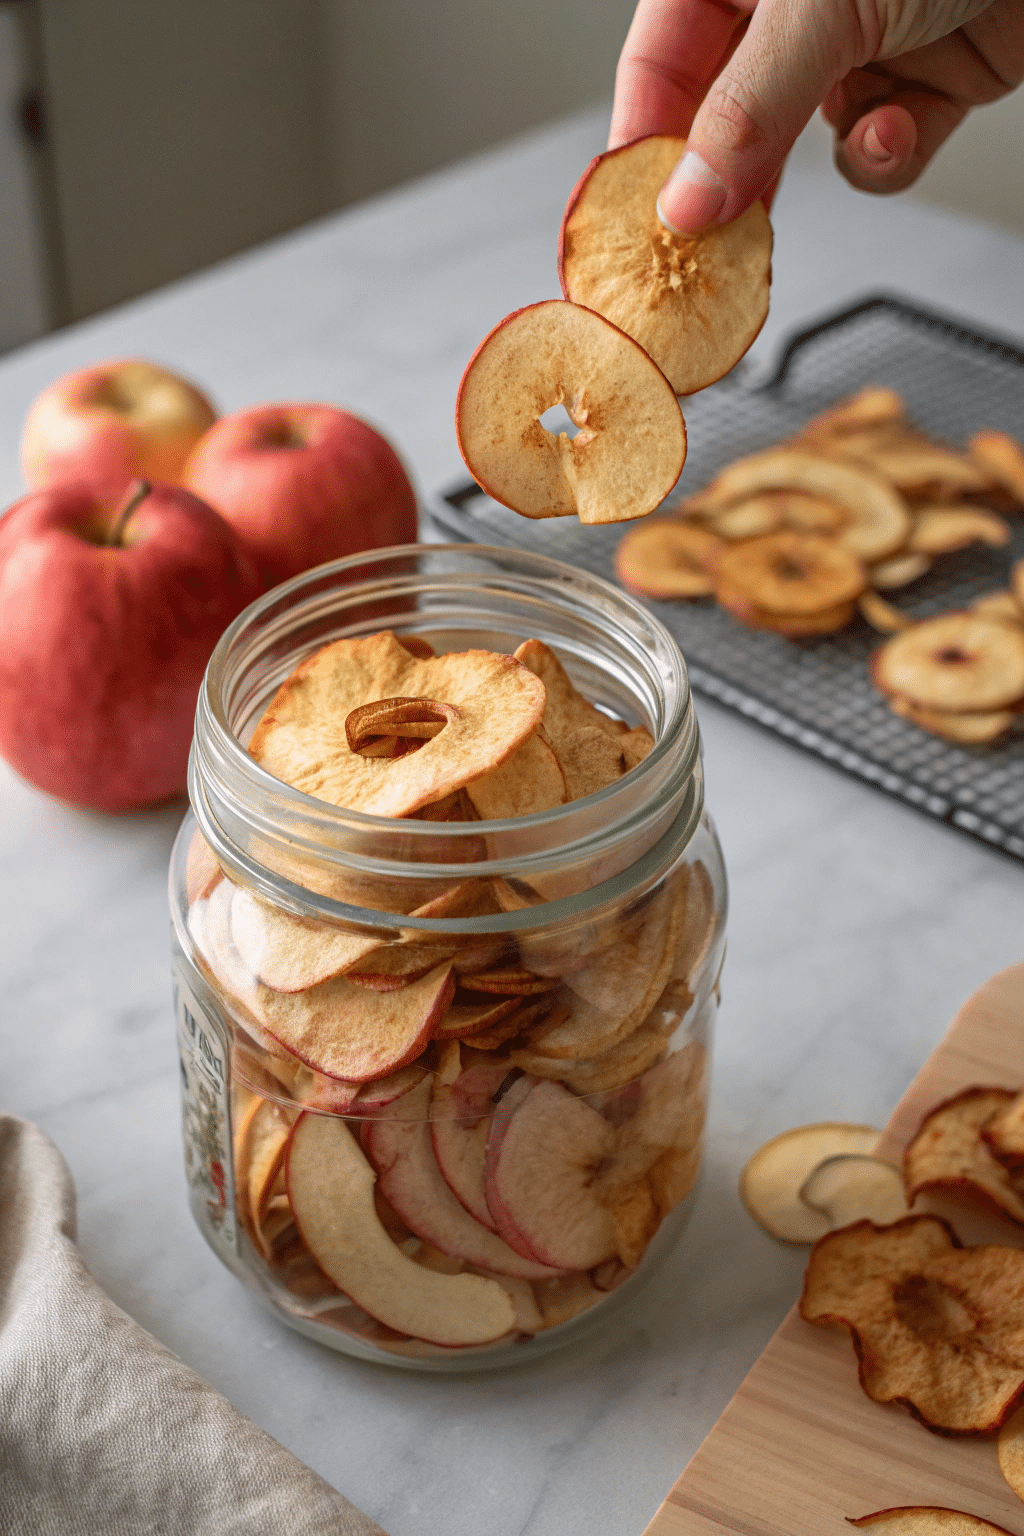
Dehydrating apples is the best way to enjoy this amazing fruit all year round. If you’re wondering how to make dehydrated apples you’re in the right place. This is a simple process that turns fresh apples into delicious long lasting snacks to munch on the go or add to your favorite dishes. Not only do dehydrated apples retain their natural sweetness but they’re also packed with nutrition making them a healthier alternative to sugary treats. Whether using a dehydrator, oven or air fryer dehydrating apples at home is easy and fun. Let’s get started!
To start your dehydrating journey, gather the following essential equipment:
Sharp Knife or Apple Peeler: A sharp knife or an apple peeler is crucial for slicing your fresh apples into thin slices or rings. This ensures even drying and optimal texture for your dehydrated apple chips.
Apple Corer: An apple corer helps you remove the core efficiently, making the preparation process quicker and easier.
Cutting Board: A sturdy cutting board provides a stable surface for slicing your apples safely.
Large Bowl: Use a large bowl to soak your sliced apples in lemon juice or citric acid solution. This step prevents browning and maintains the natural color of your apples.
Dehydrator or Oven: A food dehydrator offers precise temperature control and consistent results, but an oven set to its lowest temperature can also do the trick. If you prefer, an air fryer can quickly dehydrate apple slices with a crispy finish.
Dehydrator Trays or Baking Sheets: Arrange apple slices on dehydrator trays or baking sheets lined with parchment paper to dry evenly without sticking.
Airtight Container: Once your apples are perfectly dehydrated, store them in an airtight container to maintain their freshness and extend their shelf life.
Choosing the Right Apples
Sweet or tart? Choose your flavor profile. Sweet apples like Gala, Fuji and Golden Delicious are great for dehydrating. Tart apples like Granny Smith, Jonagold and Macintosh for a tangy twist. Use organic apples to minimize pesticide exposure and a healthier snack.
A Delicious Treat
Knowing how to make dehydrated apples will certainly prove to be beneficial to you. The benefits of eating dehydrated apples are various. They provide you with a great source of fiber and are also just tasty snacks that you will enjoy. The process of dehydrating the apples is not going to be too tough and it will definitely become one of your favorite new snacks.
Wash the apples under warm water to get all the dirt and bacteria off. Rub each apple with your hands to make sure all impurities are gone. This step is key to keeping your dehydrated apple chips clean and safe.
How to Make Dehydrated Apples
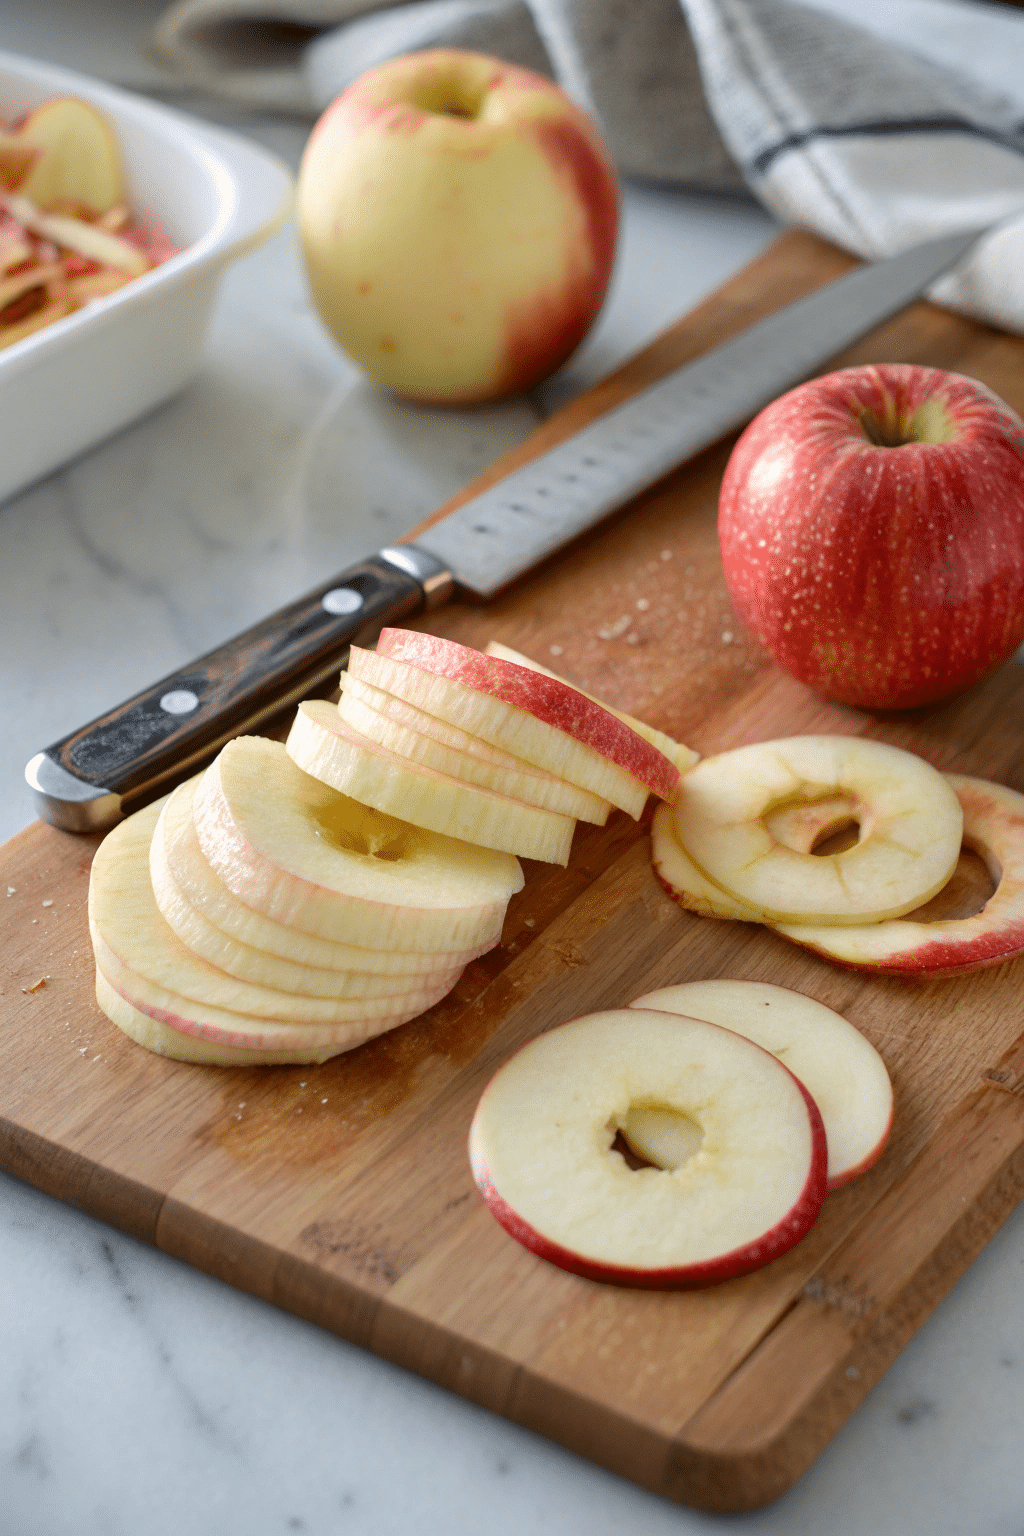
Slice Your Apples
The first big step of learning how to make dehydrated apples is slicing them up. You want to slice the apples properly. They need to be around one-third of an inch thick in order to get the proper results. If the apple slices are any thicker than one-half of an inch, then they are not going to dry out as well as they should.
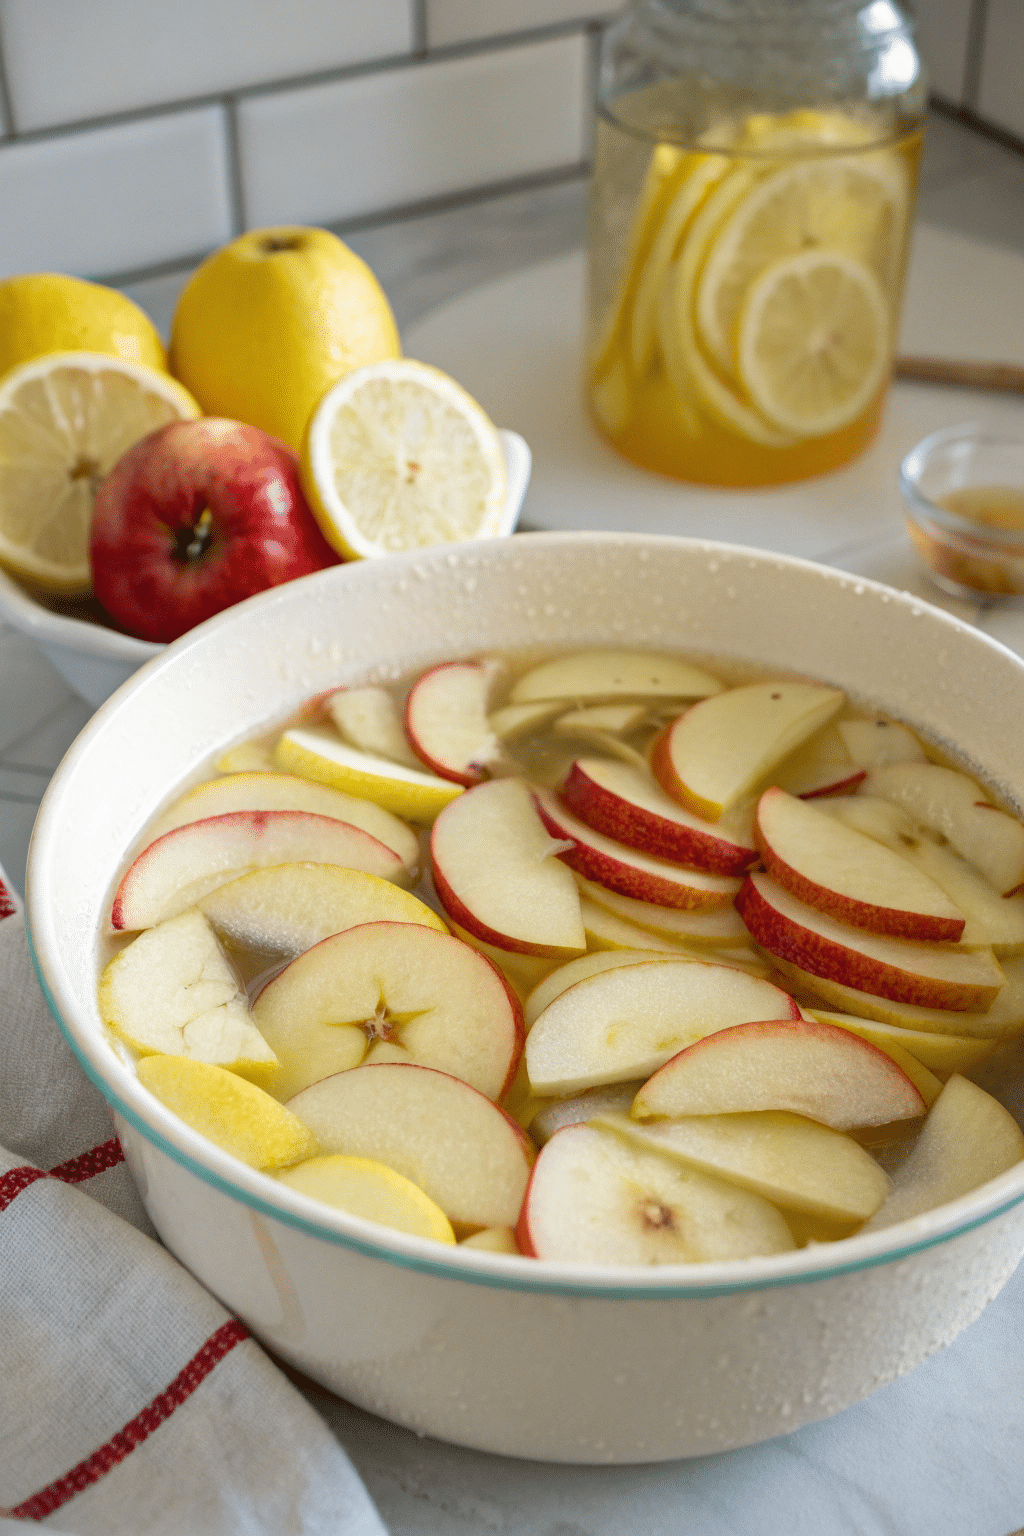
Drop Them Into Acidulated Water
The next step of how to dehydrate apples is dropping them into acidulated water. Do not worry if you don’t know what this means. You just need to drop the apples into a pot of water that contains vinegar or lemon juice. Use one tablespoon of vinegar or lemon juice per every one quart of water.
Drain the Water
Next, you will need to drain the water completely and ensure that the apples are dry. If you do not drain and dry the apples ahead of putting them in your food dehydrator, then you will not get the best results. Let them sit out on a rack for a little while after draining them. If you are in a hurry to proceed, then try drying them off with a clean dish towel before moving on.
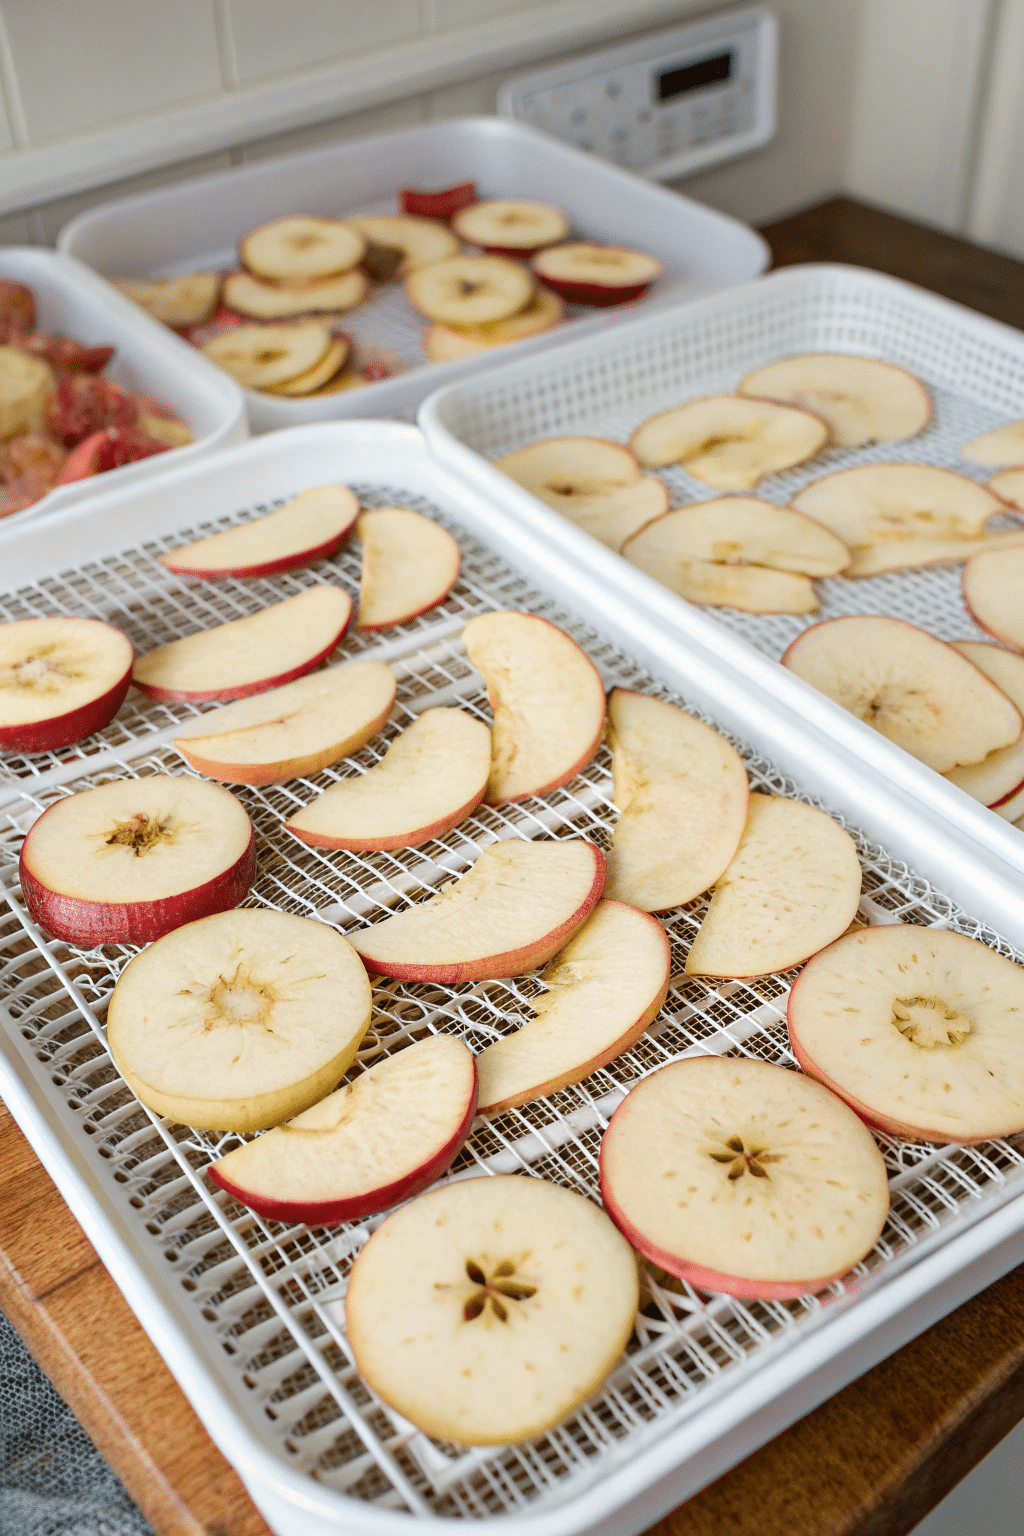
Place on Dehydrator Trays and Dry the Apple Slices
Once everything is set, you will be placing your apple slices on dehydrator trays. This is an important step for learning how to dehydrate apples. The easiest way to dehydrate the apples is to make use of a dehydrator but you can also use an oven set at a low temperature. If you plan on doing this regularly, then buying a food dehydrator is highly recommended.
If you are using an oven, set the temperature to warm and place the apple slices on a cookie sheet with parchment paper. If you are using a dehydrator, you should set it to 130 degrees Fahrenheit and then place the trays inside. The process should take around 12 hours but results may vary depending on the moisture levels of the apples that you are using. Either way, check on them from time to time to see how things are going.
Cool the Apples and Then Store Them
Once everything is done, you just need to let the dehydrated apple slices cool. Once things are cooled down to a reasonable temperature, you will be able to store them. Storing your apple slices in airtight containers will be the best bet. You will be able to enjoy your delicious snack and they will stay fresh for quite a long time.
Apples should be checked for doneness by folding them and ensuring they don’t stick due to moisture.
Other Dehydrating Methods
Oven Dehydrating
Preheat your oven to the lowest temperature setting (usually 150°F). Put the apple slices on a baking sheet that is lined with parchment paper in a single layer to dehydrate evenly. Dehydrate for 2 to 6 hours, checking periodically until they reach your desired level of dryness. You can make oven dried apples at home!
Air Fryer Dehydrating
Preheat your air fryer to 150°F. Make sure it’s ready for the apple slices. Place the apple slices in a single layer in the air fryer basket. Dehydrate for 15-20 minutes, checking on them until they reach your desired level of dryness.
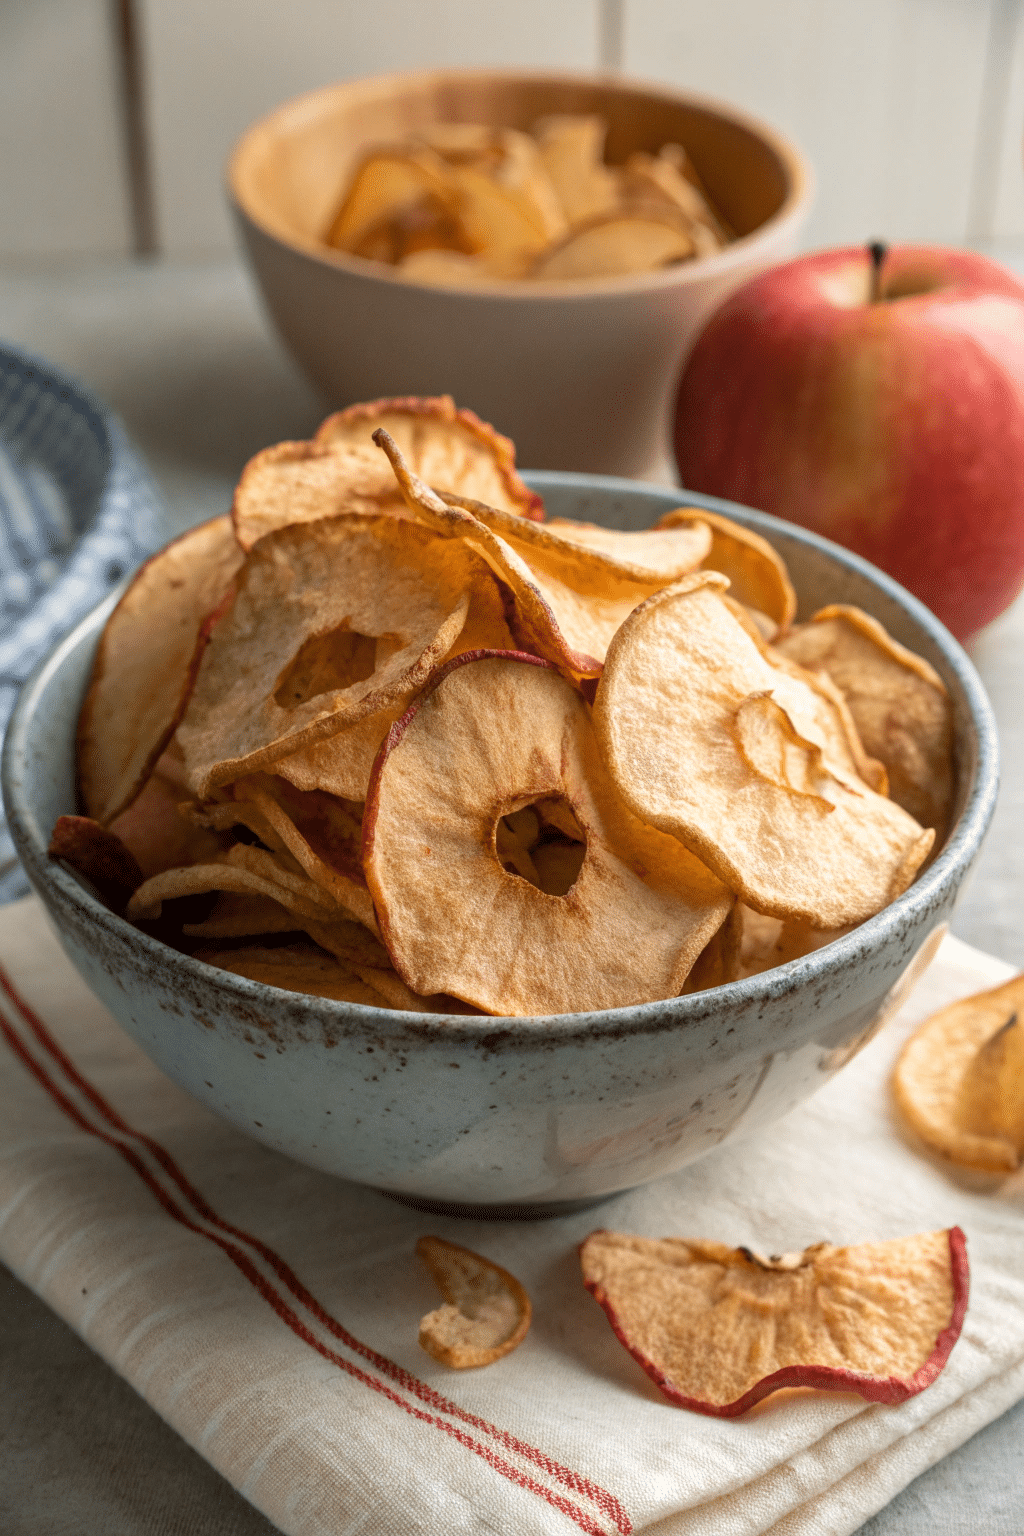
Achieving Crispy Dehydrated Apple Chips
To get crispy apple chips, dehydrate for a longer time but keep an eye on them so they don’t over dry. Check on them regularly to get the perfect texture without being too dry. Use a lower temperature to prevent burning or browning and to dry evenly and keep the natural sweetness. This will give you delicious crunchy apple chips everyone will love.
Cinnamon can help stabilize blood sugar, enhancing the health benefits of apple chips.
Using Dehydrated Apples
Enjoy dehydrated apples as a snack on their own or mix with nuts and seeds for a healthy blend.
Sprinkle on cereal, yogurt or salads or use as a topping for oatmeal and baked goods.
Rehydrate the apples by soaking in hot water or apple juice to get back their natural juiciness and flavor.
Customizing Your Apple Chips
Add a pinch of cinnamon, a sprinkle of nutmeg or a dash of pumpkin pie spice to your apple chips. Try different apple varieties to get unique flavor profiles. Experiment with different dehydrating times and temperatures to get your perfect texture. Whether you like crispy or chewy, customizing your apple chips is all about having fun and finding what you like!
Conclusion
Dehydrating apples offers a straightforward and delightful way to preserve your fresh apples, transforming them into mouthwatering treats. With the methods and tips shared here, you’ll be able to create crispy dehydrated apple chips or chewy dried apple slices that suit your taste. Dive into the fun of making homemade apple chips, and enjoy them as a perfect healthy snack or incorporate them into a variety of recipes! Whether you’re munching on them solo or adding them to your favorite dishes, these apple creations are sure to be a hit. So, gather your apples and get ready to embark on a delicious dehydrating adventure!
Dehydrating apples can take varying amounts of time depending on the method you choose and how dry you want your apple slices to be. In an oven, expect the process to take between 2 to 6 hours. Using a dehydrator might take a bit longer, around 6 to 12 hours, but it offers more consistent results. Air fryers are the quickest option, taking only about 15 to 20 minutes to achieve the desired dryness.
Can I dehydrate apples in the oven?
Absolutely! You can dehydrate apples in the oven. It might take a bit longer compared to a dehydrator or air fryer, but it’s a convenient method if you don’t have specialized equipment. Just set your oven to its lowest temperature and keep an eye on the apple slices to ensure even drying.
How do I prevent browning?
Prevent browning by soaking your apple slices in a mixture of lemon juice and water before dehydrating. Use one tablespoon of lemon juice per two cups of water, and soak the slices for at least 10 minutes. This simple step helps maintain the fresh look and taste of your apple chips.
DannyContent Writer
Hey there, since 2016, my mission has been to provide you with the information and guides you need to make food dehydrating simple and fun. Whether you're a newbie or a seasoned pro, my site offers helpful guides, reviews, and recipes to enhance your dehydrating experience. I take pride in only recommending products I believe in, ensuring my readers' trust. As an affiliate of various programs, including Amazon Associates, your support helps me continue providing quality content. Thanks for stopping by, and happy dehydrating!