We earn a commission if you make a purchase, at no additional cost to you.
09/22/2026 04:39 pm GMT
🍊 Dehydrated Food Info Finder — Temperatures & Drying Times
Choose a category, then pick a food to see its drying temperature and time.
⚠️ Safety Disclaimer: Drying times are estimates and vary based on slice thickness, food moisture content, humidity, and your dehydrator model. Always check for doneness before storing — food should feel dry, leathery, or brittle with no moist spots. Improperly dried food can harbour mould and bacteria. For meat and poultry, follow USDA safe internal temperature guidelines: beef and pork to 160°F (71°C), poultry to 165°F (74°C). Use a food thermometer when in doubt. Store all dehydrated foods in airtight containers in a cool, dark place and discard anything showing moisture, mould, or off odours.
How to Store Dehydrated Food (So It Actually Lasts)
You spent hours slicing, blanching, and running your dehydrator. The last thing you want is to open a jar three months later and find mold, off smells, or tasteless dust. Knowing how to store dehydrated food properly is what separates a pantry full of vibrant, shelf-stable ingredients from a pile of wasted effort. This guide covers everything from container choices and oxygen absorbers to backpacking meal prep and long-term emergency storage.
Key Takeaways
Proper dehydrated food storage protects flavor, nutritional value, and safety for everything from everyday meals to long-term emergency supplies and backpacking food. Dehydrated foods maintain their nutritional value and are lightweight and portable when stored correctly. Here are the essentials:
Keep dried foods in airtight containers, in a cool, dry, dark place. Let food cool completely and “condition” before sealing.
Protect against the five enemies: moisture, oxygen, light, heat, and pests.
Typical shelf life under good home conditions: dehydrated fruits roughly 9–12 months, most vegetables 6–12 months, grains and beans 1–2 years, dried herbs 1–2 years, homemade jerky 2–6 months.
Oxygen absorbers, mylar bags, and vacuum sealing are optional upgrades for long term storage and emergency prep.
Dehydrated backpacking meals need rugged, portioned packaging to avoid frequent opening and moisture reabsorption on the trail.
How Dehydrating Food Preserves It (and Why Storage Still Matters)
The dehydrating process uses low heat and steady airflow to remove 80–95% of the water from food. With that moisture gone, bacteria, yeast, and mold can no longer thrive, and flavors concentrate. Dehydration reduces the risk of food poisoning by dropping water activity below the ~0.60 threshold where most spoilage organisms grow. Dehydration can also improve digestion by increasing fiber content as foods shrink and concentrate.
Different foods end up with different remaining moisture levels. Dehydrated fruits retain more sugar and some pliability. Most vegetables dry to a brittle, crisp state. Meats need careful handling to reach safe moisture content, and grains require very low residual water. Full dehydrated meals combine ingredients with varying moisture needs, which adds complexity to storage and highlights the broader benefits of dehydrating food for preservation and convenience. You should dehydrate food at 125°F for vegetables and 135°F for fruits to achieve proper dryness-these temperatures are prerequisites before any storage method matters.
Even perfectly food dried to the right level can still degrade if stored poorly. Oxygen, light, heat, and pests will erode flavor, color, and nutrients over time, making dehydrated food storage “step two” of food preservation, not an afterthought.
Dehydrated vs freeze dried: Freeze dried foods remove ~98–99% of moisture and often last 18–30 years commercially. Dehydrated items retain 5–20% moisture and typically last 1–5 years. Both benefit from the same storage principles: cool temperatures, darkness, and low oxygen.
Biggest Threats to Dried and Dehydrated Foods
Controlling moisture, oxygen, light, and temperature maximizes dehydrated food longevity. Along with pests, these are the five enemies you need to manage. Every container choice, storage location, and packaging upgrade in this article exists to combat one or more of them.
Moisture enables microbial growth and mold in dehydrated foods. Even small increases in humidity cause dried foods to reabsorb enough moisture to support mold growth. Moisture can cause mold growth on dehydrated foods surprisingly fast.
Oxygen leads to rancidity and spoilage in dehydrated foods. It oxidizes fats, changes colors, and destroys heat-sensitive vitamins like C and B complex. Oxygen exposure leads to rancidity and off-flavors.
Light exposure causes loss of color and nutrients in food. UV and visible light trigger photo-oxidation, fading pigments and degrading flavor. Light can degrade color and nutritional value of food over weeks or months.
High temperatures accelerate spoilage and nutrient loss in food. Research from Kansas State Extension shows that dehydrated foods lasting a year at 60°F may only last six months at 80°F. High temperatures can introduce moisture via condensation, especially in spaces with wide temperature swings.
Pests can contaminate dehydrated food during storage. Insects, pantry moths, and rodents exploit weak seals and porous packaging. Insect contamination renders entire containers unusable.
Garages that swing between 40°F and 95°F seasonally are particularly bad for your storage environment because those fluctuations cause condensation inside sealed containers. High-fat dehydrated goods like jerky, nuts, and seeds are especially vulnerable to oxygen and heat-plan for faster rotation or colder storage for those items, and understand how and why dehydrated food can still go bad despite being dried.
Keep these threats in mind as we move into choosing containers, locations, and extras like oxygen absorbers.
Choosing Containers for Dehydrated Food Storage
The right container keeps moisture, oxygen, and pests out. Your timeframe-weeks versus years-determines how much you need to invest. Use airtight containers to prevent moisture and oxygen exposure regardless of which option you choose.
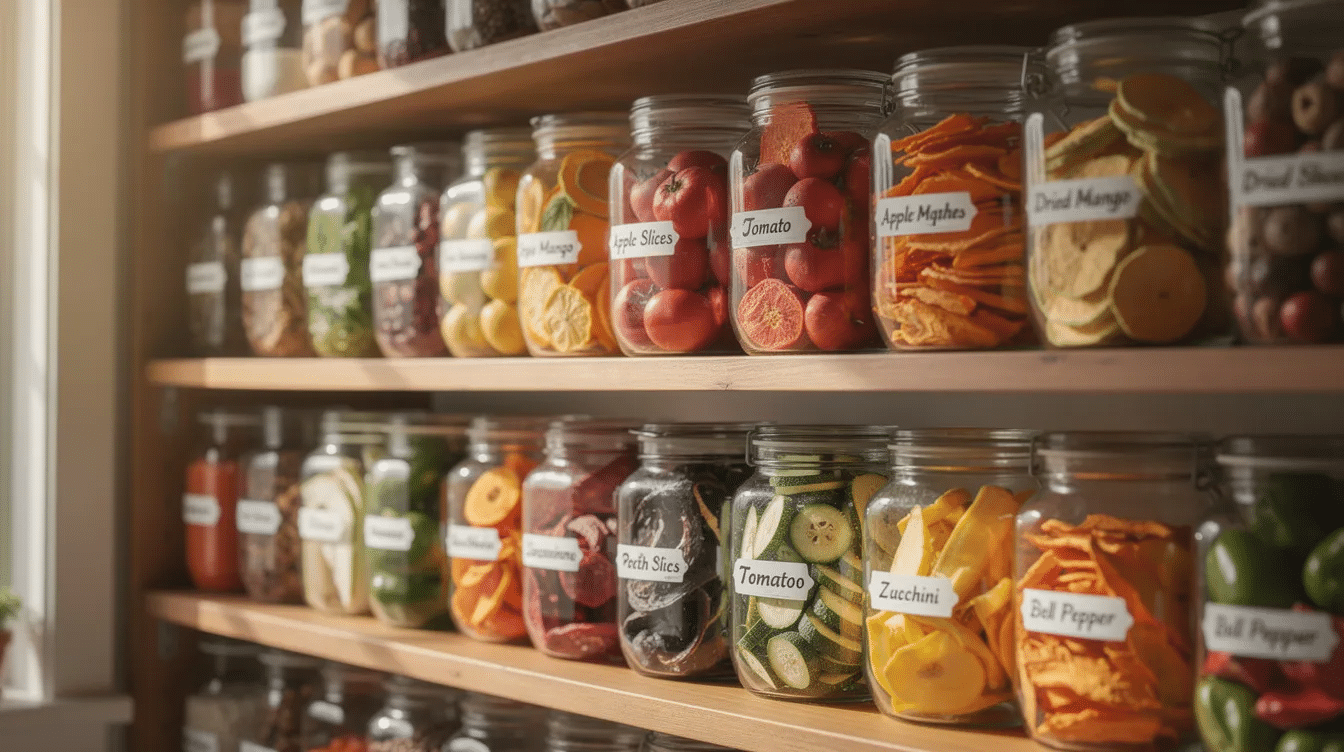
Glass jars: Glass mason jars and canning jars with two-piece lids are excellent for short-to-medium-term storage of dehydrated food. They’re inert, reusable, easy to sterilize, and let you see contents at a glance. Downsides: they’re breakable, heavy, and transparent (store them in a dark place or cover with opaque sleeves).
Plastic options: BPA free plastic containers and quality freezer bags work for everyday rotation. Plastic containers are lighter and durable but slightly more gas-permeable over time. Thin plastic bags and sandwich bags are fine for a few weeks but not for long-term food storage. Ziploc brand freezer bags offer better thickness than standard bags.
Rigid buckets: Food-grade plastic buckets with gasket-sealed lids are good for secondary storage of bulk grains, beans, and dried foods, especially when lined with mylar bags.
Metal cans: Commercial dehydrated goods often come in metal cans with excellent barrier properties, but these aren’t practical for most DIY home setups.
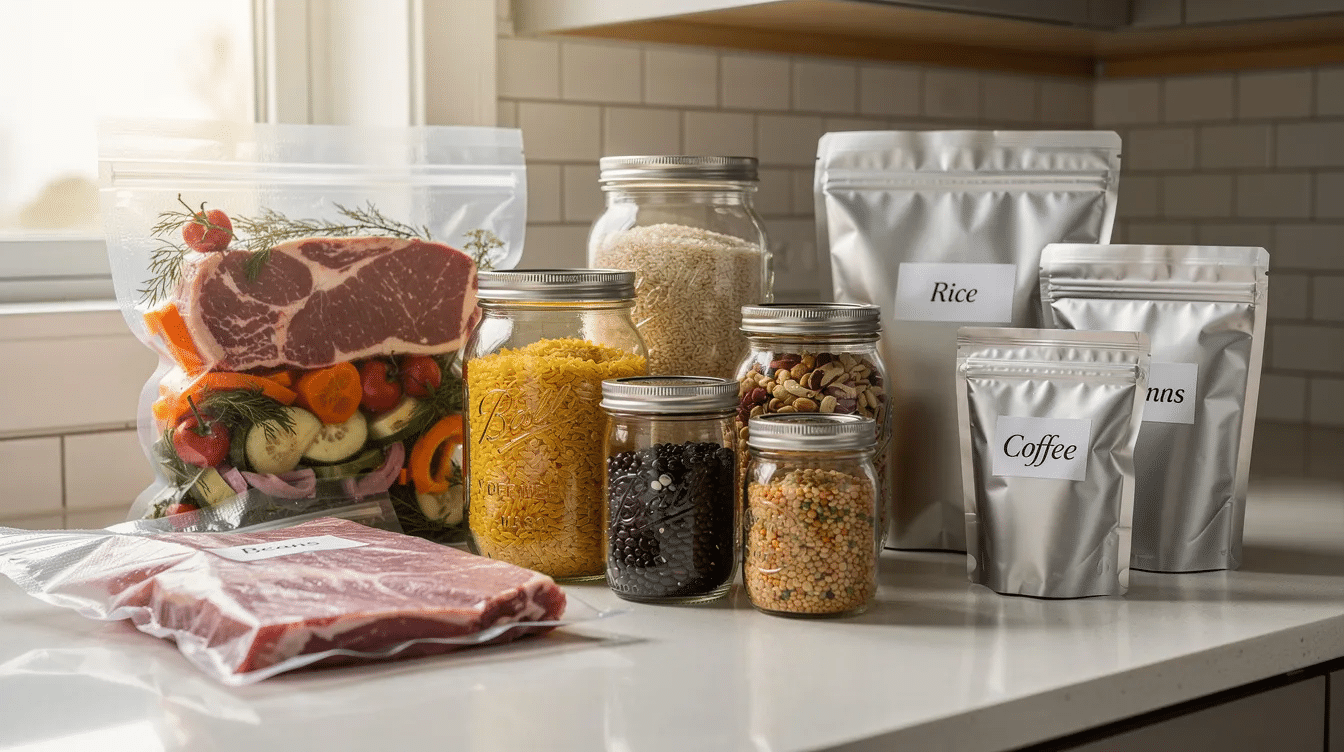
Size containers to minimize headspace-less air means less oxygen exposure. For short-term snacking, slightly larger jars are fine. For long term storage, match container size to a single use or meal portion. Vacuum sealing, whether in vacuum sealed bags or mason jars with a jar-sealing accessory, is a helpful upgrade for extending shelf life of backpacking meals and dried vegetables. Every container must have a tight fitting lid and be completely dry, clean, and free of food residues before you add anything.
Using Mylar Bags, Oxygen Absorbers, and Desiccant Packs
When you want to store food for several years-bulk grains, emergency dehydrated meals, or large garden harvests-it’s time to step up from basic containers. Mylar bags paired with oxygen absorbers are ideal for long-term storage and represent the gold standard for serious food preservation at home.
Mylar bags: Food-grade mylar bags in 5–7 mil thickness provide excellent barriers against oxygen, light, and moisture when properly heat-sealed. They block what glass jars and plastic bags cannot. Store them inside rigid buckets for puncture protection, and you have a setup that can keep dried foods viable for years.
Sizing oxygen absorbers: These small iron-based packets remove residual oxygen from food packaging. Match absorber capacity (measured in cc) to your container: use a 50-cc absorber for half-pint jars, roughly 300 cc for a quart jar, and 1000–2000 cc for a 1-gallon mylar bag. Follow manufacturer charts rather than guessing. Oxygen absorbers cost only a few pennies each, making them one of the cheapest upgrades in your toolkit.
Desiccant vs absorber: Desiccant packs target moisture; oxygen absorbers target oxygen. They serve different purposes, and combining them can be helpful for some high-risk dehydrated goods with borderline moisture content. Don’t confuse the two.
Handling absorbers: Oxygen absorbers should be used immediately after opening their package. Exposure to ambient air depletes them quickly. Store unused packets in a small airtight jar or vacuum sealed bag to preserve effectiveness. Use oxygen absorbers to extend the shelf life of dehydrated food, especially staples you won’t touch for months or years. Oxygen absorbers help prevent rancidity in stored food by pulling oxygen levels near zero.
This system works best for low-moisture, low-fat items: grains, beans, most vegetables, and dried fruits. If you’re planning a broader pantry, it helps to know the best foods to dehydrate for long-term storage. Foods that are still tacky, oily, or have enough moisture to feel soft should not go into oxygen-free packaging-they need more drying first.
Conditioning and Cooling Dehydrated Foods Before Storage
Sealing warm food or unevenly dried batches too soon is the single most common reason home-dehydrated food molds in storage. Two simple steps prevent this: cooling and conditioning.
Cooling: Let dehydrated food cool completely to room temperature on the dehydrator trays before packaging-at least 1–2 hours for small batches, overnight for large ones. Warm food sealed in a container creates condensation on interior walls, and that moisture feeds mold. Let dehydrated food cool completely to prevent condensation during packaging.
Conditioning: For dried fruits and some vegetables, loosely pack cooled pieces into glass jars, filling about two-thirds full. Seal and store at room temperature for 7–10 days, shaking each jar once daily. During this period, remaining moisture redistributes and becomes distributed equally among all pieces.
What to watch for: If condensation, stickiness, or fogging appears on jar walls during conditioning, the batch isn’t dry enough. Return it to the dehydrator until completely dry, then start conditioning again. Food should be completely dry before packaging to avoid spoilage.
When to skip it: Very dry vegetables and grains that snap or shatter often don’t need conditioning. But for borderline batches or anyone new to the drying process, conditioning adds a valuable safety margin and helps you avoid issues related to over dehydrating food and its effects on quality. Check for uniform dryness before storing dehydrated food.
Labeling during conditioning: Mark each jar with the date and contents. If mold appears in one jar, you can trace the problem back to slice thickness, uneven drying, or temperatures that were too low, and adjust your dehydrating process for the next batch.
Ideal Storage Conditions: Temperature, Humidity, and Light
Store dehydrated food in a cool, dry, dark place. That advice appears everywhere, but what do those terms actually mean for a real home in 2026?
Temperature: Store dehydrated food in a cool location ideally between 55°F and 60°F. Temperatures up to about 70°F are acceptable but will reduce shelf life. Every roughly 10°F increase can cut shelf life in half for many dried foods. Storing food in direct sunlight or near heat sources shortens shelf life dramatically.
Humidity: Keep relative humidity below 60% in the storage area. A small digital hygrometer costs a few dollars and tells you exactly where you stand. In damp basements, run a dehumidifier. Keep storage areas dark and maintain low humidity to prevent spoilage.
Light: Less exposure means less vitamin loss, fewer off flavors, and better color retention. Use opaque bins, closed cupboards, or dark mylar bags rather than open shelves near windows. Even indirect sunlight degrades nutritional content over months.
Spots to avoid: Above stoves, against exterior garage walls, next to water heaters, and in attics where temperatures swing wildly through the seasons. These locations introduce both heat and humidity fluctuations that are hard to control, which directly shortens how long dehydrated food can last in storage.
Elevate containers: Store dried foods on shelves or pallets a few inches off the floor. This reduces exposure to minor flooding, cleaning spills, and ground-level pests. A storage area that stays consistently cool and dark is more important than any single container upgrade.
Short-Term vs Long-Term Dehydrated Food Storage
“Short-term” means a few weeks to about a year-snacking, everyday cooking, using up seasonal fresh produce from the garden. “Long-term” means multi-year storage for emergency preparedness or deep pantry rotation.
Short-term practices:
Use regular mason jars, quality freezer bags, or plastic containers with tight lids
Focus on convenience, easy access, and simple labeling
Great for this year’s garden harvest of sweet potatoes, tomatoes, or herbs
Properly packaged short-term items stay fresh with minimal fuss
Long-term practices:
Prefer mylar bags with oxygen absorbers inside food-grade buckets, or vacuum-sealed jars stored in a consistently cool, dark place
Careful drying and conditioning are non-negotiable extra precautions
A vacuum sealer gives you more control over oxygen removal in individual packages
These methods offer more space efficiency when stacking buckets
Approximate shelf life under good home conditions:
Food Type
Home Shelf Life
Dehydrated fruits
9–12 months
Dried vegetables
6–12 months
Grains and beans
1–2 years
Dried herbs
1–2 years
Homemade jerky/meats
2–6 months (longer if vacuum-sealed and frozen)
Commercially packaged dehydrated meals and emergency food kits often advertise 10–25 year shelf life because of professional drying, nitrogen flushing, and climate-controlled warehousing-conditions home setups rarely match. Match your method to your goal: simple jars work perfectly for seasonal cooking, while multi-year stockpiles justify investing in mylar bags, oxygen absorbers, and better temperature control.
How to Store Dehydrated Food for Backpacking and Travel
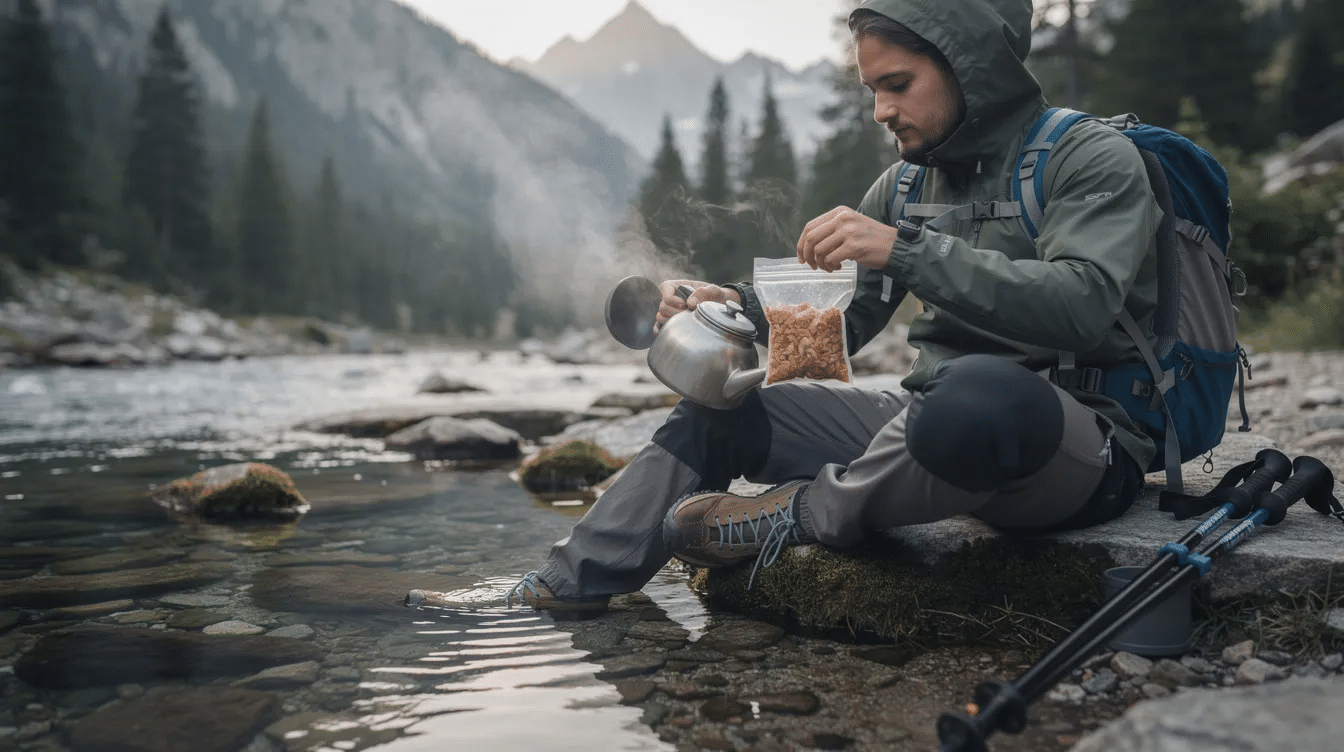
Backpacking food has unique demands: it must be lightweight, compact, protected from punctures, and portioned for single uses. Dehydrated foods are lightweight and portable by nature, which makes them ideal for trail use, but sloppy packaging undoes that advantage.
Package individual meals in sturdy freezer-grade bags or lightweight mylar pouches. Remove as much air as possible-vacuum sealing saves more space and keeps dried foods protected. Each pouch should contain one complete meal with instructions and rehydration time noted on the label.
Skip thin bags: Avoid cheap sandwich bags for sharp dehydrated vegetables or jerky edges. Use quart-size freezer bags or double-bag with a good seal. Smooth any sharp edges before sealing to prevent punctures on the trail.
Organize by day: Pack breakfast, snacks, lunch, and dinner into a single larger stuff sack for each day. This simplifies trail planning and means you’re not constantly digging through a bear canister or pack, exposing all the food to air and humidity.
Think weeks, not years: Backpacking meals are usually eaten within a few weeks or months. Focus on robustness and water resistance rather than decades-long shelf life. A backpacking chef preparing dehydrated backpacking meals at home can batch-prep an entire trip’s food in an afternoon.
Post-trip handling: Any remaining dehydrated meals exposed to high temperatures during backpacking trips should be used soon. Don’t return trail-exposed food to deep storage-repeated temperature swings introduce moisture and shorten shelf life. Use leftovers in everyday meals within a week or two, or repurpose them as practice runs for using a backpacking dehydrator to make trail-ready meals.
Labeling, Dating, Rotation, and Inspection
Simple organization habits prevent mystery jars and wasted dehydrated goods, especially when you dehydrate large garden harvests or buy in bulk.
Label everything. Label containers with product name and pack date for organization. For dehydrated meals with multiple ingredients, list key components. Add an optional “use by” date based on the expected shelf life for that food type. Label containers with food name and dehydration date for easy rotation.
FIFO rotation: First in, first out. Place newer items behind older ones on shelves. If your long-term pantry is large, keep a simple list or spreadsheet tracking what you have, when it was packed, and when it should be used.
Scheduled inspections: Inspect stored food periodically for moisture, mold, or off odors. Check stored goods every 6–12 months for spoilage. Look for bulging lids, rust, broken seals, condensation inside containers, insect presence, off smells, or color changes. Discard anything questionable.
High-fat items need more attention: Jerky, nuts, seeds, and dehydrated meals with meat or cheese powders deserve more frequent checks. In many cases, these should be refrigerated or frozen for best quality; this is especially true when you’re considering how long dehydrated meat will last safely.
Color-coding: Use colored dots or marker codes on lids to quickly identify age groups-one color per year, for example. As your storing dehydrated food collection grows, this small habit saves real time and prevents waste.
Troubleshooting Common Dehydrated Food Storage Problems
Problems happen even with care. The priority is always safety: when in doubt, throw it out. Keeping notes on failures helps you refine your dehydrating process and storage methods over time.
Mold and moisture: Visible mold spots, clumping, or fogged jar walls are clear discard signs. Mold growth usually traces back to insufficient drying time, slices that were too thick, or sealing while food was still warm. Revisit your drying process, slice thickness, and cooling steps.
Rancidity and off odors: Especially common in fatty dried foods like jerky, nuts, and ground beef jerky. Rancid fat smells paint-like, soapy, or like stale nuts. Rancid foods may not cause acute food poisoning but should still be discarded-they taste terrible and the oxidized fats aren’t doing your body any favors.
Pest contamination: Chewed packaging, webs from pantry moths, or insect bodies in dried food all require immediate discarding of affected packages. Clean the entire storage area thoroughly before restocking. Insects can contaminate and spoil dehydrated food supplies silently if seals aren’t robust.
Case hardening: The outside feels dry while the inside stays soft. This happens when you dehydrate at too-high temperatures-the surface seals before interior moisture escapes. It leads to hidden moisture and mold in storage even when the exterior appears perfectly dry, which is a serious concern if you’re relying on commercial dehydrated food packs for camping trips.
Keep a log: Note any failures with the food type, dehydrator settings, container used, and storage location. Patterns emerge quickly and help you make targeted adjustments rather than guessing.
Rehydration, Quality Checks, and Safe Use
How food behaves during rehydration is a reliable indicator of storage quality. A quick visual and smell check should always come before you add water or start cooking.
Pre-rehydration check: Open the container, look for insects or mold, smell for mustiness or rancidity, and shake or stir to check for hidden clumps. This takes thirty seconds and can prevent a ruined meal or worse.
Basic rehydration ratios: Many dehydrated foods return well with roughly equal parts water by volume. Grains and beans generally need more water and heat. Dried fruits and some vegetables may need slightly less. Pouring boiling water over most dehydrated vegetables and letting them soak 10–20 minutes works for many recipes. Rehydration time varies by food density and age.
Older stock: Older dehydrated foods may take longer to rehydrate and sometimes never fully regain original texture. These are best used in soups, stews, and sauces where texture is less critical. They still contribute nutrition and flavor, especially when you’ve chosen a good mix of foods to dehydrate for snacks and meals.
Discard warning signs: Any food that develops foam, unusual cloudiness, or unpleasant smell while soaking or cooking should be discarded, even if it looked fine when dry. Don’t taste-test questionable items.
Storage pays off here: Good storage not only lengthens shelf life but also keeps rehydrated meals tasting closer to fresh produce. This matters especially for backpacking meals and comfort foods during an emergency, where morale and nutrition both count.
How Long Can You Store Dehydrated Food?
Exact shelf life depends on food type, how thoroughly it was dried, packaging quality, and storage environment, so any numbers are approximate guidelines rather than guarantees. Shelf life of dehydrated food varies based on fat content and moisture level.
Home-dehydrated foods under good pantry conditions (cool, dry, dark):
Food Type
Approximate Shelf Life
Dehydrated fruits / dried fruits
9–12 months
Dried vegetables
6–12 months
Cooked grains and beans
1–2 years
Dried herbs
1–2 years for flavor
Jerky and low-fat meats
2–6 months (longer vacuum-sealed and frozen)
Professionally packaged emergency dehydrated foods and freeze dried goods in high-barrier packaging with oxygen absorbers can often achieve a long shelf life of 10–25 years when kept below about 70°F. Dehydrated foods can last up to 25 years under these commercial conditions.
Quality usually declines before safety does: colors fade, flavors dull, and rehydration slows with age. Rotating stock and using older items first in soups and casseroles is a smart habit. For multi-decade storage, invest in better environmental control-a basement or dedicated cool room-and focus on low-fat staples rather than complex high-fat dehydrated meals.
Add a simple “use by” date on each container that is slightly shorter than the theoretical maximum. This builds in a margin of safety for the inevitable imperfections of home storage and ensures you eat all the food before quality drops noticeably. Your dehydrated goods will stay fresh longer when you combine conservative dating with proper rotation.
FAQ
This section answers common questions about storing dehydrated food that weren’t fully covered above. Each answer is kept short and practical.
Do I need to refrigerate or freeze all dehydrated foods?
Most properly dried, low-fat foods like dehydrated fruits, vegetables, grains, beans, and herbs do not need refrigeration. Store them in airtight containers in a cool, dark, dry place and use them within their typical shelf life. However, dehydrated meats, high-fat snacks, and dehydrated meals containing cheese or oil last much longer and stay food safe in the refrigerator or freezer, especially beyond 2–3 months at room temperature. Freezing is also a good safety net for borderline batches where you aren’t fully confident the moisture content is low enough for ambient storage.
Can I store dehydrated food in the garage or attic?
Garages and attics are usually poor choices. Temperatures and humidity swing widely-often topping 90°F in summer and dropping near freezing in winter. These fluctuations shorten shelf life and can cause condensation inside sealed containers, even in properly packaged food. Better alternatives include interior closets, under-bed storage, or a cool basement corner where temperatures stay relatively stable year-round. If a garage or outbuilding is the only option, use insulated cabinets, avoid exterior walls, and monitor temperature and humidity regularly with a digital hygrometer. It still won’t match an indoor pantry, but it helps.
Is vacuum sealing enough, or do I still need oxygen absorbers?
Vacuum sealing removes much of the air but not all oxygen, so it significantly slows oxidation and pest issues without creating a true oxygen-free environment. For foods meant to be used within a year, vacuum sealing alone is usually sufficient if storage temperatures are reasonable and you store dried foods in a dark place. For multi-year storage of low-fat dried foods, combining sealed mylar bags with appropriately sized oxygen absorbers is more reliable than vacuum sealing alone-studies show that even small amounts of residual oxygen accelerate vitamin C loss and fat oxidation over time.
Can I dehydrate and store complete meals, not just single ingredients?
Yes. You can dehydrate full meals like chili, pasta dishes, and rice-and-vegetable combinations, which makes backpacking meals and emergency dinners very convenient. All ingredients must be safe for dehydrating-keep fat, eggs, and dairy out of the dehydrating step-and components should dry at similar temperatures so no part stays too moist. These dehydrated meals generally have shorter shelf lives than plain single ingredients and are best eaten within about 6–12 months, or stored vacuum-sealed and frozen for longer. When rehydrating, these meals typically only need boiling water and a 10–15 minute soak.
How can I tell if my dehydrated food is dry enough for storage?
Use simple texture tests. Fruits should be leathery and pliable without any sticky spots or visible beads of moisture. Vegetables should be brittle or crisp-they should snap, not bend. Cooked grains and beans should feel hard and no longer sticky. Cut a few of the larger pieces open and check the interior for any softness or wet spots. If anything feels questionable, return those pieces to the dehydrator. Conditioning in glass jars for 7–10 days is a helpful final check: if no condensation, clumping, or mold appears during that period, the batch is usually safe to store long-term with confidence.
DannyContent Writer
Hey there, since 2016, my mission has been to provide you with the information and guides you need to make food dehydrating simple and fun. Whether you're a newbie or a seasoned pro, my site offers helpful guides, reviews, and recipes to enhance your dehydrating experience. I take pride in only recommending products I believe in, ensuring my readers' trust. As an affiliate of various programs, including Amazon Associates, your support helps me continue providing quality content. Thanks for stopping by, and happy dehydrating!