We earn a commission if you make a purchase, at no additional cost to you.
09/22/2026 04:39 pm GMT
🍊 Dehydrated Food Info Finder — Temperatures & Drying Times
Choose a category, then pick a food to see its drying temperature and time.
⚠️ Safety Disclaimer: Drying times are estimates and vary based on slice thickness, food moisture content, humidity, and your dehydrator model. Always check for doneness before storing — food should feel dry, leathery, or brittle with no moist spots. Improperly dried food can harbour mould and bacteria. For meat and poultry, follow USDA safe internal temperature guidelines: beef and pork to 160°F (71°C), poultry to 165°F (74°C). Use a food thermometer when in doubt. Store all dehydrated foods in airtight containers in a cool, dark place and discard anything showing moisture, mould, or off odours.
How to Dehydrate Ground Beef in the Oven (Step‑by‑Step Guide for Safe, Shelf‑Stable Meat)
Learning how to dehydrate ground beef in the oven is one of the most practical food preservation skills you can pick up. Whether you’re building a backpacking pantry, stocking an emergency food supply, or just looking for a way to stretch a bulk buy, oven-dried ground beef gives you lightweight, shelf-stable protein that rehydrates in minutes. This guide walks you through every step, from selecting the right meat to storing the finished product safely.
Key Takeaways
Always cook ground beef to at least 160°F (71°C) internal temperature before dehydrating in the oven. Skipping this step creates a serious food safety risk.
Use lean ground beef with 7% to 10% fat content (93/7 or leaner). Excess fat does not dehydrate well and can turn rancid during storage.
Preheat the oven to its lowest temperature setting between 145°F and 170°F (63°C to 77°C), prop the oven door open slightly, and plan for 4–10 hours of drying time depending on conditions.
Dehydrated ground beef can last up to two years when stored properly in airtight jars or vacuum-sealed bags, and even longer if frozen.
Spread cooked ground beef in a single, thin layer on lined baking sheets and stir every 1–2 hours for even drying.
Why Dehydrate Ground Beef (and Why Use the Oven Instead of a Dehydrator?)
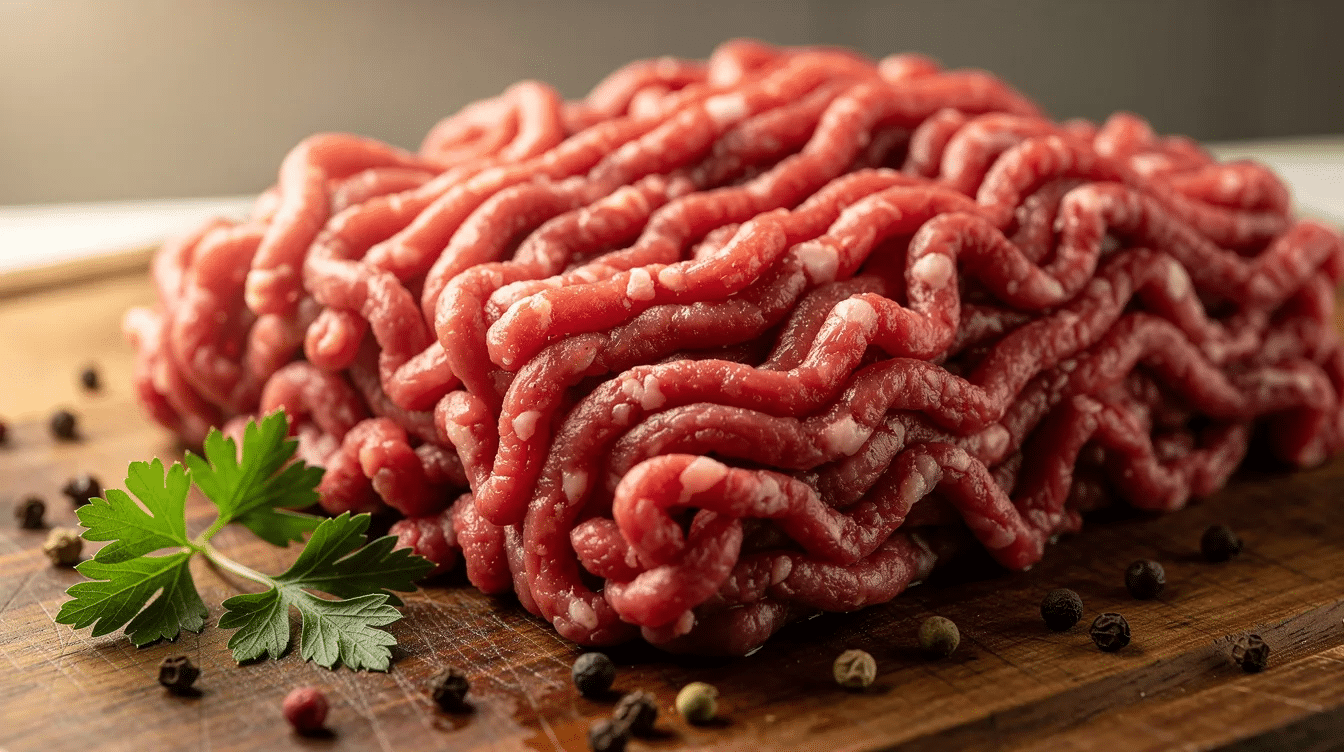
Dehydrated ground beef is cooked, crumbled meat that has been dried until hard and brittle, removing enough moisture to prevent bacterial growth. Unlike classic beef jerky made from long strips or wide strips of whole-muscle beef strips, dehydrated ground beef crumbles-sometimes called hamburger rocks-are designed to be rehydrated and used in meals rather than eaten as a snack.
There are plenty of reasons to dehydrate ground meat:
Backpacking and camping: One pound of dried beef weighs a fraction of cooked meat and needs no refrigeration.
Emergency pantry storage: Shelf-stable protein that lasts months or years.
Quick weeknight meals: Toss rehydrated crumbles into chili, pasta, or tacos in minutes.
Space savings: Dried meat takes up far less room than frozen packages.
Many home cooks prefer the oven over a food dehydrator because it requires no special equipment and can handle large batches on multiple baking sheets at once. A dedicated food dehydrator or Excalibur dehydrator with stacked dehydrator trays is still ideal for precise temperature control, but a standard kitchen oven works perfectly well-and that’s what this guide focuses on.
Food Safety First: Is It Safe to Dehydrate Raw Hamburger Meat in the Oven?
Dehydrating ground beef can absolutely be safe, provided the meat is fully cooked to the correct internal temperature before the drying process begins. You do not dry raw meat in a low-temperature oven.
USDA FSIS guidance is clear: cook ground beef to at least 160°F (71°C) to destroy pathogens like E. coli O157:H7 and Salmonella before dehydrating. This rule applies to all usda meat safety recommendations for ground products.
Why is ground meat riskier than whole-muscle cuts? When beef is ground, bacteria that normally live only on the surface get mixed throughout the meat. Every single particle of raw ground beef must reach a safe internal temperature-unlike a steak, where searing the outside is often sufficient.
In this method, you brown and completely cooked the beef on the stovetop first, verify doneness with a thermometer, and only then move it to the oven for drying. Dehydrating ground beef in an oven requires attention to food safety and fat removal at every stage.
Quick cross-contamination prevention tips:
Use separate cutting boards for raw meat and other ingredients.
Wash hands, pans, and utensils thoroughly after handling raw ground beef.
Never let cooked meat touch surfaces that held raw hamburger.
Choosing the Best Ground Beef for Dehydration
Fat content is the single most important factor when selecting beef for dehydrating. Fat does not dehydrate well and can lead to rancidity in stored ground beef, so leaner is always better.
Recommended lean mixes:
Grind
Fat %
Suitability
Extra lean ground beef (96/4)
4%
Excellent
Lean ground beef (93/7)
7%
Excellent
Ground round (90/10)
10%
Good
Ground sirloin (90/10)
10%
Good
Standard (80/20)
20%
Poor-too much fat
Use lean ground beef with 7% to 10% fat content for best results. Raw ground beef at 85% lean contains roughly 64% water by weight, so there’s plenty of moisture to remove even from lean cuts.
Ground venison, bison, or elk work exceptionally well because they’re naturally very lean. You can also grind lean roasts at home in a food processor for maximum control over fat content-similar to how people prepare meat for homemade jerky or beef jerky sticks.
Ground turkey, ground chicken, and other poultry can be dehydrated with this same oven method. Just remember that chicken and turkey need extra food safety care: verify the internal temperature reaches 165°F for poultry before drying. You can call the USDA poultry hotline at 1-888-674-6854 if you have specific questions about safe handling.
Ingredients and Tools You’ll Need
This section is your clean shopping and prep checklist. Keep it handy.
Core ingredients:
Lean ground beef-2 lbs of 93/7 or leaner (about two pounds works well for a first batch)
Salt and basic seasonings: garlic powder, onion powder, black pepper
Optional: ½ cup of breadcrumbs per pound of raw ground beef (improves rehydration texture)
Optional for jerky-style: soy sauce, Worcestershire, curing salt, or your preferred jerky marinade with liquid ingredients
Plain dehydrated ground beef for recipes needs only salt and minimal seasoning. Seasoned ground meat jerky intended for snacking benefits from a fuller spice blend or marinade.
Required tools:
Large frying pan or skillet
Spatula for breaking up meat
Meat thermometer
Colander or mesh strainer
Paper towels for blotting
Rimmed baking sheets (cookie sheet style)
Parchment paper or oven-safe wire racks
Oven thermometer for accuracy
Optional but helpful:
Convection oven setting (speeds drying)
Cooling racks to improve airflow on trays
Vacuum sealer, mylar bags, or oxygen absorbers for long-term storage
Rolling pin (if pressing ground beef jerky flat)
Jerky gun for piping strips
Step‑by‑Step: Cooking the Ground Beef Before Drying
This cooking stage is where you lock in food safety and strip away excess fat before you dehydrate ground beef. Do not rush it.
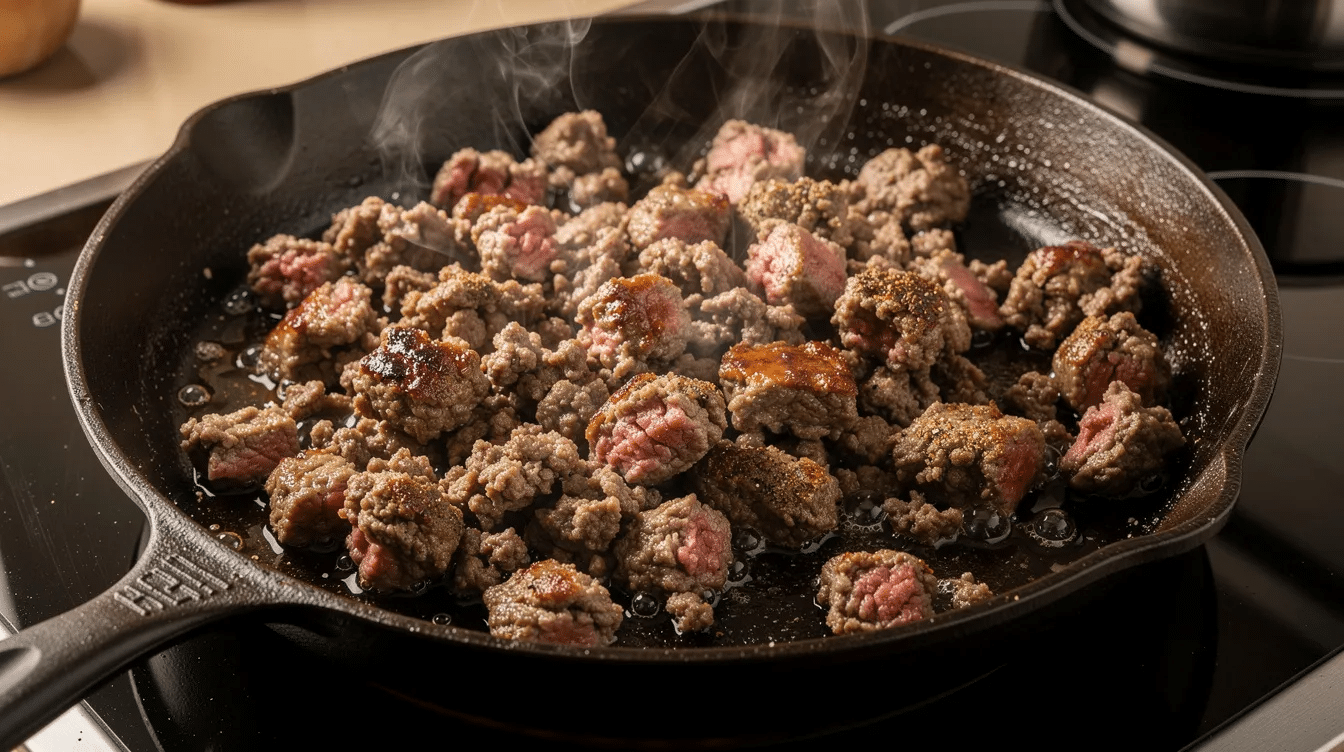
1. Brown the beef. Heat a large frying pan over medium high heat. Add the ground beef and begin breaking it into small, even crumbles with a spatula. Smaller pieces dry faster and more uniformly in the oven. Aim for pieces roughly the size of a pea or smaller.
2. Add breadcrumbs (optional). If you want better rehydration later-especially for backpacking meals-add ½ cup of breadcrumbs per pound of beef during the last few minutes of cooking. This is sometimes called the “backpacker meatloaf” method. The breadcrumbs absorb moisture during rehydration and give the meat a less pebbly, more pleasant texture. Stir thoroughly so they’re evenly distributed.
3. Season lightly. Add salt and any dry seasonings now if you’re making plain dehydrated beef for recipes. For ground beef jerky, season after cooking or marinate beforehand.
4. Verify doneness. Cook until there is absolutely no pink remaining. Insert a meat thermometer into the thickest cluster of crumbles. Cook ground beef to 160°F (72°C) before dehydrating for safety-this is non-negotiable.
5. Drain and blot. Pour the cooked meat into a colander to drain. Ground beef should be blotted to remove excess fat before dehydrating. Hot water rinsing can remove excess grease from cooked ground beef-run hot water briefly over the crumbles in the colander. Then spread the drained meat onto a layer of paper towels, pat dry, and blot until no visible grease remains. Remove all visible fat to prevent rancidity during storage.
Preparing Trays and Setting Up the Oven for Dehydrating Ground Beef
Good airflow and low, steady heat are what turn cooked ground beef into shelf-stable dried meat. Getting your oven setup right makes the difference between perfectly dry crumbles and an oily, unevenly dried mess.
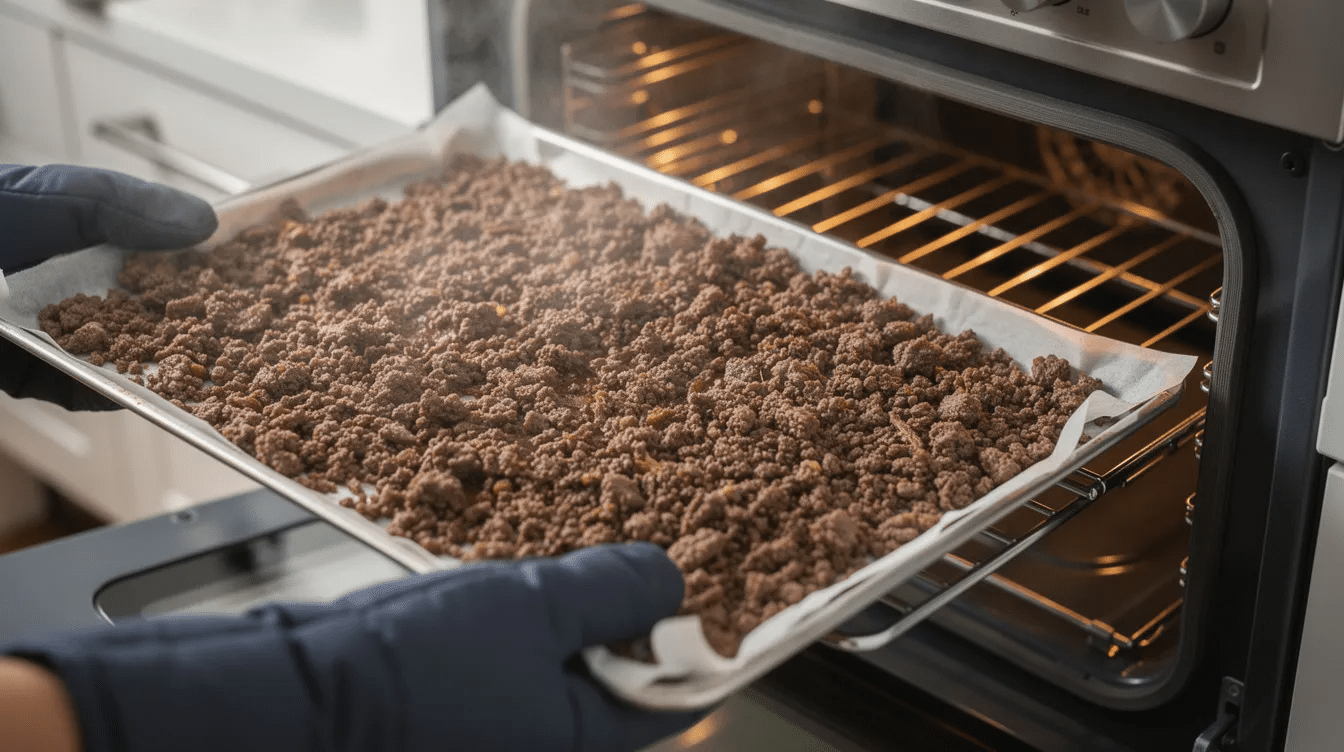
Line your trays. Place parchment paper on rimmed baking sheets, or better yet, set an oven-safe wire rack over the sheet. The rack lets air circulate underneath the meat and allows any residual fat drips to fall away from the crumbles.
Spread in a single layer. Distribute the drained, blotted ground beef across the tray in a thin, even layer. Avoid clumps or thick piles-pieces stacked on top of each other will dry at different rates and can trap moisture inside. Spread cooked ground beef in a single, thin layer on lined baking sheets for even drying.
Set the oven temperature. Preheat the oven to its lowest temperature setting between 145°F and 170°F (63°C to 77°C). Many ovens won’t go below 170°F, and that’s perfectly fine. Use an oven thermometer to verify the actual temperature-built-in dials can be off by 25°F or more. If your oven has a convection oven setting, use it. The fan dramatically improves airflow and speeds drying time for beef.
Crack the oven door. Prop the oven door slightly open with a wooden spoon or balled-up towel. This lets moisture escape rather than recirculating inside the oven. Without this step, humid air trapped inside slows the drying process significantly-essentially mimicking the constant airflow of a food dehydrator.
How to Dehydrate Ground Beef in the Oven: Time, Temperature & Doneness
This is the core drying stage. Everything you’ve done so far-cooking, draining, blotting, spreading-leads here. Now you transform those cooked crumbles into lightweight dehydrated ground beef ready for long-term storage.
General drying times:
Maintaining low heat and proper airflow is essential when dehydrating ground beef in an oven. You can dehydrate ground beef at 145°F for 4–10 hours, or at 170°F the drying time typically ranges from 3–5 hours. Oven drying requires a temperature of 170°F for 3–5 hours in most standard ovens. The drying time for ground beef typically ranges from 6 to 10 hours depending on conditions like batch size, layer thickness, humidity, and oven accuracy, and finely ground dehydrated beef powder will often dry a bit faster due to its smaller particle size.
Oven Temperature
Approximate Drying Time
145°F (63°C)
6–10 hours
170°F (77°C)
3–5 hours
200°F (93°C)
2.5–4 hours
During drying:
Stirring the meat every 1 to 2 hours promotes even drying during the dehydration process. Break apart any clumps that form.
Rotate trays between racks every couple of hours so no single tray sits in a hot spot.
If you see grease pooling, blot it with a folded paper towel.
Signs of doneness:
Pieces feel hard and dry all the way through-no cool or soft centers.
No visible fat or moisture when you press a piece firmly between your fingers.
Crumbles snap rather than bend.
The cool test: Remove a spoonful of crumbles and let them sit on the counter for 5 minutes. Once cool, check for brittleness. If any piece feels chewy, spongy, or damp, return the batch to the oven for another hour. Properly dried dehydrated meat will be rock-hard at room temperature.
Optional: Turning Seasoned Ground Beef into Oven‑Dried Jerky Snacks
Plain dehydrated ground beef is designed for rehydrated meals. Ground beef jerky is a different product-seasoned, shaped, and dried into a chewy snack you eat straight from the bag.
To make ground meat jerky, mix one pound of lean ground beef with a jerky marinade of your choice. A simple starting point: 2 tablespoons soy sauce, 1 teaspoon garlic powder, ½ teaspoon onion powder, ½ teaspoon black pepper, and optional curing salt per package directions. Combine thoroughly, then chill in the refrigerator for at least 4 hours so flavors penetrate. Liquid ingredients like soy sauce or Worcestershire sauce help bind the meat and develop flavor.
For food safety, ground beef jerky still needs to be cooked to 160°F before or during drying, just as with unseasoned meat.
Shaping options:
Press the seasoned mixture onto parchment paper using a rolling pin into a thin sheet (about ⅛ inch wide strips), then score or cut into long strips or inch wide pieces before drying.
Use a jerky gun to pipe beef strips directly onto parchment-lined trays, pressing out air pockets as you go.
Dry at the lowest temp your oven allows until the strips are leathery and flexible but not brittle. Making jerky from ground meat typically takes 4–6 hours. A brief final blast at 275°F for 10 minutes helps ensure every piece has reached a safe internal temperature-a step many homemade jerky makers skip at their own risk, even though proper drying and storage are critical for how long dehydrated meat will last.
Cooling, Conditioning, and Storing Dehydrated Ground Beef
Proper cooling and storage are just as important as the drying process itself. Rush this stage, and you risk mold, condensation, and ruined batches.
Cooling: Cool dehydrated ground beef completely before packaging to prevent condensation. Let trays sit on the counter for 30–60 minutes so any remaining steam escapes. Sealing warm meat creates moisture inside the container-exactly what you worked hours to remove.
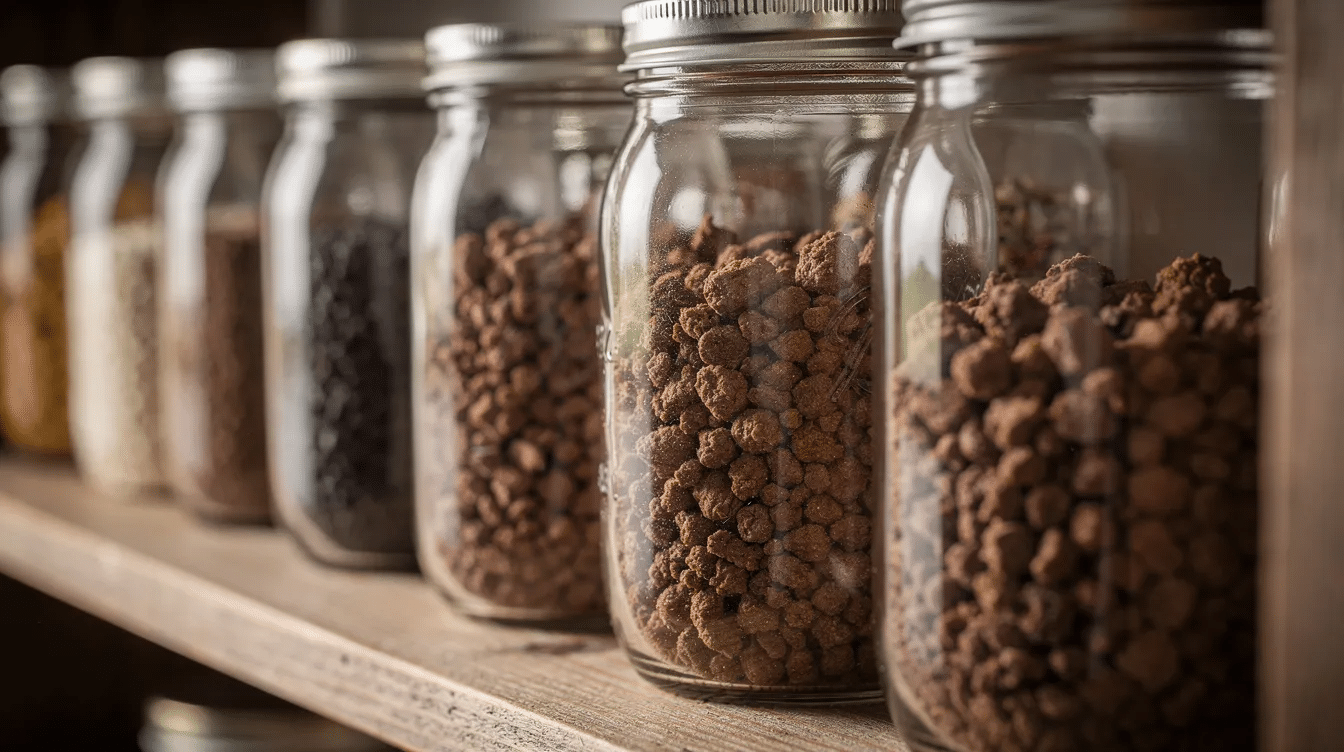
Conditioning: This step catches hidden moisture. Place the cooled dehydrated ground beef into loosely filled glass jars (about ⅔ full). Seal the lids and set them in a cool spot for 5–7 days. Shake daily and inspect for fogging on the glass, clumping, or any moisture droplets. If you see moisture, return the meat to the oven for another hour or two of drying.
Storage options:
Store dehydrated ground beef in airtight jars or vacuum-sealed bags for maximum shelf life.
Mylar bags with oxygen absorbers provide an excellent alternative for long-term pantry storage and, when combined with cool temperatures, can dramatically influence how long dehydrated food lasts.
Store dehydrated meat in a vacuum-sealed container or airtight container in a cool, dark location.
Shelf life expectations:
Dehydrated ground beef lasts up to two years when stored properly. In a cool, dark pantry sealed airtight, expect a few months to a year of quality storage for very lean, well-dried beef. Vacuum sealed portions stored in a freezer can last even longer. Freezing dehydrated beef prevents rancidity and extends storage time well beyond what pantry conditions allow. Residual fat in dehydrated ground beef can go rancid and ruin shelf life, so lean meat and thorough fat removal are your best insurance.
Using Dehydrated Ground Beef in Everyday Cooking and on the Trail
Dehydrated ground beef is remarkably versatile once you know how to bring it back to life. The key is simple: hot liquid and a little patience.
Basic rehydration: Use roughly 1 part dried ground beef to 1–1.5 parts hot water or broth. Soak for 10–20 minutes until the crumbles are plump and tender. Follow best practices for the best way to rehydrate dried ground beef and, when possible, use broth for better flavor-chicken, beef, or vegetable broth all work well and add depth that plain water can’t match.
Everyday recipe ideas:
Pasta sauces and meat sauce
Chili and bean soup
Tacos, burritos, and taco salad
Casseroles and shepherd’s pie
Breakfast scrambles with eggs
Quick weeknight soups
On the trail: Pack pre-measured portions (about ¼ cup dried per serving) in zip-top bags. At camp, rehydrate directly in a pot of ramen, rice, or dehydrated potatoes. Boil water, add the dried crumbles, stir, cover, and wait 15 minutes.
Experiment with flavored liquids during rehydration. Tomato juice turns plain crumbles into a quick meat sauce. Curry broth transforms them into a camp-friendly curry. A splash of soy sauce and sesame oil makes an instant Asian-style rice bowl. The neutral flavor of plain dehydrated beef is actually an advantage-it absorbs whatever you throw at it.
Troubleshooting Common Problems When Dehydrating Ground Beef in the Oven
Oven drying can be slightly less predictable than using a dedicated food dehydrator with calibrated temperature and fan speed. But most problems have straightforward fixes.
Greasy or sticky finished meat: This almost always means too much fat in the original beef or insufficient draining. Use lean ground beef to minimize spoilage risk. Switch to extra lean ground beef (96/4), rinse more aggressively with hot water after cooking, and blot with fresh paper towels until no grease transfers.
Uneven drying or soft spots: Spread meat thinner next time-no more than a single layer. Stir more frequently (every 60 minutes instead of 90). Rotate trays between upper and lower racks. Use an oven thermometer to confirm your oven is holding a stable, low temperature. Convection mode helps dramatically if available.
Off-flavors or rancid smell in storage: High fat content is the usual culprit. Fat that remains in dehydrated beef will turn rancid over time, especially in a warm pantry or under light exposure. Switch to leaner meat, dry more thoroughly, and store in a cool dark place. If you’re uncertain, freeze your vacuum sealed portions as a backup.
Case hardening: If the outside of crumbles feels bone-dry but the inside is still soft, your oven temperature was probably too high. The exterior dries and forms a crust that traps moisture inside. Lower the oven temperature by 15–25°F and extend the drying time. Gentle, slow heat produces better results than trying to rush the process.
Comparing Oven Dehydration to Using a Food Dehydrator (Including Excalibur Models)
If you already own a food dehydrator-or you’re thinking about buying one-you might wonder how oven drying compares.
Strengths of the oven method:
No extra appliance to buy or store
Large flat baking sheet trays handle bigger batches
Easier to reach the higher temperatures recommended by USDA for meat safety
Most homes already have an oven
Strengths of a dedicated dehydrator:
Precise temperature control, often adjustable down to 95°F
Strong, consistent airflow from built-in fans
Stackable or sliding dehydrator trays designed specifically for dried meat and dehydrated beef
An Excalibur dehydrator, for example, provides rear-mounted horizontal airflow that dries food more evenly than most ovens
Uses less energy than running a full-size oven for 8+ hours
The basic food safety rules are identical regardless of method: cook ground beef fully to 160°F first, remove as much excess fat as possible, and dry until the crumbles are completely hard and brittle. Whether you use oven drying or a freeze dryer or a countertop dehydrator, these fundamentals don’t change.
If you learn to dehydrate ground beef in the oven, you can transfer the same techniques to a dehydrator later with zero learning curve. The oven is a great place to start-and for many home cooks, it’s all they ever need.
Frequently Asked Questions About Dehydrating Ground Beef in the Oven
These questions cover details and edge cases that didn’t fit neatly into the step-by-step sections above. Each answer is kept short and practical so you can scan quickly and find what you need.
Can I dehydrate raw ground beef in the oven without cooking it first?
No. You should never place raw ground beef directly into a low-temperature oven to dry. At temperatures below 140°F, the meat can sit for hours in the bacterial “danger zone” where pathogens like E. coli O157:H7 multiply rapidly. The safe method is to brown ground beef on the stovetop, verify it reaches 160°F (71°C) with a meat thermometer, drain all fat, and only then dehydrate the cooked crumbles. This extra cooking step is especially important for store-bought ground beef, which may contain raw meat from multiple animals blended together.
How can I tell if my dehydrated ground beef still has too much fat?
Visible shine, oily residue on your fingers, or tiny beads of fat on the surface are clear signs of excess fat in the finished dried meat. While pieces are still slightly warm, blot with clean paper towels and let them cool again. If the sheen returns, there’s fat embedded in the crumbles. For future batches, switch to leaner ground beef and rinse with hot water more thoroughly after cooking. Fat content above 10% makes long-term storage unreliable because the fat will eventually turn rancid regardless of how well you dry the lean portions.
How long will dehydrated ground beef keep at room temperature or on the trail?
In a cool, dark pantry sealed in an airtight container, very lean and thoroughly dried ground beef is often kept for 3–6 months with good quality, and dried ground beef can last up to two years if stored properly in vacuum-sealed bags. For backpacking trips, properly dried beef packed in sturdy zip-top bags can ride in a pack for 1–3 weeks as long as it stays dry and out of direct sun. For the longest possible shelf life, freeze vacuum-sealed portions and thaw only what you need for trips or quick meals.
Can I dehydrate leftover cooked ground beef, like taco meat or spaghetti sauce?
You can dehydrate leftover cooked ground beef as long as it was freshly prepared, cooled safely, and doesn’t contain a lot of added fat or dairy. Heavily sauced dishes can be dried as complete “meal leathers,” but high-fat cheese or sour cream mixed into the meat will shorten shelf life significantly. Spread leftovers thinly on parchment-lined trays, dry until brittle, and store them separately from plain dehydrated ground beef. Label everything clearly with the date and contents-easy tips that save confusion later when you’re pulling from your pantry.
Do I need to add breadcrumbs, or can I skip them?
Breadcrumbs are optional but highly recommended if you plan to rehydrate the beef for meals. Add ½ cup of breadcrumbs per pound of beef during cooking. Breadcrumbs help rehydrate ground beef more effectively by absorbing water and giving the crumbles a softer, more natural texture once reconstituted. If you’re making ground beef jerky for snacking rather than rehydratable crumbles, skip the breadcrumbs entirely-they’ll interfere with the chewy jerky texture you’re after.
DannyContent Writer
Hey there, since 2016, my mission has been to provide you with the information and guides you need to make food dehydrating simple and fun. Whether you're a newbie or a seasoned pro, my site offers helpful guides, reviews, and recipes to enhance your dehydrating experience. I take pride in only recommending products I believe in, ensuring my readers' trust. As an affiliate of various programs, including Amazon Associates, your support helps me continue providing quality content. Thanks for stopping by, and happy dehydrating!