Summer is in full swing and your garden is lush with fresh basil. You use this bright aromatic flavored herb to dress up all of your favorite foods.
Regardless of how much you eat and cook, you still have an abundance of basil on-hand! You can’t bear to toss the excess basil as that would be such a waste.
Instead, you can learn how to dry basil from a fresh basil plant.
Learning how to dry basil a fairly simple process that doesn’t require any extra ingredients. Dried basil is more versatile than other forms of preserved basil and it offers a fuller flavor, making it a great option for cooking.
To dry basil naturally, you can use methods such as air drying by hanging or laying the leaves out on a countertop. Ensure proper conditions like avoiding direct sunlight and maintaining airflow, which typically takes 1-2 weeks.
Are you looking for a great way to enjoy your fresh basil all year long? Here’s everything you need to know about drying fresh basil.
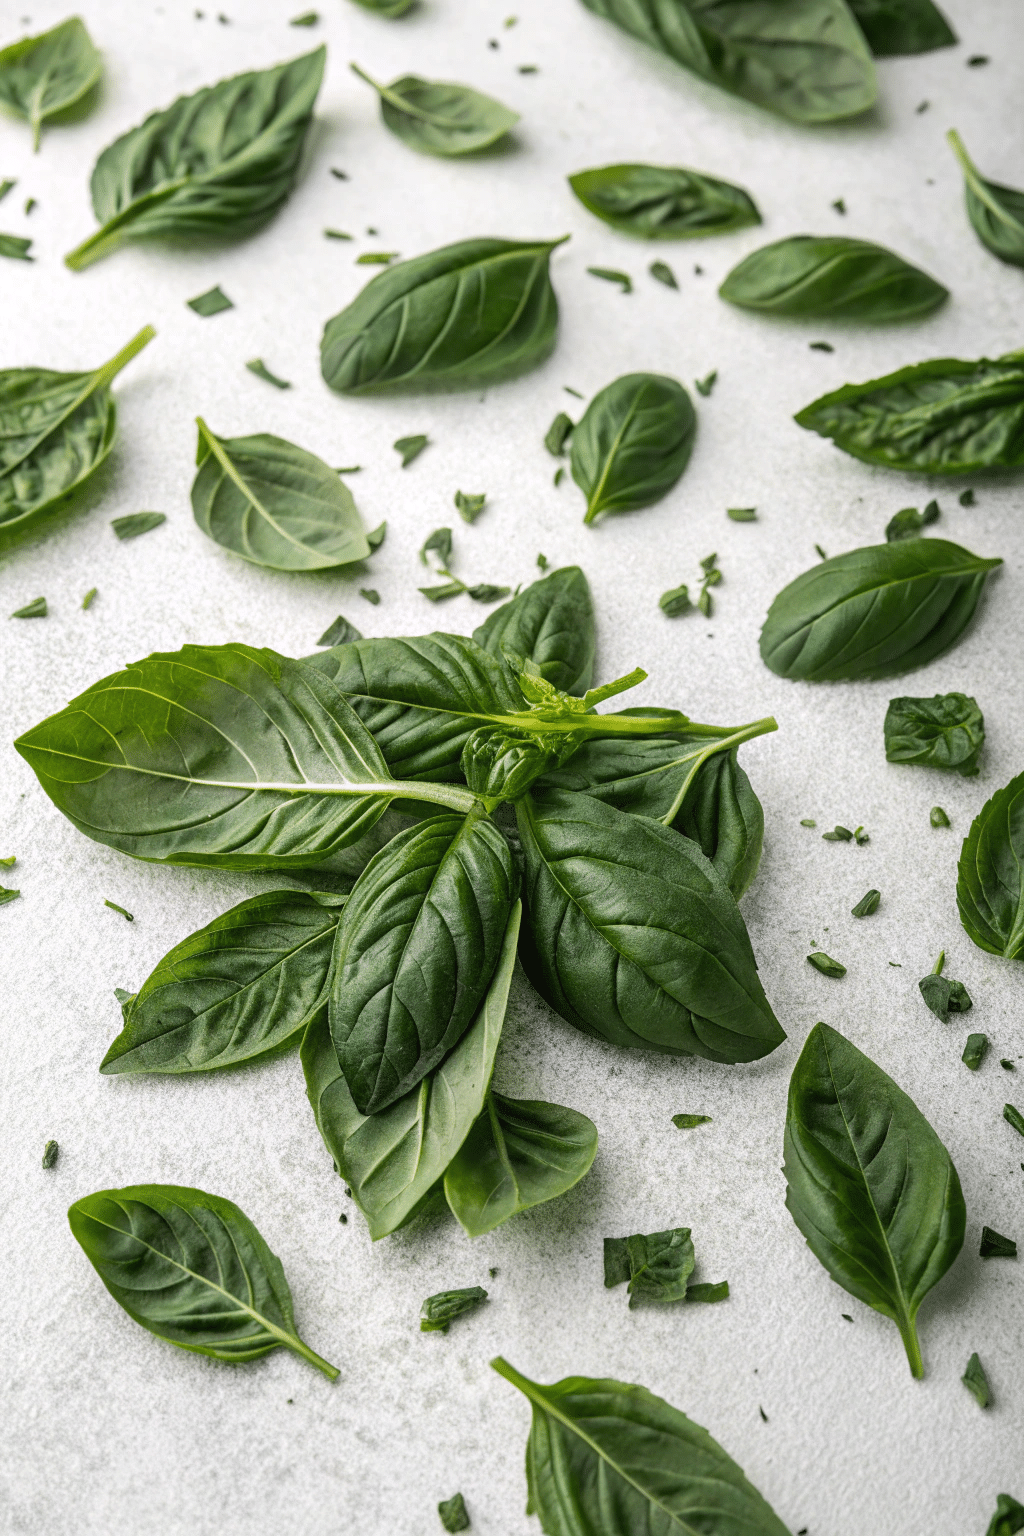
There’s no denying it, fresh herbs like fresh basil taste the best.
For those with an excess of fresh basil, drying it is a great way of preserving it. When it comes to flavor, fresh basil vs dried is more pungent and aromatic.
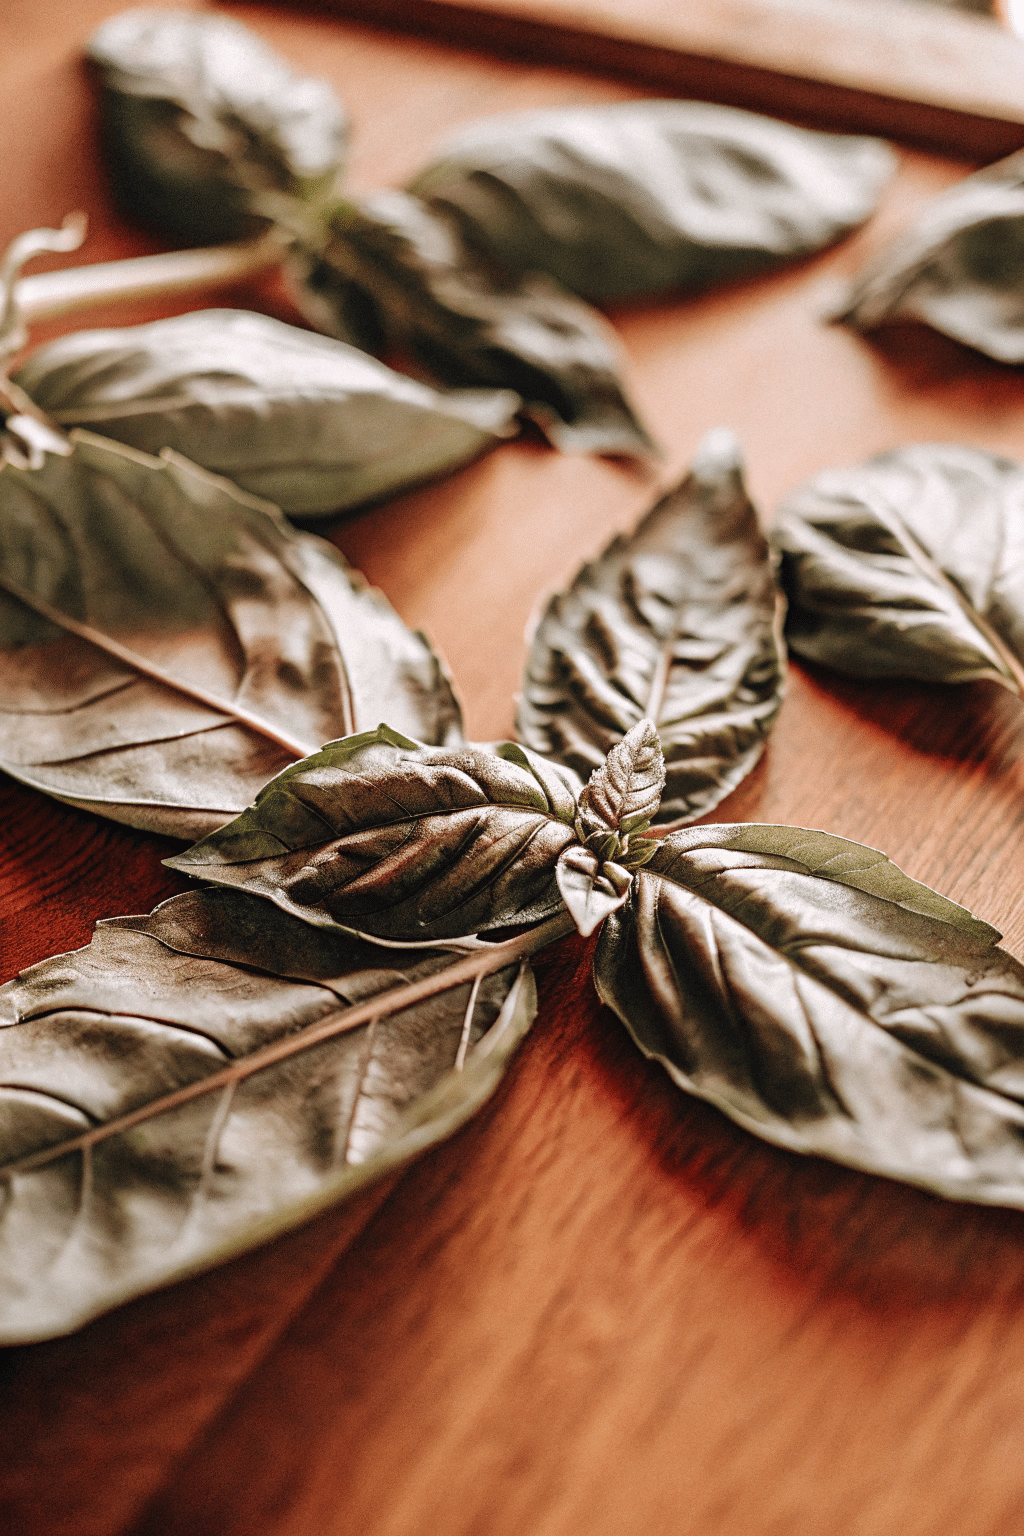
When the basil dries, the flavors concentrate in the dried leaves. The water in fresh basil dilutes the flavor to some degree. If you’ve enjoyed both dried and fresh basil, you may know that the flavors aren’t the same.
Fresh basil has a distinct anise flavor profile. When dried, the basil loses some of this anise flavor but gains a slightly mintier profile. This is due to the loss of some of the volatile oils that give fresh basil its signature flavor.
There are a few distinct differences between using dried basil vs fresh basil when cooking. When replacing fresh basil with dried, use about 2/3 of what the recipe calls for. Dried basil requires a longer cooking time to release flavors meaning you’ll need to add the basil earlier in the cooking process.
Harvesting and Preparing Fresh Basil Leaves
Harvesting fresh basil leaves is an essential step in the drying process. To ensure the best flavor and aroma, it’s crucial to harvest basil at the right time. The ideal time to harvest basil is in the morning, after the dew has dried but before the heat of the day. This is when the leaves are at their most fragrant and flavorful.
To harvest fresh basil leaves, simply pinch or cut off the leaves from the stem, leaving about an inch of stem attached to the plant. This will allow the plant to continue growing and producing new leaves. You can also harvest individual leaves or stems, depending on your needs.
Before drying, it’s essential to prepare the fresh basil leaves by washing them gently with cool water to remove any dirt or debris. Pat the leaves dry with a paper towel to remove excess moisture. This will help prevent mold and bacterial growth during the drying process.
How to Dry Basil Leaves
If you’ve been searching how to dry basil leaves, you’ve probably found several different methods. The most common ways of drying basil include the oven, a food dehydrator, the microwave, and air dry basil. Each method has its set of pros and cons.
Regardless of how you dry your basil, you need to properly prepare it. Preparation is key to enjoying great-tasting dried basil leaves. Before you toss your basil into the oven, microwave, or food dehydrator, follow these steps to prepare your fresh basil for drying.
1. Collect Your Basil
You can decide when best to harvest your fresh basil. Some people prefer to collect and dry it throughout the season. Others like to wait until the end of summer and preserve whatever basil they have left.
Plan to harvest your basil in the morning before the heat of the day. This is when the basil leaves are at their best and have more flavorful oils in the leaves.
Use a pair of sharp garden clippers or scissors to cut the basil. Keep the basil plants growing by cutting about a quarter of an inch above the growth node. A growth node is an area on a plant where two leaves grow out opposite one another.
If it’s the end of the season, there’s no need to worry about the growth node. You can cut off as many of the leaves as you’d like.
When basil dries, it shrinks. Try to collect two to three times more basil than you will need.
2. Remove Stems and Rinse
When it comes to rinsing and de-stemming your basil, you can do this in whatever order you like. Make sure to wash basil thoroughly to eliminate any dirt or insects that may be present on the leaves.
If you’re using an oven, food dehydrator, or microwave to dry your basil, remove the leaves from the stems. Simply pinch the base of the leaf and pluck it off the stem. You can toss the stems and any flowers in your compost.
For those who are air-drying their basil, leave the leaves on a six-inch stem. You’ll need the stem to hang the basil.
Use cool water to gently rinse the basil leaves and remove any dirt, dust, or insects. Take note that basil leaves bruise easily. Use a bowl or sink filled with cold water and gently swish them around to rinse.
3. Draw Out Excess Water
Once your basil leaves are clean and stem-free, you’ll need to remove any excess water. Removing as much water from the leaves as possible will help the leaves dry more efficiently.
Those who prefer to air dry their basil need to remove excess moisture to prevent the basil from molding.
Remove extra water by shaking the basil in a strainer or a salad spinner or use a dry towel to lightly pat excess water from the leaves. You don’t need to go too crazy with drying the basil as a little leftover moisture won’t hurt the leaves.
4. Lay Flat
Regardless of the drying method you choose, you’ll need to lay the basil flat.
Those using an oven should lay the basil leaves on a baking sheet covered with parchment paper or a plate if you’re using a microwave. If you’re using a food dehydrator, you can place the leaves on the dehydrator’s trays.
Space the leaves apart evenly and avoid overlapping. A single even layer of leaves will allow for better airflow and improve the overall drying process.
If you’re air-drying your basil, you’ll need to let it dry to some degree before bunching it to prevent mold. Lay each leafed stem in a single layer no a towel or tray for about an hour or longer. The basil will be ready when all of the surface moisture evaporates.
Drying Basil In the Oven
Using the oven is an easy and effective way to dry your basil. Before you slide your basil into the oven, there are a few tips you should follow to ensure you get the best results.
Make sure you remove all surface moisture from the leaves. Any remaining water or moisture can cause the leaves to cook rather than dry, which will affect the flavor and texture of the leaf. You can let the leaves air dry for two to three days to ensure they’re dry and reduce the drying time in the oven.
Al the leaves need to lay flat to ensure the heat distributes evenly and prevent steam from pooling. Cover the leaves with a towel and place a flat heavy object, such as a pan or book, on top of the leaves to flatten them. Five minutes should be plenty of time to flatten the leaves.
Once the leaves are dry and flat, preheat your oven to around 170˚ F but don’t go over 180˚ F as this can burn the leaves. Let the leaves bake for one to four hours while regularly checking them. Baking times vary by temperature, leaf dryness, and the number of leaves you’re drying.
Test the basil by touching it. If the leaf crumbles when touched, it’s ready to remove from the oven.
Drying Basil In a Food Dehydrator
A food dehydrator is one of the most efficient ways for drying basil. Depending on your dehydrator you may have an herb drying setting, otherwise set the temperature to about 95˚F.
Drying time will vary based on the humidity in your home and how much moisture is on the basil leaves. Most dehydrators will take six to 24 hours to dry the leaves.
Regularly check and test the leaves as they dry. They’re ready when they’re crisp and crumble or near crumble to the touch.
Air-Drying Basil
Air-drying your basil is the most time-consuming but the results are delicious!
There are a couple of ways you can air dry basil. Due to its delicate nature, basil lay the basil flat on a drying rack to prevent it from falling apart. A mesh rack allows airflow and prevents the dried leaves from falling through the gaps.
The second option is to create small bundles, like a bouquet, and tie them together at the base of the stems. Hang the basil upside down in a warm dry area.
Allow the basil to dry for at least one week.
Converting Fresh Basil to Dried Basil
Converting fresh basil to dried basil is a simple process that requires minimal equipment. The key is to dry the basil leaves slowly and evenly to preserve their flavor and aroma.
There are several methods to dry basil, including air drying, oven drying, dehydrator drying, and microwave drying. Each method has its advantages and disadvantages, and the choice of method depends on personal preference and the desired level of dryness.
Regardless of the method, it’s essential to monitor the basil leaves during the drying process to ensure they don’t overdry or develop off-flavors. Once the basil is dry, it can be stored in an airtight container to preserve its flavor and aroma.
Process and Store Your Basil
After the basil dries, you’ll need a secure place to store dried basil. Here’s a secret about dried basil, whole dried leaves retain more oils and flavor than crushed leaves over a period of time. Try to store your dried basil as whole leaves in a glass jar.
You can process your basil into a flaky seasoning by crushing the dried leaves with your hands, a food processor, or a mortar and pestle.
Drying basil leaves can be a straightforward process, but there are some common issues to watch out for. One of the most common issues is overdrying, which can cause the basil to lose its flavor and aroma. To avoid overdrying, it’s essential to monitor the basil leaves during the drying process and remove them from the drying method when they reach the desired level of dryness.
Another common issue is mold and bacterial growth, which can occur if the basil leaves are not dried properly. To prevent mold and bacterial growth, it’s essential to dry the basil leaves slowly and evenly, and to store them in an airtight container once they are dry.
Dried basil is a versatile herb that can be used in a variety of recipes, from soups and stews to sauces and marinades. Here are some ideas for using dried basil in recipes:
Add dried basil to soups and stews for a burst of flavor.
Add dried basil to tomato sauces and marinades for a Mediterranean twist.
Use dried basil to make flavorful salad dressings and vinaigrettes.
Add dried basil to roasted vegetables for a savory flavor.
Use dried basil to make homemade Italian seasoning blends.
These are just a few ideas for using dried basil in recipes. With its versatility and flavor, the possibilities are endless!
DannyContent Writer
Hey there, since 2016, my mission has been to provide you with the information and guides you need to make food dehydrating simple and fun. Whether you're a newbie or a seasoned pro, my site offers helpful guides, reviews, and recipes to enhance your dehydrating experience. I take pride in only recommending products I believe in, ensuring my readers' trust. As an affiliate of various programs, including Amazon Associates, your support helps me continue providing quality content. Thanks for stopping by, and happy dehydrating!