

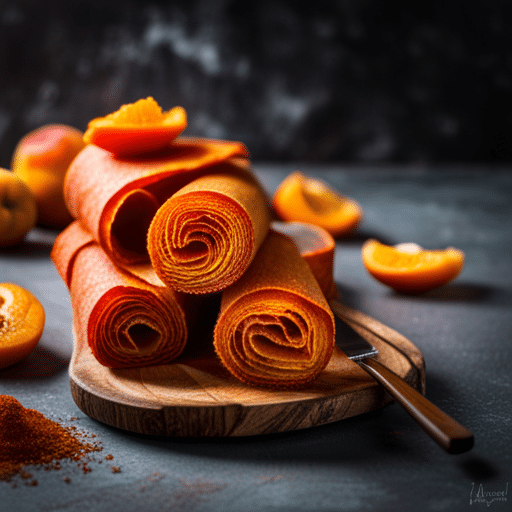
How to Make Apricot Fruit Leather in a Food Dehydrator
Learning how to make apricot fruit leather can seem like an uphill battle.
Indeed, when you’re looking for healthy and portable snack options, the struggle is real.
Making apricot fruit leather from scratch.
You might feel overwhelmed. After all, transitioning from store-bought snacks to homemade ones is what separates the casual snacker from the health-conscious gourmet. But if you don’t know how to use a
However, with the right recipe for apricot fruit leather and equipment, the process can be simplified, and the results are sure to please!
Choosing the Right Dehydrator for Making Apricot Fruit Leather
Picking out a food dehydrator that is well-suited to your needs is key when it comes to making apricot fruit leather. The perfect machine should possess certain features that enhance its performance and ensure you get excellent results.
Size and Capacity: How Much Can It Handle?
The size of the dehydrator can impact how much fruit leather you’re able to make at once. If large batches are on your agenda or if kitchen space isn’t an issue, larger models might be just what you need.
If smaller quantities or limited counter room better describe your situation, though, then compact units could serve as an ideal solution.
A Look at Heat Distribution Systems
Different types of heat distribution systems exist within food dehydrators. Vertical flow machines may come with lower price tags but often require tray rotation for even drying – something not everyone has time for during busy days.
On the other hand, horizontal flow devices provide consistent heating across trays without needing any adjustments mid-process, which saves valuable time and energy.
Digital vs Manual Controls: What’s Your Preference?
Digital control panels offer precision temperature settings – very beneficial when dealing with delicate fruits like apricots requiring careful handling throughout the dehydration process. Conversely, manual-control machines, typically less precise, still produce satisfactory outcomes provided they’re monitored closely for the entire duration.
Consider your budget and preferences carefully before selecting the most suitable option for you.
Remember, the quality of your ingredients will directly impact the final outcome. So, choose fresh, ripe apricots and high-quality spices for the best results.
Preparing the Apricots
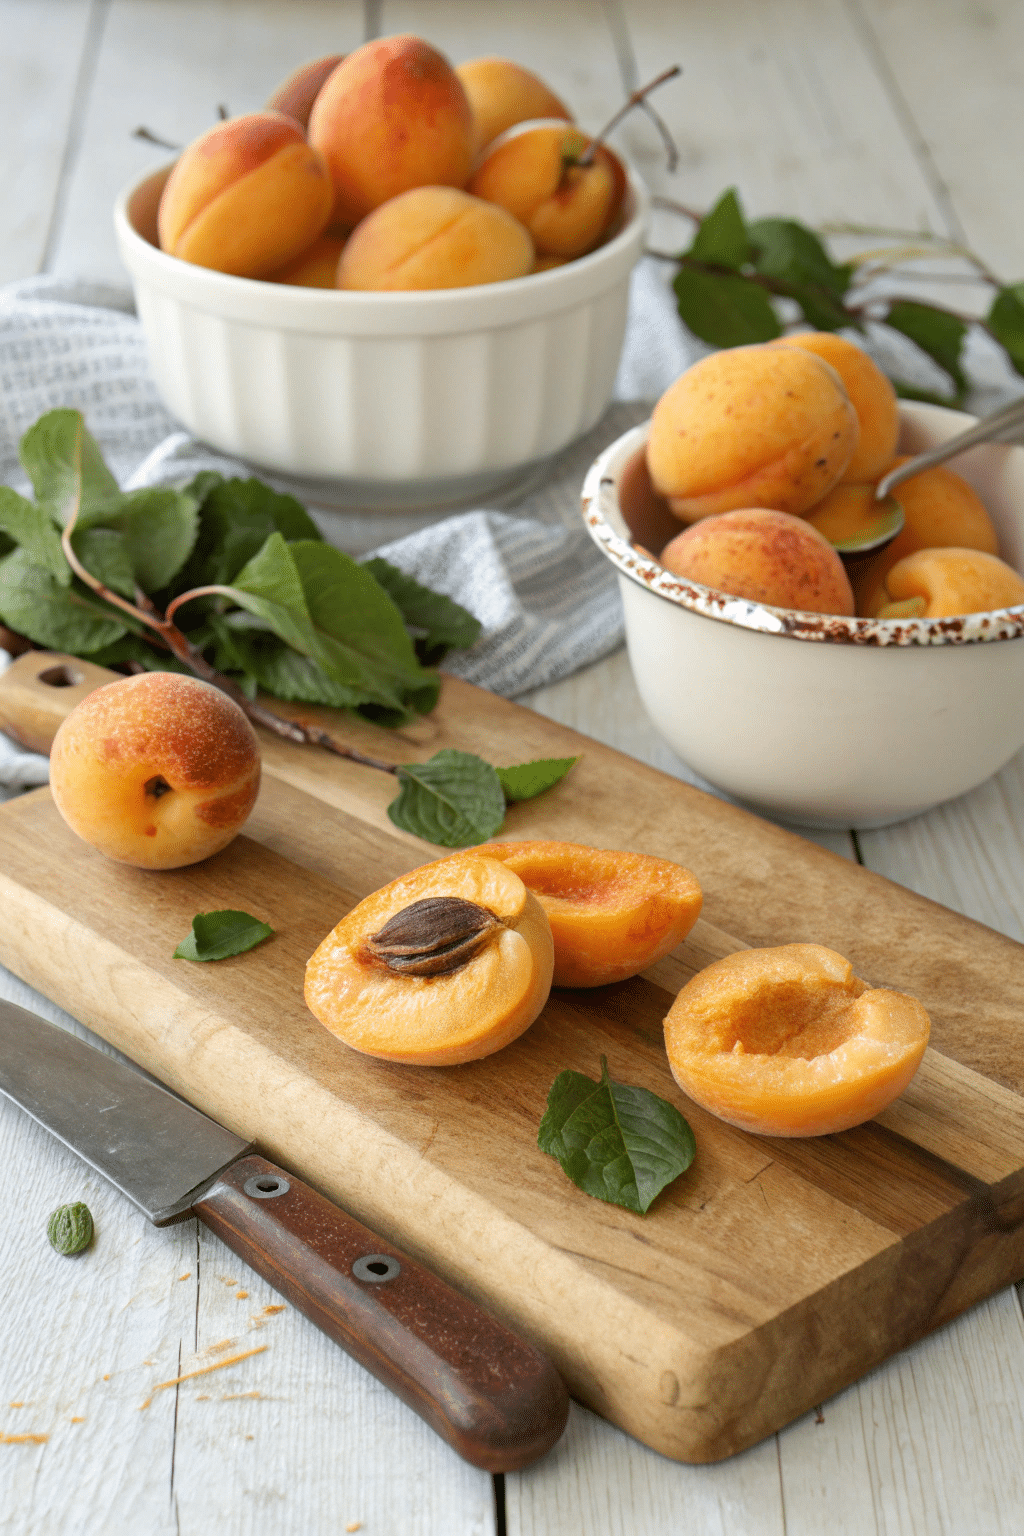
The journey to a delightful apricot fruit roll up starts with the proper preparation of your fresh fruits. This process involves cleaning, pitting, and pureeing them.
Cleaning Your Apricots
Begin by giving your apricots a thorough wash under cold water to remove any dirt or pesticides that might be on their skin. A gentle scrub using a soft brush can do wonders here.
The aim is to have clean and safe-to-eat fruits ready for processing into delicious fruit leathers.
Pitting Your Apricots
Moving onto the next step – it’s time to pit those cleaned-up beauties. Start by cutting around each apricot along its seam using a sharp knife, then twist both halves apart, exposing the pit inside. (keep the peels on for added texture).
Gently pry out this stone-like seed from one half, being careful not to cut yourself during this delicate operation. Once all pits are removed, we’re closer to our goal of making homemade dried fruit snacks.
Pureeing Your Apricots
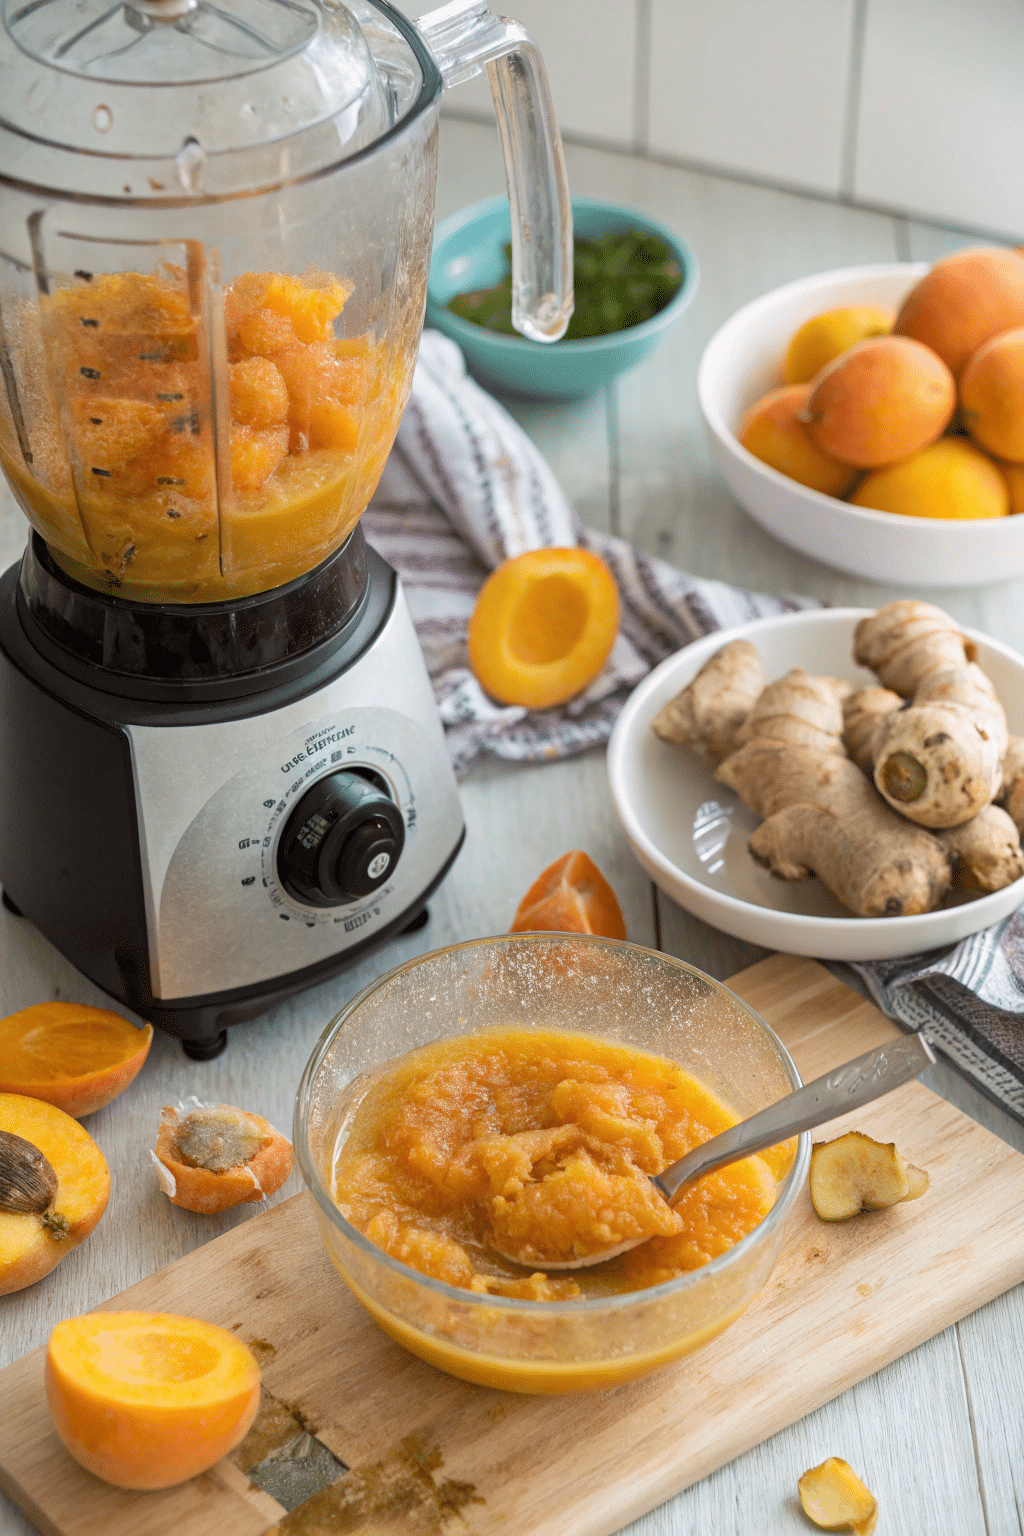
Last but certainly not least comes the puree stage, where we transform the de-seeded halves into a smooth paste that will form the base of our future deliciousness.
For this culinary endeavor, you will require the following:
- Half a tablespoon of freshly minced ginger – this will add a zingy depth to your leather.
- A quarter cup of apple juice – this will provide a subtle sweetness and help in the blending process.
- One tablespoon of fresh lemon juice – to balance out the sweetness and add a refreshing tang.
- Four tablespoons of apricot jam – to enhance the apricot flavor and add a mellow sweetness.
- A quarter teaspoon of cardamom – this will lend an exotic hint and aroma to your finished product.
Blend the de-seeded apricot halves with the mentioned ingredients until no chunks remain.
Drying the Apricots
Transforming your apricot puree into a delightful, sweet pressed fruit paste involves more than just turning on your food dehydrator. It requires precision and patience to ensure that you create an appealing texture and preserve the vibrant flavor of fresh apricots.
Equipment:
“Puree Tool” – A blender or food processor.
Dehydrator” – A
“Spreader” – A spatula.
Non-Stick Aid” – Parchment paper.
The Drying Process Explained
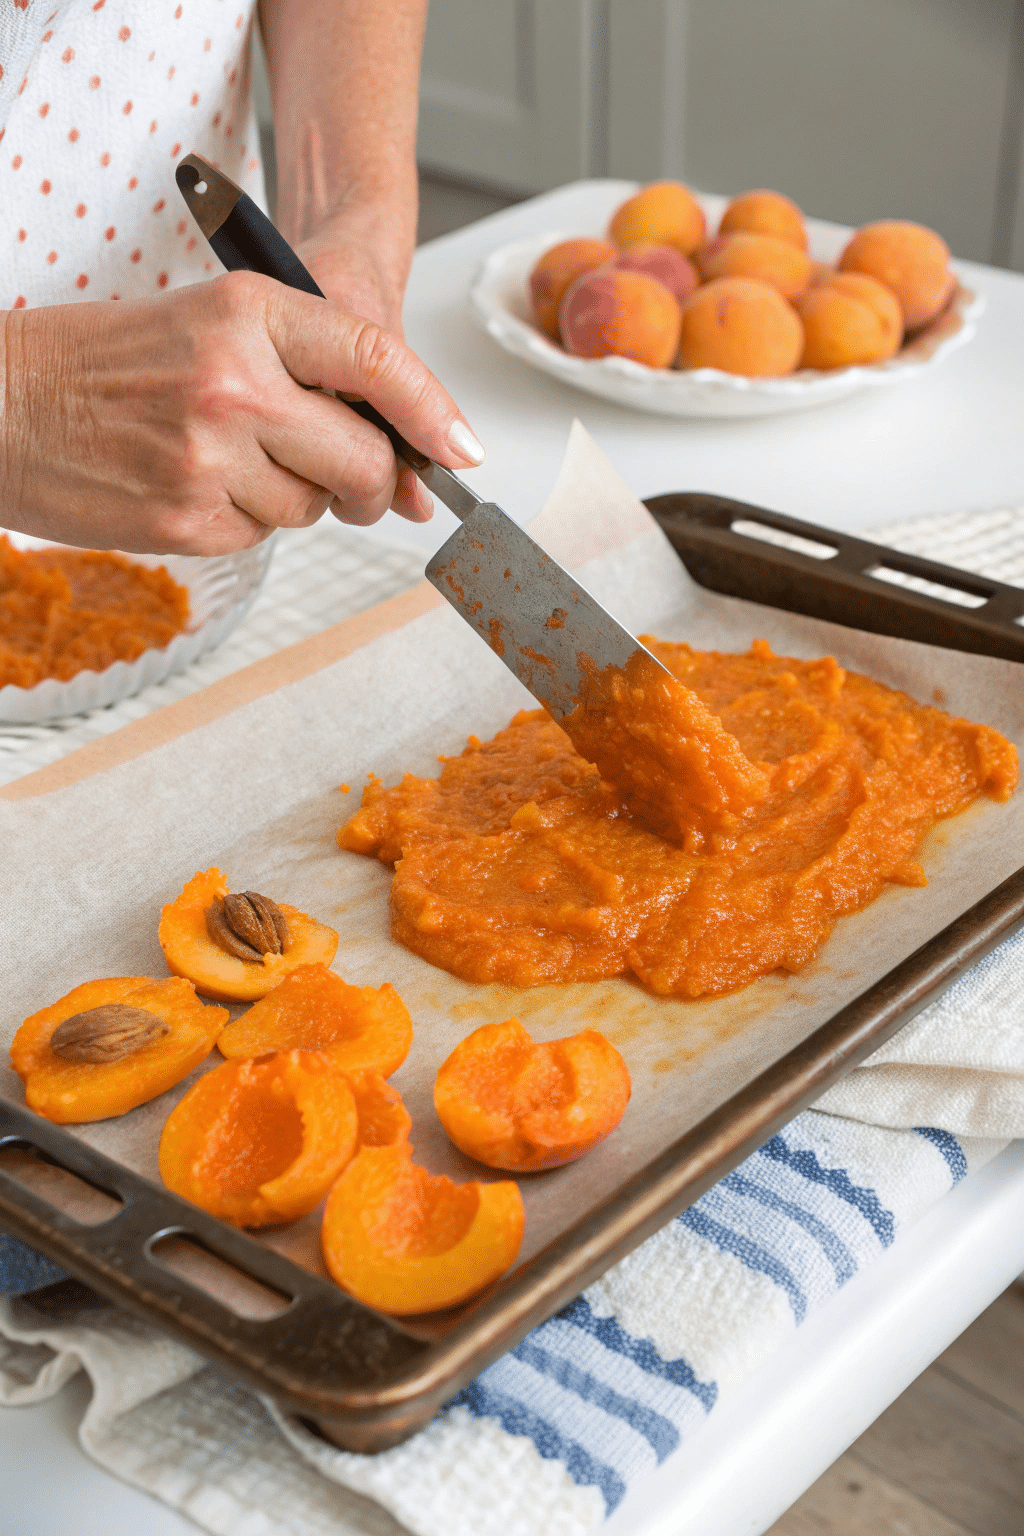
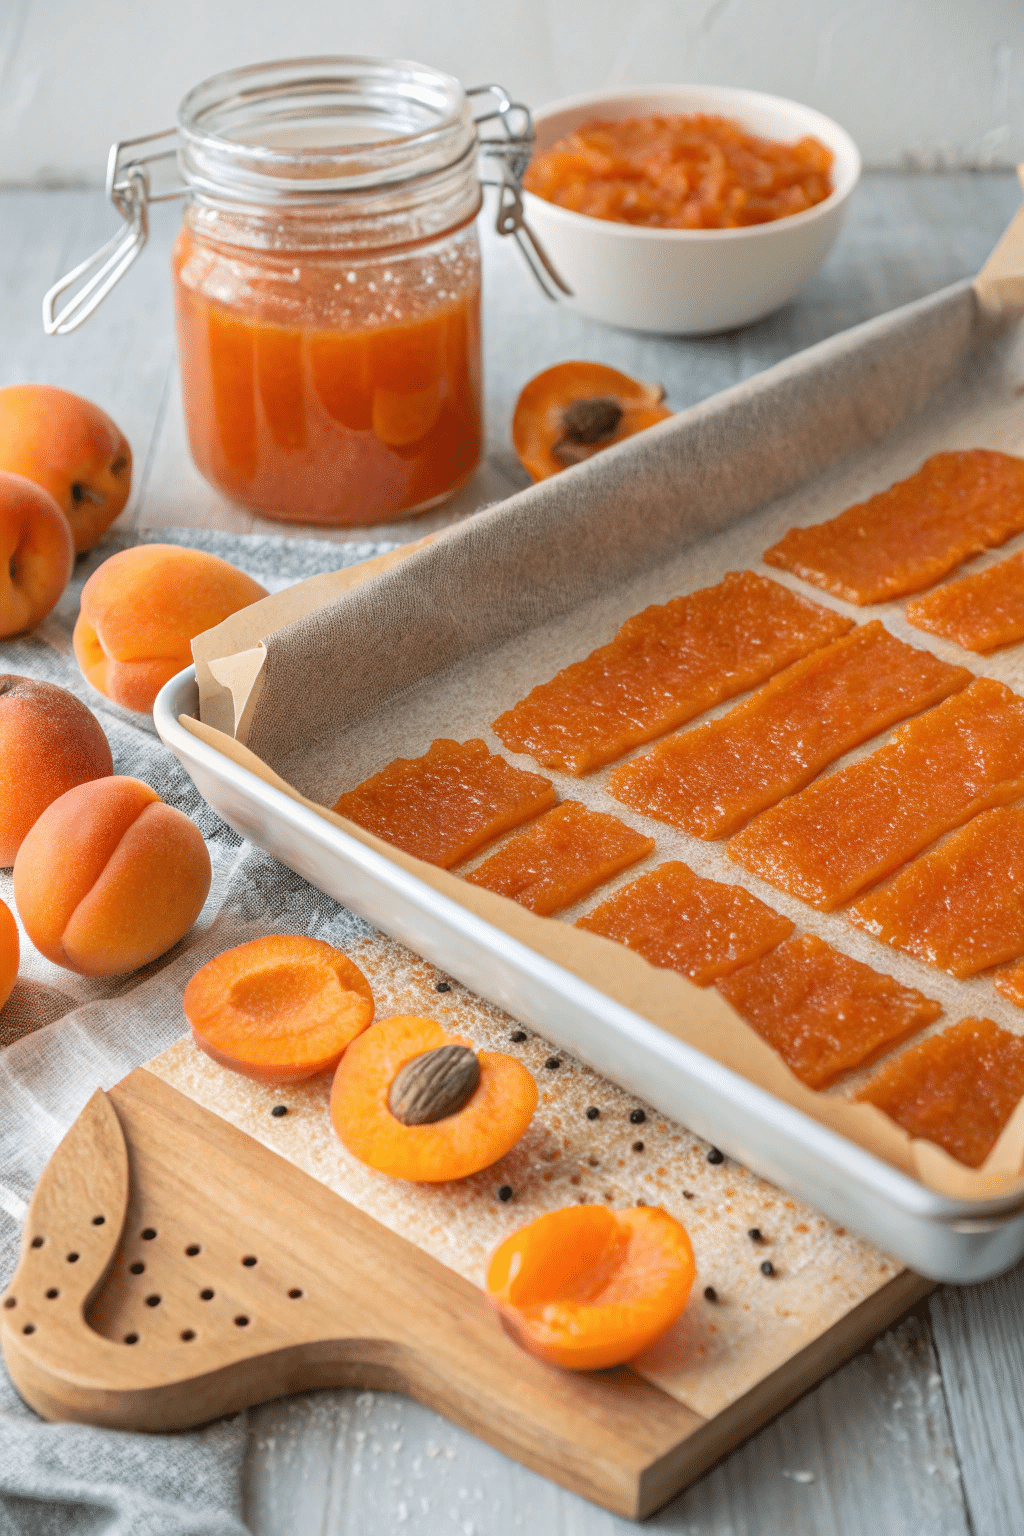
To kick off this process, spread out your smooth puree onto parchment paper or directly onto a dedicated fruit leather tray if one comes with your dehydrator. Aim for around 1/8 inch thickness – too thin could lead to brittle results, while too thick might not dry evenly.
Set the food processor to a temperature of 135°F (57°C) for drying fruits like apricots, which helps maintain their color and nutrition. This is considered ideal for maintaining both color integrity and nutritional value when drying fruits like apricots.
What is your next step? Patiently wait as nature does its magic. Depending on how juicy those extra apricots were initially, alongside other factors such as their spread’s consistency after pouring it out onto trays – expect anywhere from four hours up to twelve before they’re fully dried.
Tips For Checking Doneness
A common question during dehydration is knowing exactly when our fruity creation reaches perfection. A simple trick: check whether it feels tacky but doesn’t stick upon touching. If so, then voila. You’ve successfully made some delicious homemade dried apricot roll ups.
If certain parts seem underdone compared to others due to uneven distribution prior to drying, simply remove ready portions first, leaving behind the rest to continue until completely finished. Always remember to cool down any products to room temperature before storing them away to prevent moisture build-up leading to spoilage issues later down the line.
Possible Issues And Solutions During Dehydration
No journey worth taking comes without challenges along the way, especially for beginners unfamiliar with equipment handling produce. Don’t fret; we’ve got your back. Here are a few problems and solutions to help you navigate smoothly toward creating tasty, healthy snacks at home:
1. Uneven Dehydration:
If your apricot leather is dehydrating unevenly, it’s likely because the puree isn’t spread evenly on the trays.
Solution: Use a spatula to ensure an even spread of about 1/8 to 1/4 inch thick.
2. Sticking to Trays:
Apricot leather may stick to the dehydrator trays, making it difficult to remove.
Solution: Use parchment paper on the trays before spreading the apricot puree. It prevents sticking and facilitates easy removal.
3. Too Dry or Hard:
If your apricot leather comes out too dry or hard, you’ve probably over-dehydrated it.
Solution: Monitor the dehydration process closely. The perfect texture is pliable and chewy without any pockets of moisture.
Remember, practice makes perfect. Overcoming these challenges will take you one step closer to mastering the art of making dehydrated apricot leather.
Storing and Serving Apricot Fruit Leather
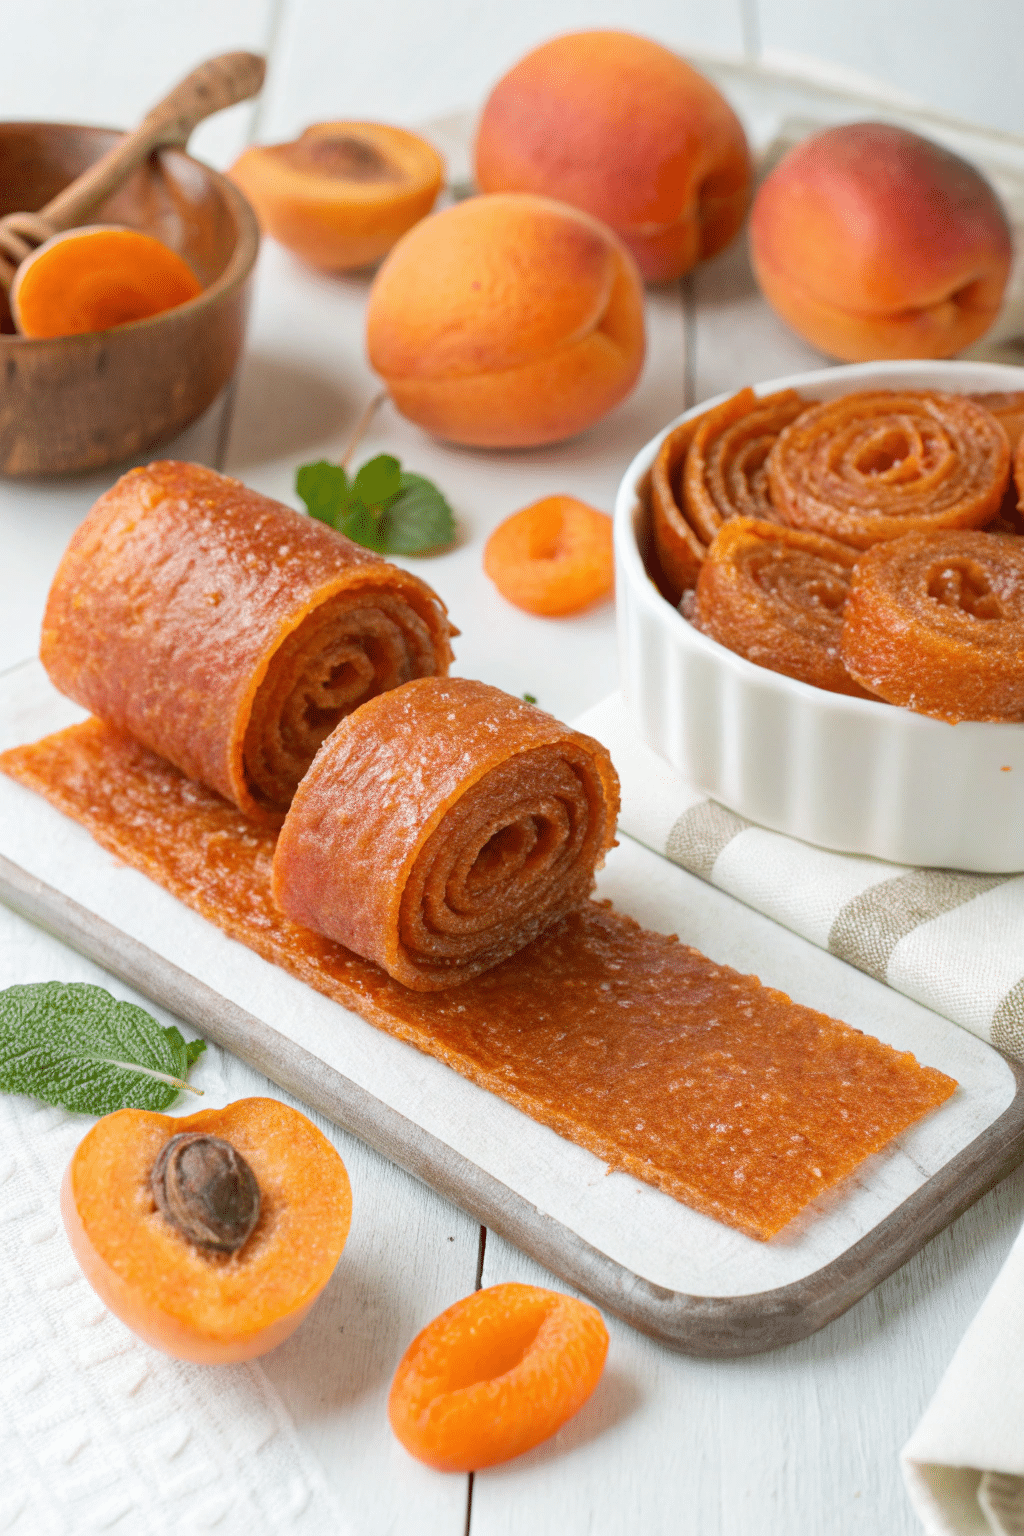
Your homemade apricot fruit leather is a treat to savor. But it’s crucial to store it properly to maintain its taste and nutritional value over time.
Tips for Storing Apricot Fruit Leather
The key to storing dehydrated food, including your apricot fruit leather recipe, is to keep it away from light and heat in an airtight container. Glass or BPA-free plastic containers with tight-sealing lids are ideal choices.
You may also want to consider portioning out the fruit leather before storing it. Cutting it into strips or rolling up individual pieces makes it easy to grab on the go. Just make sure each piece has cooled down completely before packing to prevent condensation, which could lead to mold growth.
If stored correctly at room temperature, these homemade treats can last about two weeks. If you’re seeking a more extended shelf life, up to 12 months, freezing is the ideal option. Wrap each roll individually with plastic wrap, then place all the wrapped rolls inside vacuum seal bags or freezer bags before placing them in the freezer.
Serving Suggestions for Apricot Fruit Leather
Apart from eating it straight off hand-to-mouth style, there’s no harm in getting creative when serving these fruity delights.
- In Yogurt Parfaits: Cut small bits of apricot leather and add them to yogurt parfaits along with granola and other fresh fruits.
- As Toppings: Finely chop and sprinkle it on salads or desserts like ice cream sundaes.
- Dessert Wraps: Create mini dessert wraps by spreading some cream cheese onto the strip and rolling it around fillings such as nuts or chocolate chips.
FAQs in Relation to How to Make Fruit Leather Apricot in a Food Dehydrator
How long does it take to dehydrate fruit leather in a dehydrator?
The drying time for fruit leather varies, but typically it takes between 4-9 hours at 135°F (57°C) in most food dehydrators.
How do you make fruit leather trays on a dehydrator?
You can use special non-stick sheets or parchment paper cut to fit your dehydrator’s trays for making fruit leathers.
How do you keep apricots from turning brown when dehydrated?
To prevent browning, soak the sliced apricots in an ascorbic acid solution before drying them.
Conclusion
Congrats! You have made it through our guide on how to make apricot leather. This recipe is ideal for beginners as it’s quite easy and fast – leaving you with enough time to kick back, relax, and enjoy your delicious apricot leather.
Embracing the art of making apricot fruit leather in a food dehydrator is an exciting journey.
You’ve ascertained which dehydrator is the most appropriate for your requirements.
The steps involved in preparing and drying apricots have been laid out clearly.
Storing and serving this healthy snack has also been covered, ensuring freshness and taste are preserved.
This process not only offers you a nutritious treat but also gives you control over what goes into your snacks.
Making homemade snacks like these can seem daunting at first, but with practice comes perfection.
No more overly sticky or too hard dried fruits!
Ready to take it further? At Dehydrated Foodz, we provide comprehensive information on food dehydrators along with tips, recipes, and much more! For everything from product reviews to delicious dehydration recipes like this one, visit us at dehydratedfoodz.com. Start exploring today!

