Are you a home cook, beginner, or anyone interested in food preservation, healthy snacks, and saving money? If you’ve ever wondered how to use a Nesco dehydrator, this comprehensive guide is for you. We’ll walk you through step-by-step instructions, essential tips, and maintenance advice specifically for Nesco dehydrators. Whether you’re looking to preserve your garden harvest, create nutritious snacks, or reduce food waste, learning to use a Nesco dehydrator empowers you to take control of your food storage and snack options while saving money in the long run.
In this article, you’ll find a beginner-friendly, step-by-step guide on how to use a Nesco dehydrator, including setup, food preparation, temperature settings, and cleaning. We’ll also cover key features like the Converga-Flow® fan, Add-A-Trays, and adjustable temperature control, so you can get the most out of your dehydrator from day one.
TL;DR: How to Use Nesco Dehydrator
Clean trays before use; assemble 4-5 trays (expandable to 12).
Slice food evenly; pre-treat fruits and blanch vegetables.
Set temperature 95°F–160°F based on food type; use timer if available.
Load food in a single layer; rotate trays for even drying.
Clean after use; store dried food in airtight containers.
Quick Start Checklist: How to Use a Nesco Dehydrator
Before diving into the detailed guide, here’s a concise checklist to help you get started with your Nesco dehydrator:
Clean all trays and lids with warm, soapy water before first use. Do not immerse the power head in water.
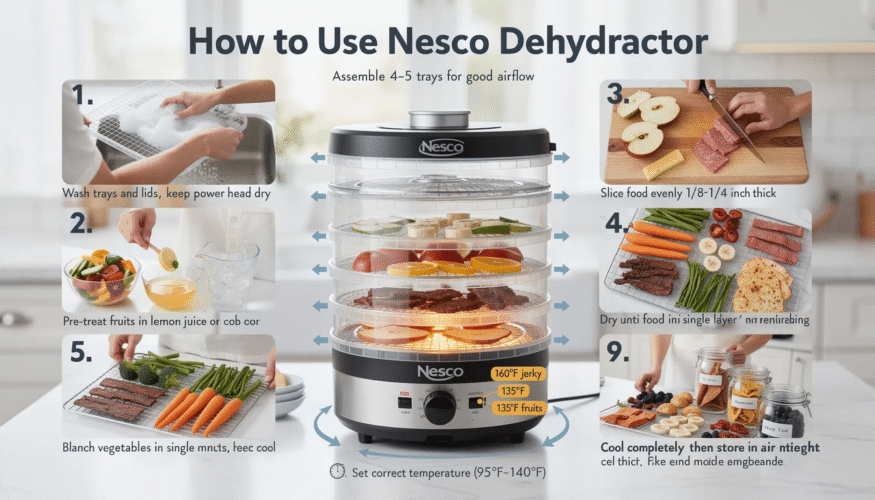
Assemble at least 4-5 trays (even if some are empty) to ensure optimal airflow.
Slice food uniformly to about 1/8 to 1/4 inch thick for even drying.
Pre-treat fruits with lemon juice or ascorbic acid to prevent browning.
Blanch vegetables for 3-5 minutes, then cool, to maintain color and quality.
Load food in a single layer on trays, ensuring pieces do not overlap for proper airflow.
Set the correct temperature using the adjustable control (95°F–160°F): 160°F for jerky, 135°F for fruits, etc.
Dehydrate until food is fully dry, checking frequently toward the end of the drying time.
Let dehydrated food cool completely before storing in airtight containers.
Clean trays and lids after each use with warm, soapy water.
Benefits of Using a Nesco Dehydrator
Why Choose Nesco for Food Preservation?
Nesco food dehydrators are renowned market leaders, celebrated for their efficacy in producing nutritious snacks and preserving food items. They offer a range of advantages for domestic use, making them ideal for home cooks and beginners.
Preserving Food and Saving Money
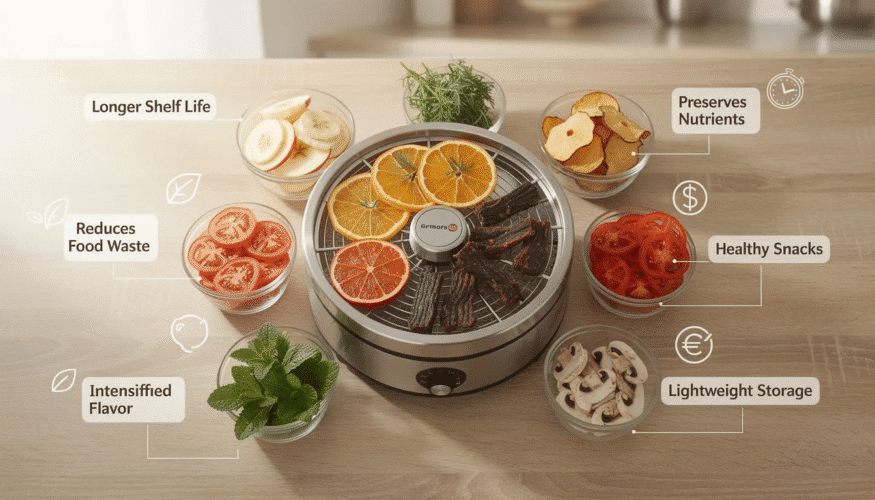
Reduce Food Waste: Dehydrate surplus fruits, vegetables, and herbs to extend shelf life and minimize spoilage.
Save Money: Home dehydration is cost-effective compared to buying commercial dried foods.
Bulk Preservation: Take advantage of seasonal harvests and bulk produce promotions.
Healthy Snack Creation
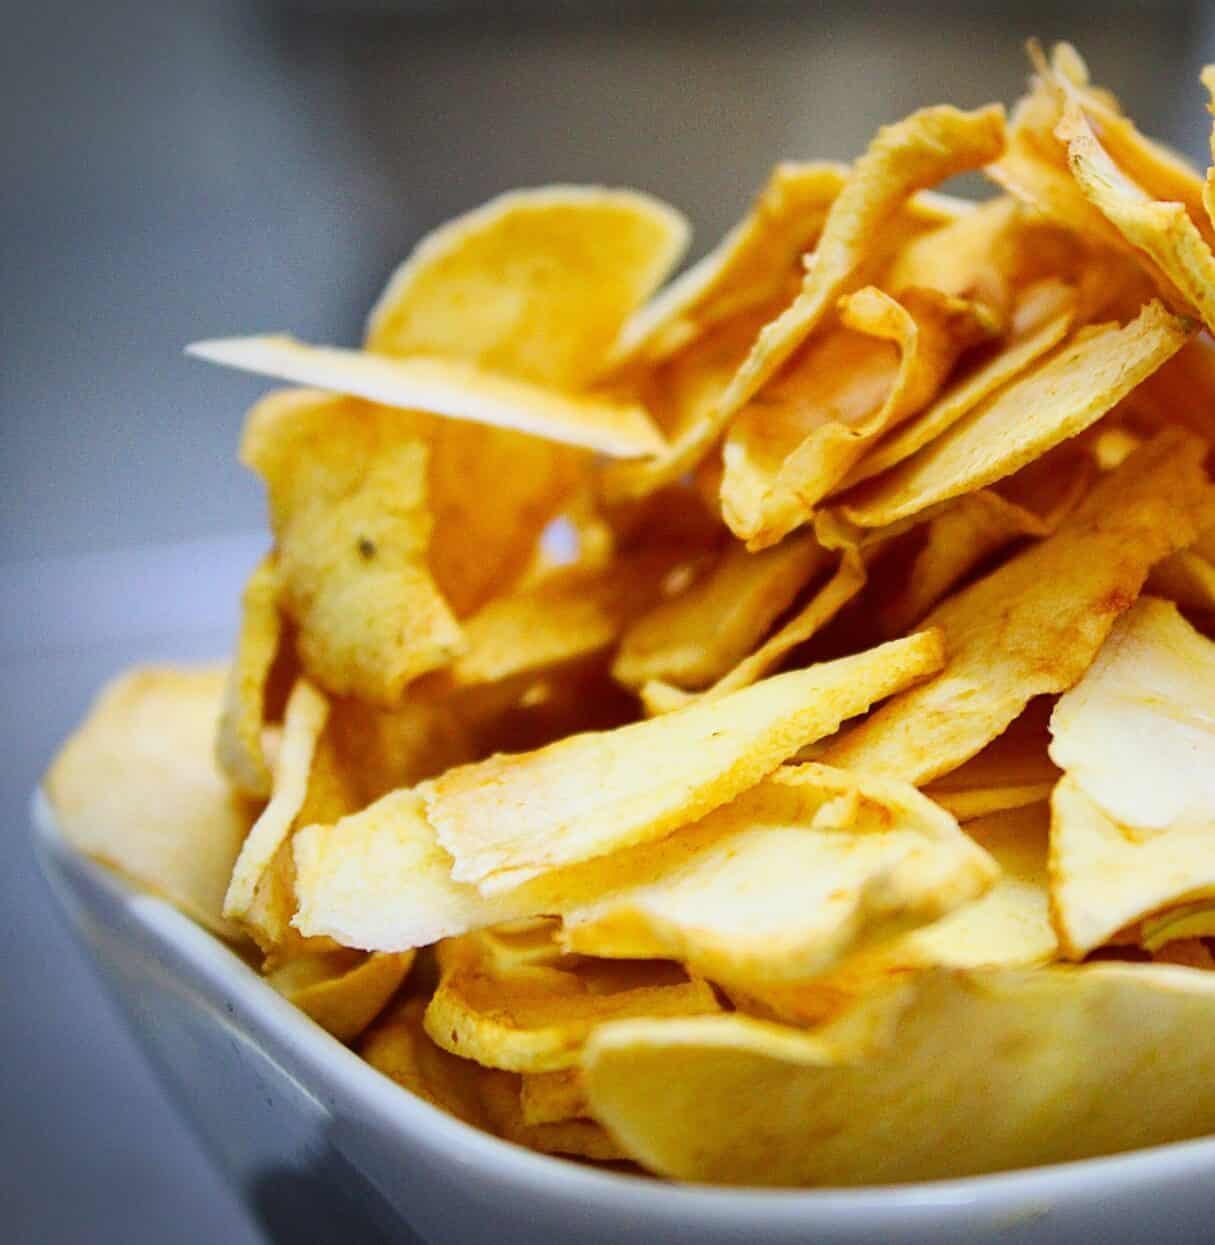
Nutritious Snacks: Easily make banana chips, apple chips, beef jerky, and more.
Control Ingredients: Avoid preservatives and excess sugar found in store-bought snacks.
Key Features Explained
Converga-Flow® Fan: The Nesco dehydrator uses a Converga-Flow® fan to force heated air down the exterior pressurized chamber, ensuring even and efficient drying.
Add-A-Trays: Expand your dehydrator up to 12 trays for drying large quantities of food, perfect for big batches or meal prep.
Adjustable Temperature Control: Set precise drying temperatures from 95°F to 160°F, allowing you to dehydrate a wide variety of foods safely and effectively.
Versatility: The Nesco dehydrator is capable of making jerky, fruit chips, and dried herbs, making it a versatile addition to any kitchen.
Transition: Now that you know the benefits and features, let’s move on to setting up your Nesco dehydrator for the first time.
Setting Up Your Nesco Dehydrator: A Step-by-Step Guide
Choosing the Right Location
Place your dehydrator on a sturdy, well-ventilated countertop away from direct sunlight and water sources.
Cleaning the Trays and Main Unit
Detach the trays from the main unit.
Wash trays and top cover in warm, soapy water. Avoid abrasive cleaners or tools.
Rinse thoroughly and let air-dry.
Wipe the main unit with a damp cloth. Do not submerge the power head in water.
Assembling the Dehydrator
Stack the trays on the main unit. Each tray fits easily into another, forming a tower.
Use at least 4-5 trays (even if some are empty) to ensure optimal airflow.
Place the top cover to finish assembly.
Plug the dehydrator into a suitable electrical outlet.
Add-A-Trays: If you need more capacity, purchase additional Add-A-Trays to expand up to 12 trays for larger batches.
Transition: With your dehydrator assembled and ready, let’s move on to preparing your food for dehydration.
Preparing Food for Dehydration
Cleaning and Prepping Utensils
Clean all utensils and surfaces with a mixture of bleach, detergent, and water to prevent contamination.
Slicing and Pre-Treating Food
Slice food uniformly to about 1/8 to 1/4 inch thick for even drying.
Pre-treat fruits with lemon juice or ascorbic acid to prevent browning.
Blanch vegetables for 3-5 minutes, then cool, to maintain color and quality.
Use very lean meat for jerky to prevent spoilage.
Loading the Trays
Arrange food in a single layer on each tray, ensuring pieces do not overlap for proper airflow.
Avoid marinating items in alcohol and do not use vegetable oil to prevent sticking.
Transition: Now that your food is prepared and loaded, let’s explore the optimal temperature settings for different types of foods.
Drying Temperatures: The Ideal Nesco Settings for Different Types of Foods
Understanding Temperature Control
The adjustable temperature control on a Nesco dehydrator ranges from 95°F to 160°F, allowing you to set the ideal temperature for each food type. This flexibility ensures safe and effective dehydration for everything from herbs to jerky.
Recommended Temperature Settings by Food Type
Food Type
Recommended Temperature
Herbs & Spices
90–100°F
Fruits
125–135°F
Vegetables
125–135°F
Meat & Fish (Jerky)
160°F
Tip: Dehydrating at too high a temperature can “case harden” food, trapping moisture inside and risking spoilage. Always use the recommended settings for best results.
Using the Temperature Control and Timer
If dehydrating different foods at once, set the temperature to the highest required for any item.
Many Nesco models feature a timer—use it to avoid over-drying.
Check food frequently toward the end of the drying time.
Transition: With temperature settings mastered, you’re ready to tackle large batches and maximize your dehydrator’s efficiency.
Using the Nesco Dehydrator for Large Batches: Tips and Tricks
Stacking and Rotating Trays for Even Heat Distribution
Stack up to 12 trays (with Add-A-Trays) for large quantities.
Rotate trays halfway through drying for even results.
Preparing Foods for Large Batches
Slice all foods uniformly for consistent drying.
Prepare meats, fruits, and vegetables in advance for efficiency.
Monitoring Drying Times
Drying times vary by food type, thickness, and humidity.
Check periodically to avoid over-drying or under-drying.
Using Mesh Sheets and Solid Trays
Mesh sheets: Ideal for small items or herbs.
Solid trays: Perfect for fruit leathers or sauces.
Transition: After drying, proper cleaning and maintenance will keep your Nesco dehydrator in top shape for years to come.
Cleaning and Maintenance
Why Cleaning Matters
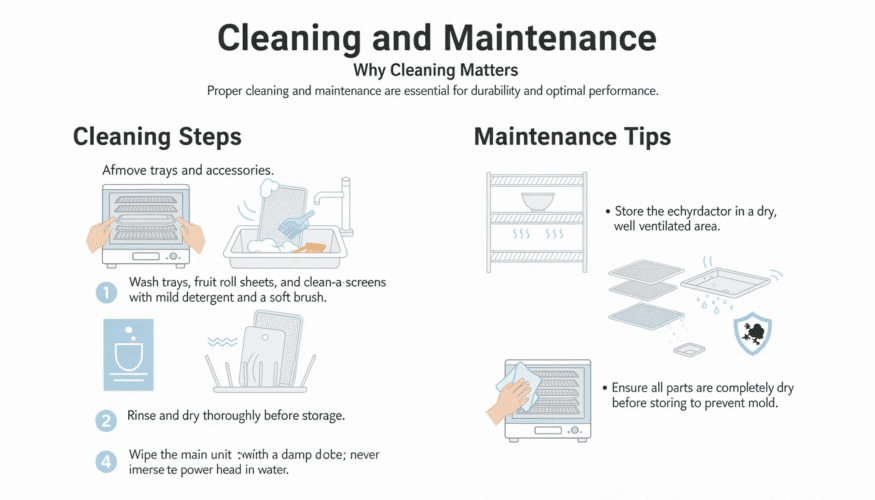
Proper cleaning and maintenance are essential for durability and optimal performance.
Cleaning Steps
After each use:
Remove trays and accessories.
Wash trays, fruit roll sheets, and clean-a-screens with mild detergent and a soft brush.
Rinse and dry thoroughly before storage.
Wipe the main unit with a damp cloth; never immerse the power head in water.
Maintenance Tips
Store the dehydrator in a dry, well-ventilated area.
Ensure all parts are completely dry before storing to prevent mold.
Recipes and Ideas for Using Your Dehydrator
Healthy Snack Ideas and Meal Prep Tips
Apple Chips: Thinly slice apples, sprinkle with cinnamon, and dehydrate until crisp.
Kale Chips: Remove stems, coat leaves in olive oil and sea salt, and dehydrate until crunchy.
Fruit Leather: Blend fruits and spread the purée onto trays with fruit roll sheets.
Beef Jerky: Use very lean meat, slice thinly, and season as desired.
Storage Tips
Store dehydrated snacks in airtight containers or resealable bags in a cool, dark place.
Transition: For more inspiration, check out our favorite Nesco dehydrator recipes and meal prep ideas.
Frequently Asked Questions
How do I use my Nesco dehydrator?
To use your Nesco dehydrator, assemble all parts, clean trays, and load food in a single layer. Set the temperature and time according to the food type, then turn on the dehydrator and let it run until the food is completely dehydrated.
What types of food can I dehydrate with my Nesco food dehydrator?
You can dehydrate a variety of foods, such as fruits, vegetables, herbs, meats, and even flowers. Adjust temperature and time settings for each type.
How long does it take to dehydrate food with the Nesco?
Drying times vary by food type, thickness, and moisture content—generally 4–12 hours.
Can I stack trays in my Nesco?
Yes, you can stack up to 12 trays. Rotate trays every few hours for even dehydration.
Do I need to rotate the trays while using the Nesco?
Yes, rotating trays ensures even dehydration and prevents sticking.
Can I use my Nesco for other purposes?
Yes, you can use it for making yogurt, proofing bread, and drying flowers. Adjust settings as needed.
Where Can I Find The Nesco User Manual?
The Nesco Food Dehydrator comes with a user manual in the box and is also available online. The manual includes safety guidelines, setup instructions, temperature recommendations, troubleshooting, and cleaning tips.
Can You Buy Additional Add-A-Trays?
Yes, you can purchase additional Add-A-Trays to expand your Nesco dehydrator up to 12 trays, increasing capacity for large batches.
With this guide, you’re ready to confidently use your Nesco dehydrator for food preservation, healthy snacks, and more. Happy dehydrating!
DannyContent Writer
Hey there, since 2016, my mission has been to provide you with the information and guides you need to make food dehydrating simple and fun. Whether you're a newbie or a seasoned pro, my site offers helpful guides, reviews, and recipes to enhance your dehydrating experience. I take pride in only recommending products I believe in, ensuring my readers' trust. As an affiliate of various programs, including Amazon Associates, your support helps me continue providing quality content. Thanks for stopping by, and happy dehydrating!