We earn a commission if you make a purchase, at no additional cost to you.
09/22/2026 04:39 pm GMT
🍊 Dehydrated Food Info Finder — Temperatures & Drying Times
Choose a category, then pick a food to see its drying temperature and time.
⚠️ Safety Disclaimer: Drying times are estimates and vary based on slice thickness, food moisture content, humidity, and your dehydrator model. Always check for doneness before storing — food should feel dry, leathery, or brittle with no moist spots. Improperly dried food can harbour mould and bacteria. For meat and poultry, follow USDA safe internal temperature guidelines: beef and pork to 160°F (71°C), poultry to 165°F (74°C). Use a food thermometer when in doubt. Store all dehydrated foods in airtight containers in a cool, dark place and discard anything showing moisture, mould, or off odours.
Fondant Dryer: How to Dry Fondant Decorations Fast (Without Cracks or Color Fading)
If you’ve ever been wondering whether your fondant decorations will be ready in time for a party, you’re not alone. Drying fondant pieces quickly without ruining them is one of the trickiest parts of cake decorating. This post covers every reliable method to dry fondant fast, from your oven light to a food dehydrator, along with the tips you need to avoid cracking, melting, and color fading.
Key Takeaways
Fondant typically requires 24 to 48 hours to air dry completely, but a fondant dryer setup (oven light, fan, or dehydrator) can cut that to 1–4 hours for most decorations.
The safest quick methods use only the oven light (heat off), a tabletop fan, or a dehydrator set to 95–110°F. Never use actual oven baking heat.
Too much heat will melt or bubble fondant and can fade dark colors. Gentle airflow paired with low, indirect warmth is the key.
Thickness, humidity, and whether you add tylose powder or CMC are the three main factors controlling how fast fondant pieces dry.
Always dry a test piece first before committing your full batch of intricate cake toppers or figures.
What Is a “Fondant Dryer” and Why It Matters
A fondant dryer is not usually a standalone appliance you buy online. It refers to any controlled low-heat, high-airflow setup that speeds up the drying process for fondant decorations. Common options most home decorators already own include a conventional oven with only the oven light on, a countertop food dehydrator, a desk fan, or a combination of these.
The goal is simple: turn soft, flexible fondant into firm, dry fondant that can hold its shape, stand upright, and survive being transported to an event without warping. A fondant dryer accelerates the hardening of fondant decorations, and dedicated setups provide continuous airflow to prevent uneven moisture loss. Controlled environments from dryers help achieve consistent drying results every time.
Speed matters in real baking life. If you’re making cupcake toppers on Friday evening for a Saturday party, you cannot wait two days. A fondant dryer closes that gap.
Note: This article focuses on drying fondant pieces and decorations, not full fondant-covered cakes. Cakes need slow, gradual air drying to avoid surface cracks.
How Long Does Fondant Take to Dry (With and Without a “Dryer”)?
At room temperature (around 20–22°C / 68–72°F) with average humidity, fondant can take up to 36 hours to air dry. Fondant cutouts stay soft for at least one day before firming up. Drying fondant in high humidity can make it sticky and slow to set, stretching timelines even further.
Natural air-dry benchmarks:
Thin cutouts (1–2 mm): 12–24 hours
Medium thickness toppers (3–4 mm): 24–36 hours
Sculpted pieces and figures: 2–3 days, often still soft inside
With a fondant dryer:
Oven light only: many flat fondant pieces firm in 1–3 hours
Desk fan: typically 6–12 hours instead of overnight
Food dehydrator on low: 30 minutes to 2 hours for most smaller pieces
Thickness, humidity, and any added tylose or gum paste dramatically change these numbers. Suggest making one sacrificial test piece first. For delicate projects like sugar flowers or figurines, recommend leaving them to cure 1–2 weeks in advance for complete internal drying.
Using Your Oven Light as a Gentle Fondant Dryer
The easiest fondant dryer is an ordinary oven with the heating off and the oven light switched on. The bulb creates mild, even warmth inside the enclosed space-enough to push moisture out without any risk of baking your decorations.
Setup steps:
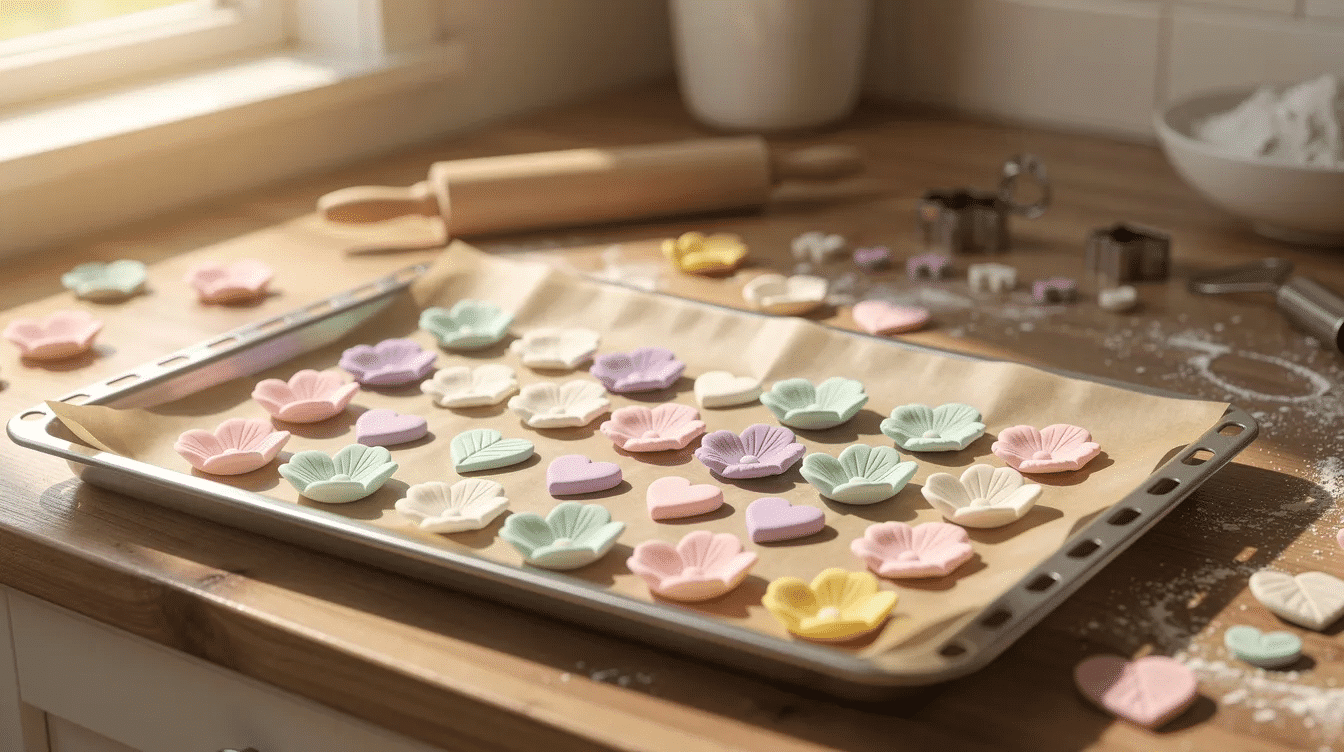
Line a flat cookie sheet with baking paper or parchment
Place fondant pieces in a single layer, not touching each other, so air can circulate
Slide the tray into a cold oven; keep all heating elements OFF, turn only the oven light on
Close the door to trap gentle warmth; open and check every 30–45 minutes
Using an oven light can dry fondant pieces in a few hours. Small, thin forms often firm within about 1 hour. Thick decorations may take several hours, and very thick figurines might need a few hours under the light followed by overnight air drying.
Common mistakes to avoid:
Do not turn the oven to any baking temperature. Even the lowest “warm” setting (65–75°C) can melt, bubble, or crack fondant.
Avoid this method for chocolate-based fondant in hot kitchens-it can become oily and lose its shape.
Dark-colored fondant may fade slightly under a very bright bulb over many hours.
For large sculpted pieces, dry parts separately (head, torso, legs) and attach them with edible glue once all sections are completely dry. Press internal supports like toothpicks or skewers into place before drying.
Using a Fan, Blow Dryer, or Dehydrator as a Fondant Dryer
Gentle airflow is often more important than heat when it comes to drying fondant pieces. Moving air from a fan can speed up fondant drying significantly, and a dehydrator can function as an efficient fondant dryer without risking melting.
Stationary fan method:
Place fondant decorations on parchment or waxed paper on a tray
Aim a fan at low–medium speed across the tray, not blasting directly at the pieces
Drying time typically drops to 4–12 hours depending on size and humidity
Blow dryer method:
A hair dryer can be used on small fondant pieces to avoid melting. Low heat settings are essential to avoid softening or melting fondant.
Hold at least 20–30 cm (8–12 inches) away, moving constantly
Best for quickly firming small details already on a cake-a short burst of a bit of cool air, not prolonged heat
Place decorations on mesh or parchment-covered trays so smaller pieces don’t pop through gaps
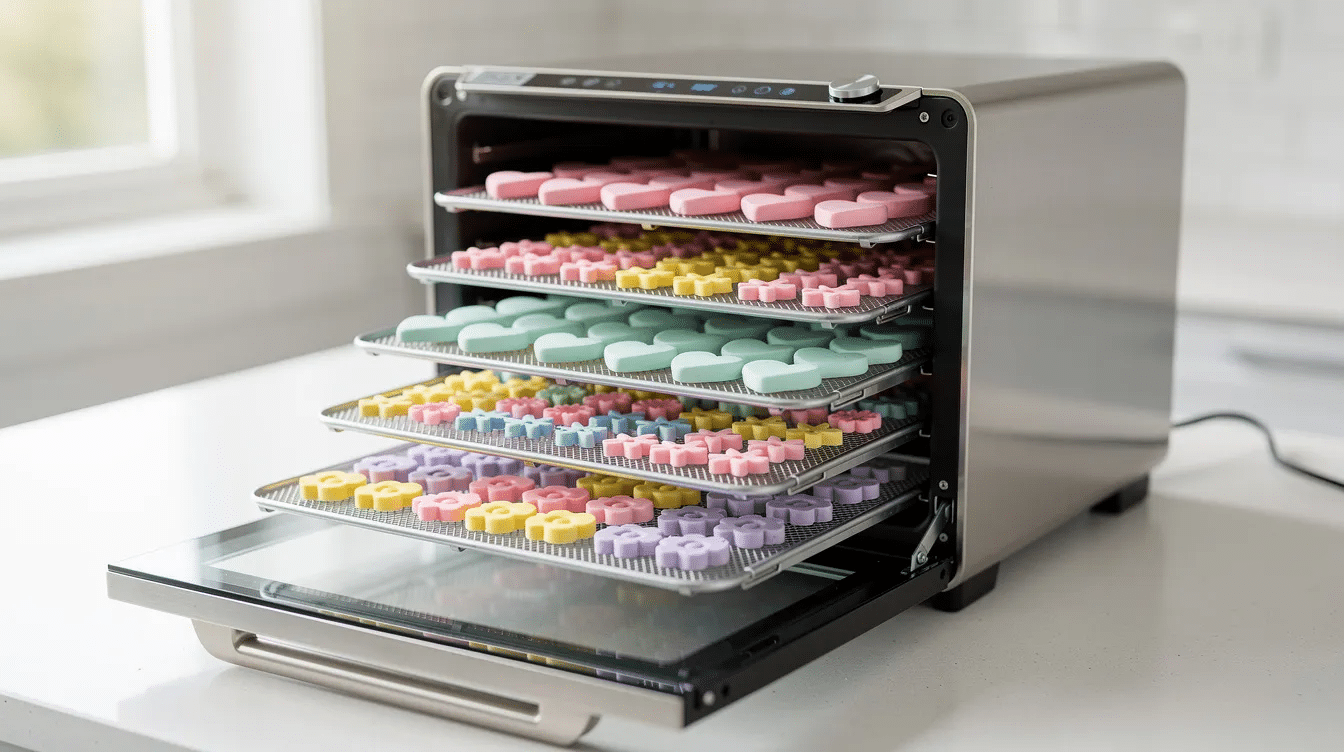
Set temperature low, around 95–110°F (35–43°C). Check after 30 minutes; most flat fondant pieces dry within 1–2 hours.
Dehydrator drying time varies by size and thickness of pieces. Use the top tray of a dehydrator for better drying results, since it’s farthest from the base heating element.
Be aware that fondant can become hot and soft in a dehydrator if the temperature is too high, and dehydrators can be noisy, similar to stove exhaust fans-lol, plan accordingly if you’re running one overnight; if you notice uneven drying or strange noises, basic food dehydrator troubleshooting for common issues can help keep it running smoothly.
Food dehydrators may slightly dull very shiny finishes or deepen some gel colors. Test a sample piece if color precision is critical before committing your entire batch.
Choosing the Right Surface and Thickness for Faster Drying
Surface choice and thickness dramatically affect how efficiently any fondant dryer setup will work.
Best surfaces:
Clean, flat trays lined with baking paper or plain paper towels for smooth backs on fondant decorations
Avoid deeply textured silicone mats or patterned towels unless you intentionally want texture pressed into the fondant
For flat fondant decorations (letters, simple shapes), rolling to about 2–3 mm keeps drying quick. Thinner fondant pieces dry faster than thicker ones.
For standing toppers and plaques, go slightly thick at 3–5 mm so they stay sturdy
Very thick sculpted fondant figures can feel dry outside but remain soft inside; let them harden in stages and support them with internal skewers
Dusting lightly with cornstarch or icing sugar helps keep surfaces from sticking to your tray, but overusing them can cause cracks. A tiny bit of shortening on the outer surface can slow initial skin drying to match the interior, reducing splitting.
Adding Drying Agents: Tylose, CMC, and Gum Paste Mixes
You can turn standard fondant into a faster-drying, stronger medium by kneading in tylose powder or CMC, or by mixing with gum paste. Adding CMC or Tylose powder can help fondant dry firmer and faster.
Practical ratios:
For normal fondant decorations: knead in about 1 teaspoon of tylose/CMC per 250 g (9 oz) fondant
For extra-strong, quick-drying fondant pieces (wired petals, standing figures): use a 50/50 mix of fondant and ready-made gumpaste, just as bakers might adapt recipes when using a dehydrator specifically for cookies to control texture and drying time
What changes when you add tylose:
Working time becomes shorter-shape your pieces promptly before they stiffen
Finished decorations become lighter, stronger, and less likely to sag or lose their form on the cake
Edges firm up fast, so have your food coloring and spray finishes applied before the surface sets
Decorations loaded with gel color or metallic dust may still take slightly longer to dry even with drying agents. Leave them in your fondant dryer setup until fully firm. Advise beginners to test a small batch first-write down how your specific brand of fondant reacts before committing an entire project’s cost and time.
Storing and Displaying Dry Fondant Decorations After Using a Fondant Dryer
Once you successfully dry fondant decorations, proper storage keeps them crisp, safe, and brightly colored until use.
Storage best practices:
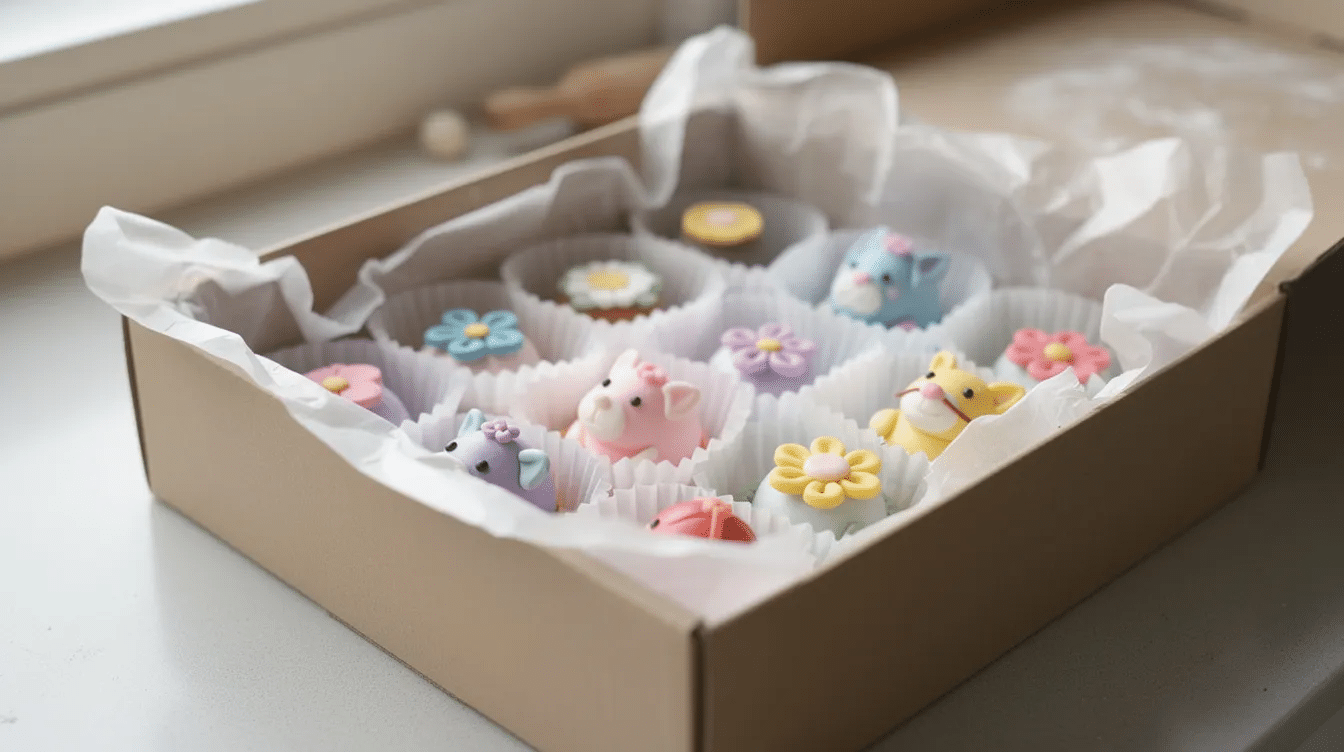
Store dried fondant decorations in a cardboard box rather than an airtight container, so residual moisture can escape, much like how airflow and ventilation are critical in an industrial food dehydrator setup to move moisture away from products
Line the bottom of the box with baking paper. Use silica gel packets to keep fondant dry during storage, and optionally add foam padding to cushion delicate pieces, echoing the long tradition of using dehydrators for food preservation over time
Separate flat fondant pieces with parchment; store 3D figures in a single layer without touching
Store fondant decorations in a cool, dark cupboard away from direct sunlight, strong kitchen odors, and steam. Don’t wrap them in plastic wrap while they still have any internal moisture, and if you decide to invest in equipment, compare top food dehydrator companies and models so your dryer matches your baking style.
Display options:
Glass cake domes or acrylic covers for short-term display of toppers on stands
Glass-doored cabinets for long-term showcasing, keeping dust and humidity out
Fully dried, non-perishable fondant decorations (keepsakes) can last months or even years if kept dry and shielded from light, but treat them as non-edible after a week or more of storage.
Common Mistakes When Drying Fondant Pieces (and How to Avoid Them)
Most fondant dryer disasters come from too much heat, not enough air, or rushing thick pieces. Here are the frequent problems and fixes:
Melting or shiny patches: Caused by switching the oven on instead of using only the oven light. The fondant will melt and lose definition. Fix by trimming damaged edges and letting the next batch dry with no direct heat, following the same low-and-slow approach recommended when drying delicate flowers in the oven.
Cracking: Often from rolling too thick, overloading with cornstarch, or speeding up the drying process too aggressively. Suggest thinner rolling and applying a small amount of shortening on the surface.
Color fading: Happens under strong, hot lights or very long dehydrator cycles. Use only mild warmth and cover drying racks loosely with parchment to shield dark colors from direct light.
Humidity shock: Airtight containers can trap moisture and harm decorations. Storing fondant pieces in sealed plastic while still slightly soft causes them to re-absorb moisture, become sticky, or break down. Breathable boxes are safer.
Always dry a test piece first with your chosen fondant dryer-oven light, fan, or dehydrator-before committing large, intricate fondant decorations like character figurines or sugar flowers.
FAQ: Fondant Dryer and Drying Fondant Decorations
These frequently asked questions cover extra practical details about drying fondant that decorators often run into beyond the core methods mentioned above.
Can I put fondant decorations in a regular warm oven to dry faster?
Turning the oven to baking temperatures (120–180°C / 250–350°F) will usually melt, bubble, or crack fondant pieces. Even the lowest “warm” setting on most ovens is too hot. The safe method is to use only the oven light as a gentle fondant dryer, never actual baking heat. If your oven doesn’t have a light, use a food dehydrator or fan instead.
How early can I make fondant decorations if I dry them with a fondant dryer?
For most edible toppers, making them 3–7 days in advance is ideal, even if they dry in a few hours with a dryer. This gives them time to fully firm and gives you backup time in case of breakage. Purely decorative, non-eaten toppers (keepsakes) can be made 2–4 weeks ahead, provided they are stored dry and away from light.
Why are my fondant pieces still soft inside even after using a dehydrator?
Thick fondant decorations may feel hard on the surface but retain softness in the center, especially in humid climates or with heavy gel color. Try rolling thinner, drying in multiple short cycles with cool breaks in between, or using a 50/50 fondant–gum paste mix for faster internal drying, and if you need more capacity and control, consider a large Weston 10 tray dehydrator to spread pieces out in a single layer.
Is it safe to use a hair dryer on fondant already on a cake?
It can be safe if you use the coolest setting, hold it at a distance, and apply only short bursts to avoid melting buttercream or creating condensation. Test on a hidden area first. A small fan positioned nearby is usually safer and more consistent than a concentrated blast from a blow dryer, or you can rely on a compact unit like the Waring Pro DHR30 dehydrator with built-in fan circulation for controlled drying.
Can I re-soften fondant decorations that I dried too much?
Fully dry fondant cannot truly return to its original pliable state. Small cracks can be disguised with a thin layer of piping gel or royal icing. As a workaround, create a fresh soft fondant piece and attach the over-dried decoration as a rigid topper or plaque instead of trying to bend it again.
DannyContent Writer
Hey there, since 2016, my mission has been to provide you with the information and guides you need to make food dehydrating simple and fun. Whether you're a newbie or a seasoned pro, my site offers helpful guides, reviews, and recipes to enhance your dehydrating experience. I take pride in only recommending products I believe in, ensuring my readers' trust. As an affiliate of various programs, including Amazon Associates, your support helps me continue providing quality content. Thanks for stopping by, and happy dehydrating!