Cherry fruit leather is a timeless snack that combines the natural sweetness of cherries with the chewy texture of traditional fruit leather. This delicious treat has been enjoyed for centuries, originating in ancient civilizations where it was used as a method to preserve fruits. The original recipe for cherry fruit leather is rooted in these traditional preservation methods, emphasizing simple, natural ingredients. Homemade cherry fruit leather requires fresh or frozen pitted cherries as the main ingredient. Today, it remains a favorite among health-conscious foodies and home chefs who appreciate its flavor and nutritional benefits.
Fruit leather offers a convenient way to consume fruit, retaining much of the fiber, vitamins, and antioxidants found in fresh cherries. It’s an excellent snack for those seeking a portable, long-lasting, and healthy option. Whether you’re a seasoned chef or a DIY enthusiast looking to explore new culinary creations, making cherry fruit leather at home is both practical and rewarding.
Introduction to Fruit Leather
Fruit leather, sometimes called fruit rollups, is a tasty and wholesome snack made by pureeing fruit and drying it into a thin, flexible sheet. Unlike many store-bought fruit snacks, homemade fruit leather lets you enjoy the natural flavors of cherries and other fruits without unnecessary additives or excess sugar. Dehydrated fruit becomes sweeter in flavor due to the concentration of sugars. This delicious treat is perfect for kids and adults alike, offering a chewy texture and sweet, fruity taste that’s hard to resist. You can make fruit leather from a wide range of fruits—cherries, strawberries, blueberries, apricots, and more—so you can mix and match flavors to suit your preferences. Whether you’re looking for a fun lunchbox addition or a healthy alternative to processed snacks, fruit leather is a simple and satisfying choice.
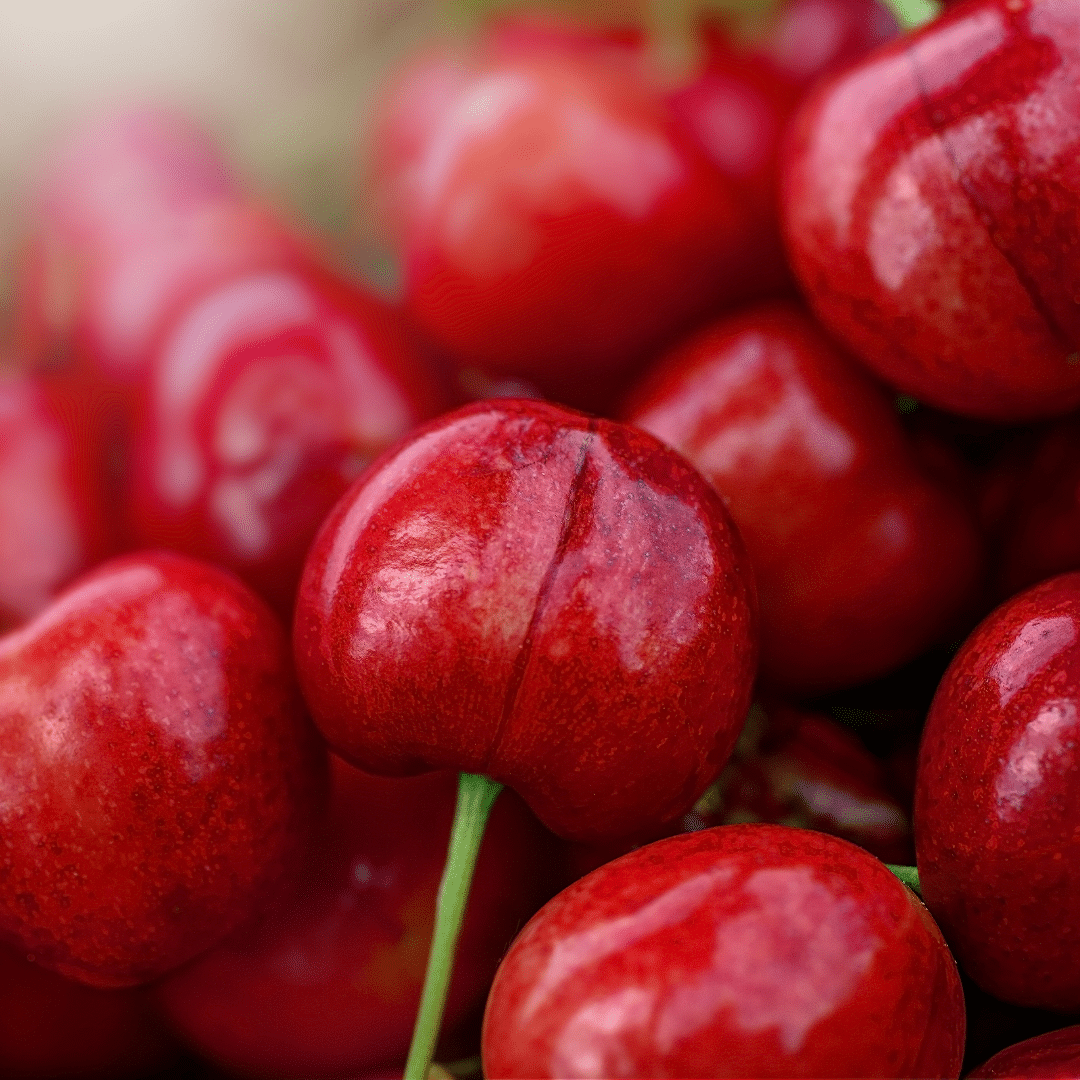
The Cherry Selection
The key to exceptional cherry fruit leather starts with selecting the right cherries. Ideally, you’ll want to choose ripe, sweet cherries, as they will yield the best flavor. Here are a few tips to guide your selection:
- Varieties: Bing and Rainier cherries are popular choices due to their natural sweetness and rich flavor. If you prefer a slightly tart taste, Montmorency cherries are a great option.
- Seasonality: Fresh cherries are typically in season from late spring to mid-summer. Purchasing cherries during this time ensures you get the best quality and flavor.
- Quality Indicators: Look for cherries that are firm, plump, and have a deep, vibrant color. Avoid cherries with blemishes, bruises, or signs of mold.
- Pitting: Before pitting, be sure to remove stems from all cherries. Using a cherry pitter makes the preparation of cherries easier and cleaner. Use a cherry pitter to efficiently pit the cherries, collecting the pits in a bowl to keep your workspace clean. Make sure all cherries are fully pitted before proceeding.
You can also use frozen cherries as a convenient alternative. Just ensure they are pitted before use.
Benefits of Homemade Snacks
Making your own cherry fruit leather at home comes with a host of benefits. First, you have complete control over the ingredients, allowing you to adjust the sweetness, avoid artificial additives, and use only the freshest fruits. Homemade fruit snacks are often more cost-effective than store-bought options, especially during cherry season or when you have an abundance of fruit on hand. Preparing fruit leather can also be a fun family activity, letting kids help with pitting cherries or spreading the mixture. The process of making fruit leather can be fun for children and involves hands-on work. Plus, you can experiment with different flavors and combinations, creating unique fruit rollups that suit your taste. With homemade snacks, you know exactly what you’re eating, making it easier to enjoy a delicious treat that fits your lifestyle.
Preparation
Preparing your cherries is a straightforward process that involves a few essential steps:
- Washing: Rinse the cherries thoroughly under cold water to remove any dirt or pesticides.
- Pitting: Remove the pits using a cherry pitter or a small knife. This step is crucial, as pits can be a choking hazard and will interfere with the texture of the fruit leather.
- Cooking: Place the pitted cherries in a pot and add a small amount of water. Bring the mixture to a gentle boil, then cook the cherries until they soften. Continue to cook until you have cooked cherries that are tender and ready for pureeing.
- Pureeing: Use a blender, food processor, or immersion blender to blend the cooked cherries into a smooth puree. Blending ensures an even texture for your fruit leather.
- Optional Enhancements: To enhance the flavor, you can add a splash of lemon juice, a pinch of salt, or a bit of honey. You may also add sugar during the cooking process to balance tartness and improve flavor, adjusting the sweetness based on your preference. These additions can help balance the sweetness and add depth to the taste.
Equipment Needed
To make cherry fruit leather successfully, having the right equipment is essential. Here’s a list of the basic tools and items you’ll need:
- Cherry Pitter: This handy tool makes removing pits from cherries quick and mess-free, saving you time and effort during preparation.
- Pot or Saucepan: For cooking the cherries gently to soften them before pureeing.
- Blender, Food Processor, or Immersion Blender: To puree the cooked cherries into a smooth, even mixture, ensuring a consistent texture for your fruit leather.
- Baking Sheets or Dehydrator Trays: Depending on your drying method, you’ll need flat surfaces to spread the cherry puree. Baking sheets should be rimmed to prevent spills, while dehydrator trays are designed for optimal air circulation.
- Parchment Paper or Silicone Mats: To line your baking sheets or dehydrator trays, preventing the fruit leather from sticking and making removal easier.
- Spatula or Offset Spatula: For spreading the cherry puree evenly across your prepared surface.
- Oven or Food Dehydrator: The drying equipment to transform the puree into chewy fruit leather. An oven set to a low temperature works well, but a dehydrator provides more consistent drying conditions.
- Sharp Knife or Kitchen Scissors: For cutting the dried fruit leather into strips or shapes for rolling and serving.
- Airtight Containers or Plastic Bags: For storing the finished fruit leather to maintain freshness and prevent it from drying out further.
Optional equipment might include a citrus juicer if you plan to add fresh lemon juice to enhance flavor or measuring cups and spoons for precise ingredient additions.
Having these tools on hand will streamline the process and help you achieve the best results when making your homemade cherry fruit leather.
Drying Methods
There are several methods to dry your cherry puree into fruit leather. Each method has its own set of advantages. Typically, you will place cherries or the cherry mixture onto prepared baking sheets or pans for drying. Be sure to line the baking sheets or pans with parchment paper or a silicone mat to ensure easy removal of the fruit leather. When spreading the mixture, aim for a thick but even layer to promote uniform drying. The fruit leather is ready when it feels just slightly tacky to the touch. Here’s a detailed comparison:
Oven-Drying
- Preheat: Set your oven to the lowest temperature setting, usually around 140°F (60°C). If you’re interested in learning how to dehydrate other fruits, such as persimmons, using different methods, check out this guide.
- Prepare Baking Sheet: Line a baking sheet with parchment paper or a silicone mat.
- Spread Puree: Evenly spread the cherry puree on the prepared baking sheet to about 1/8-inch thickness.
- Baking Time: Place in the oven and bake at a low temperature for 4-6 hours, depending on thickness and oven temperature, until the mixture is slightly tacky and no longer sticky. Rotate the sheet periodically to ensure even drying.
- Check Readiness: The fruit leather is done when it’s dry to the touch but still pliable.
Dehydrator Method
- Set Up Dehydrator: Preheat your dehydrator to 135°F (57°C).
- Prepare Trays: Line the dehydrator trays with parchment paper or silicone sheets.
- Spread Puree: Evenly spread the cherry puree on the trays.
- Drying Time: Dry for 6-8 hours, checking periodically for consistency. For another fruit snack idea, learn how to dehydrate blueberries.
- Check Readiness: The leather should peel away easily from the parchment but remain flexible.
Air-Drying
- Optimal Conditions: Air-drying is best suited for warm, dry climates. Ensure you have a clean, dust-free environment.
- Prepare Surface: Use a clean, flat surface lined with parchment paper.
- Spread Puree: Evenly spread the cherry puree.
- Drying Time: Allow to dry for 1-2 days, flipping halfway through to ensure even drying.
- Check Readiness: The fruit leather should be dry and pliable.
Rolling Up the Snack
Once your cherry fruit leather has finished drying and cooled to room temperature, it’s time to transform it into easy-to-eat snacks. Carefully peel the leather away from the parchment paper or silicone mat. Use a sharp knife or kitchen scissors to slice the leather into strips of your desired width. For classic fruit rollups, roll each strip up with a bit of parchment paper to prevent sticking and make them easy to grab on the go. Children of all ages enjoy homemade fruit leather snacks. These rolls can be stored in an airtight container in your pantry, fridge, or freezer, depending on how long you plan to keep them. Rolled fruit leather makes a fun, portable snack for lunchboxes, hikes, or anytime you want a sweet, chewy treat.
Storing and Serving
Proper storage is essential to maintain the freshness of your cherry fruit leather. Here are some tips:
- Storing: Once dried, cut the fruit leather into strips and roll them up with parchment paper to prevent sticking. Store in an airtight container or plastic bags. Kept in a cool, dry place, it will last for several weeks. For longer storage, consider refrigerating or freezing. Homemade cherry fruit leather can be stored at room temperature for up to a month and lasts longer in the freezer.
- Serving Ideas: Enjoy as a stand-alone snack or get creative. Use it as a topping for yogurt, incorporate it into trail mix, or cut into shapes for decorative dessert garnishes.
Notes: For best results, make sure the fruit leather is completely cool before storing to avoid condensation. If you notice any moisture inside the container, let the leather air dry a bit longer. Always check for signs of spoilage before consuming, especially if stored for extended periods.
Tips and Variations
Get creative with your cherry fruit leather by trying different flavor combinations and techniques. For a tangy twist, add a splash of lemon juice or a sprinkle of cinnamon to the cherry mixture before drying. If you prefer a sweeter snack, stir in a bit of honey or adjust the amount of sugar to taste. You can also blend cherries with other fruits like strawberries, blueberries, or apples for unique flavors and added nutrition. If your fruit leather turns out too sticky, try increasing the drying time or spreading the mixture a bit thinner next time. For long term storage, freeze the finished rolls in an airtight container to keep them fresh for months. Don’t be afraid to experiment—homemade fruit leather is all about finding the flavors and textures you love!
Health Benefits
Cherry fruit leather is not just tasty; it’s packed with nutrients. Here are some of the health benefits:
- High Fiber Content: Helps with digestion and promotes a feeling of fullness.
- Rich in Antioxidants: Cherries are known for their high levels of antioxidants, which help fight free radicals and reduce inflammation.
- Vitamins and Minerals: Provides essential vitamins like vitamin C and potassium, contributing to overall health and wellness.
Nutrition information for homemade cherry fruit leather is an estimate and can vary depending on the specific ingredients and portion size used.
Conclusion and Call to Action
Making cherry fruit leather at home is a fulfilling process that ensures you have a healthy and delicious snack on hand. The steps are simple, and the results are rewarding. Why not give it a try? Share your creations on social media and tag us to join our community of health-conscious foodies and home chefs. For more recipes and tips, visit our website.
Happy cooking!
Hey there, since 2016, my mission has been to provide you with the information and guides you need to make food dehydrating simple and fun. Whether you're a newbie or a seasoned pro, my site offers helpful guides, reviews, and recipes to enhance your dehydrating experience. I take pride in only recommending products I believe in, ensuring my readers' trust. As an affiliate of various programs, including Amazon Associates, your support helps me continue providing quality content. Thanks for stopping by, and happy dehydrating!