We earn a commission if you make a purchase, at no additional cost to you.
09/22/2026 04:39 pm GMT
🍊 Dehydrated Food Info Finder — Temperatures & Drying Times
Choose a category, then pick a food to see its drying temperature and time.
⚠️ Safety Disclaimer: Drying times are estimates and vary based on slice thickness, food moisture content, humidity, and your dehydrator model. Always check for doneness before storing — food should feel dry, leathery, or brittle with no moist spots. Improperly dried food can harbour mould and bacteria. For meat and poultry, follow USDA safe internal temperature guidelines: beef and pork to 160°F (71°C), poultry to 165°F (74°C). Use a food thermometer when in doubt. Store all dehydrated foods in airtight containers in a cool, dark place and discard anything showing moisture, mould, or off odours.
Can You Make Jerky From Cooked Meat? A Full Guide to Using Leftovers Safely
You have a leftover roast sitting in the fridge and a dehydrator gathering dust on the counter. The question practically asks itself: can you turn that cooked meat into jerky? The short answer is yes, but the details matter more than you might expect.
This guide walks you through everything you need to know, from which leftovers work best to food safety rules, seasoning strategies, drying methods, and realistic shelf life expectations.
Key Takeaways
Yes, you can make jerky from cooked meat like cooked roast beef, leftover steak, or rotisserie chicken, but it will not keep as long as traditional raw-meat beef jerky and needs different handling throughout the process.
Cooked-meat jerky is best treated as a tasty way to rescue leftovers rather than a long-term survival food. Because the meat has already been through one cooking and cooling cycle, the texture, moisture profile, and risk factors all differ from classic jerky made from raw strips.
Food safety is non-negotiable from the start. The meat must have been chilled promptly after the first cooking, kept below 40°F (4°C), and turned into jerky within two to three days for best results. Reserving leftover meats for jerky should be done with high-quality and properly stored meat to ensure safety.
Expect texture and flavor differences. Using cooked meat produces a softer texture compared to raw meat jerky. The result tends to be a little more brittle and less chewy than classic dehydrated raw strips, but cooked-meat jerky can be excellent for snack mixes and hiking snacks.
Understanding Jerky: Traditional Method vs. Using Cooked Meat
Classic beef jerky starts with lean, raw beef sliced into thin strips, marinated with salt and spices, then dried at low temperature until shelf-stable. The technique traces back centuries to Indigenous peoples in the Americas, who sun-dried lean meat with salt, and the broader history and invention of beef jerky spans cultures and eras. The word “jerky” itself comes from the Quechua term “ch’arki”, meaning dried meat.
Raw meat is the traditional starting point for good reason. Seasoning penetrates deeper before proteins set from heat, fat can be trimmed more aggressively when you can see every seam, and controlled drying from a raw state gives the longest possible shelf life. The whole process is engineered around taking fresh, lean, raw strips from start to finish in one controlled workflow.
Jerky from cooked meat flips this sequence. You are essentially re-drying already cooked leftovers, like pot roast, brisket, cooked roast beef, or rotisserie chicken, to create a dry, portable snack. Think of the result more as “meat chips” or crispy shreds than as the stretchy, chewy jerky you find in gas station bags. The flavor can be delicious, but the durability and shelf life simply will not match properly dried, vacuum-sealed store bought jerky.
That said, making your own jerky from leftovers is a practical, low-waste approach that home cooks can pull off with minimal equipment and about an hour of hands-on effort.
Can You Safely Make Jerky From Cooked Meat? (Short, Clear Answer)
It is safe to make jerky from cooked meat if you follow strict food-safety rules about time, temperature, and cleanliness. No shortcuts, no exceptions.
The fundamental conditions are straightforward:
The meat was originally cooked to at least 160°F (71°C) for beef, pork, lamb, or game, or 165°F (74°C) for poultry. The USDA recommends heating meat to 160°F for safety as a baseline before any drying process.
After cooking, the meat was cooled quickly, refrigerated promptly to below 40°F (4°C), and used within two to three days.
The meat never sat in the “danger zone” (40–140°F / 4–60°C) for more than two hours total.
Any cooked meat showing signs of spoilage, whether it is an off smell, sliminess, or gray-green patches, must never be used. Dehydrating cannot fix bad meat. The drying stage’s only job here is to drive off moisture, not to kill pathogens, so you need to start with very safe leftovers.
In terms of shelf life, cooked-meat jerky should be treated as a short-term snack, lasting days to a couple of weeks in the fridge, and not as a months-long emergency ration like the best jerky made from raw, lean cuts with curing salt; if you are curious how long jerky can really last, it helps to understand beef jerky shelf life and expiration in more detail.
Best Types of Cooked Meat to Turn Into Jerky
Lean, simply seasoned leftover meats make the best starting material for homemade jerky. Very fatty or heavily sauced dishes usually do not dry well because fat oxidizes, goes rancid, and traps moisture in pockets that bacteria love. Use lean cuts of meat to prevent spoilage and get cleaner results.
Ideal candidates:
Leftover roast beef, particularly from cuts like eye of round, round steak, or top and bottom round. These are relatively lean and come in large pieces that slice easily across the grain. A round roast is one of the most forgiving starting points.
Well-trimmed smoked brisket flat (not the fatty point).
Grilled flank steak, sirloin, or rare steak that was pulled just past medium-rare and is still tender enough to slice thin.
Roasted pork loin with exterior fat removed.
Baked or rotisserie chicken breast once skin and fat are removed.
Avoid using:
Very marbled cuts like prime rib with heavy fat caps. Avoid cuts with high fat content for better jerky across the board.
Fatty pulled pork shoulder.
Meats swimming in creamy or dairy-based sauces.
Anything breaded, battered, or glazed with lots of sugar that will burn or turn sticky in the dehydrator.
Venison is a popular choice for jerky due to its leanness, and leftover venison roasts from hunting season also work extremely well once cooked and chilled, offering a low-cost path to your first batch of homemade jerky snacks; similar logic applies when choosing the best cuts of beef for jerky if you decide to make a traditional raw-meat batch.
Pros and Cons of Making Jerky From Cooked Meat
Using cooked meat is a compromise. There are real advantages in convenience, but also genuine trade-offs in texture and storage life.
Pros:
Lets you rescue dinner leftovers instead of watching them go to waste in the fridge.
Faster overall process because the meat is already cooked, so the only step left is seasoning and drying.
Good way to test flavor ideas and a new homemade beef jerky marinade recipe before committing an entire raw round roast to a weekend jerky project.
Easy to make small batches for hiking, lunchboxes, or road trips without scaling up.
Cons:
Shorter shelf life, and the finished jerky must be refrigerated or kept in the freezer for safety.
Texture may be drier, softer, or more crumbly than classic chewy homemade beef jerky.
Seasoning does not penetrate as deeply since the protein structure is already set, so flavors sit on the surface.
Any earlier mishandling of the leftovers carries straight into the finished jerky. You cannot out-dehydrate poor food safety.
If your goal is the absolute best jerky for long storage and perfect, flavorful pull-apart texture, you should still learn traditional raw-meat methods. But cooked-meat jerky is excellent for quick snacking. Treat it as an add-on skill, useful for weeknight leftovers and holidays (leftover Christmas roast, anyone), not necessarily a replacement for full-scale jerky production.
Food Safety Fundamentals When Using Cooked Meat
Every step, cooking, cooling, storing, and drying, affects the safety of jerky made from cooked meat. Dehydration does not make unsafe meat safe.
Time and temperature rules:
Cooked meat should go from hot to under 40°F (4°C) within about two hours. Use shallow containers in the fridge to speed cooling. The CDC’s food safety guidance confirms that cooked leftovers stored properly keep safely for about three to four days. Transform the meat into jerky within that window, or freeze it and thaw once before dehydrating.
Safe minimum cook temperatures:
Beef, pork, lamb, and game roasts: 160°F (71°C) internal.
Chicken, ground turkey, or other poultry: 165°F (74°C).
Always verify with a digital probe thermometer.
Safe handling during prep:
Use a clean cutting board and knife, wash hands thoroughly, trim away any visible fat and gristle, and keep meat cold until just before slicing. For the best texture, follow pro tips on how to slice meat for jerky before you start drying. If you re-season cooked meat with a wet marinade, it is wise to preheat the beef strips in a 275°F (135°C) oven set for 10 to 15 minutes before dehydrating, following the USDA’s recommendation for jerky safety, especially when working with poultry.
Storage after drying: Cooled jerky should go into an airtight container or vacuum-sealed bag, labeled with the date, and kept out of the temperature danger zone as much as possible.
How to Prep Cooked Meat for Jerky (Step-by-Step)
Careful trimming and slicing are the keys to turning last night’s roast into something that actually feels like jerky rather than dry, sad leftovers. Here is the process:
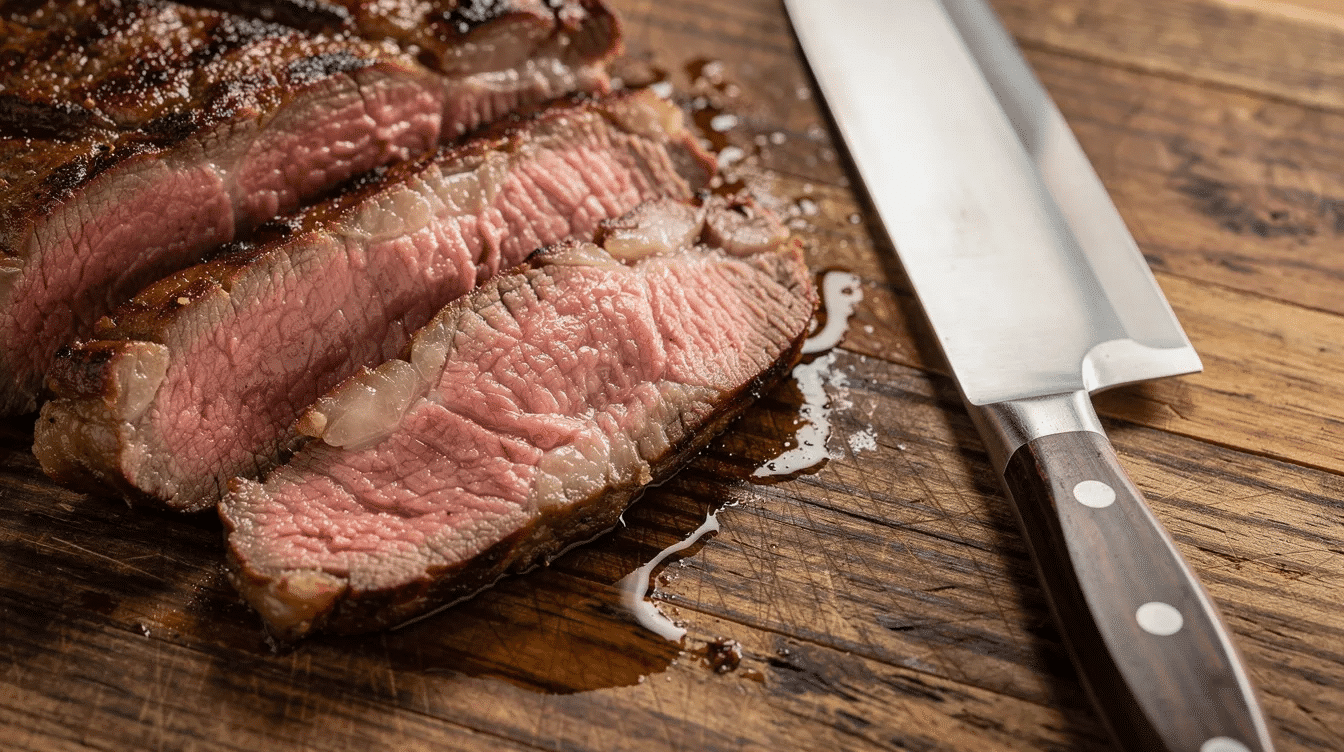
Step 1: Chill completely. Place the cooked meat in the fridge until it firms up, ideally overnight. Cold meat is dramatically easier to slice evenly.
Step 2: Trim aggressively. Remove all visible fat, skin, cartilage, and any gristle. Fat is the enemy of shelf life. Even a thin ribbon of fat can go rancid and ruin a batch.
Step 3: Separate along the grain. Pull the meat apart along its natural fibers so you can identify grain direction before slicing.
Step 4: Slice thin. Use a sharp chef’s knife to cut thin strips. Slice cooked meat into strips approximately 1/8 to 1/4 inch thick for even drying. Cutting across the grain yields a more tender bite, while slicing with the grain produces a chewier, stringier texture closer to traditional beef jerky.
Step 5: Pat dry. Lightly blot each slice with a paper towel to remove surface moisture, leftover gravy, or sauce. This step helps the strips dry more evenly and prevents sticking in the dehydrator or oven.
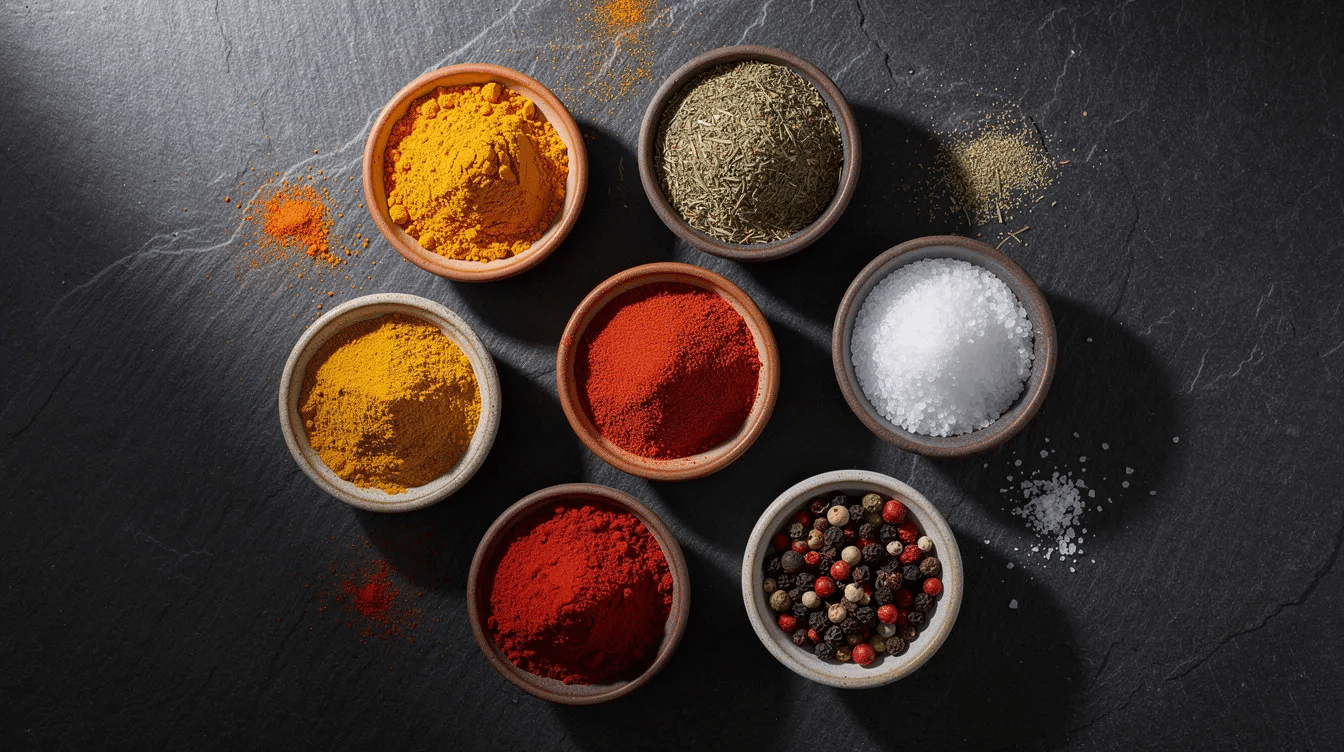
Step 6: Season. Apply a dry rub made from salt, black pepper, smoked paprika, garlic powder, onion powder, and a little brown sugar. With cooked meat, use liquids sparingly: a light brushing, not a soak.
For a first batch, start with a simple, balanced rub on a pound or two of leftover roast beef. Focus on learning drying times and texture rather than juggling complex spices, then branch out into a variety of homemade jerky recipes once you are comfortable with the basics. You can always re-season cooked meat jerky if necessary to enhance flavor absorption on future batches.
Seasoning Ideas and Simple Jerky Recipes for Cooked Meat
Cooked meat will not absorb marinades as deeply as raw beef, so seasonings should be punchy and surface-focused, almost like a dry barbecue rub.
Basic house jerky recipe (per 1 pound of sliced meat):
Ingredient
Amount
Kosher salt
1 tsp
Black pepper
1 tsp
Smoked paprika
1 tsp
Garlic powder
1/2 tsp
Onion powder
1/2 tsp
Brown sugar
1–2 tsp
Toss the beef strips until evenly coated.
Quick wet-style alternative: Whisk together 2 tablespoons soy sauce, 1 tablespoon Worcestershire sauce, 1 teaspoon hot sauce, and 1 teaspoon maple syrup. A basic jerky marinade includes soy sauce and Worcestershire sauce as its backbone. Lightly brush this onto slices without soaking them, then let rest in the fridge for about an hour before drying. Use 1 to 2 ounces of liquid per pound of meat for seasoning to avoid over-saturating cooked strips, especially if you plan to follow more detailed dehydrator jerky recipes for homemade snacks.
Flavor profiles to try:
Teriyaki chip: Soy sauce, fresh ginger, a touch of honey, and sesame seeds.
Smoky chili: Chipotle powder, cumin, and a pinch of cayenne.
Peppercorn roast beef: Heavy cracked pepper, dried thyme, and a whisper of mustard powder.
Popular jerky flavors include sriracha, teriyaki, and honey soy, so do not be afraid to experiment. Marinating cooked meat for 6 to 24 hours can help increase moisture and flavor if you want deeper penetration, though for raw strips you would marinate beef strips for at least 8 hours or overnight. For cooked meat, shorter times work fine. Split a single roast into half and try multiple flavor trials on each portion to find your original recipe before scaling up.
One critical reminder: many cooked meats were already seasoned at the first cooking. Taste a small piece before adding more salt and adjust accordingly to keep the taste balanced.
Drying Cooked-Meat Jerky: Dehydrator, Oven, and Air Fryer
The choice of equipment affects drying time and texture, but the core goal stays the same: low, steady heat and good airflow until the meat is dry but still slightly flexible. The drying temperature for dehydrating jerky from cooked meat is generally between 130°F and 160°F, and dialing this in is easier when you understand what temp to dehydrate jerky for safety and quality.
Using a food dehydrator (the easiest method):
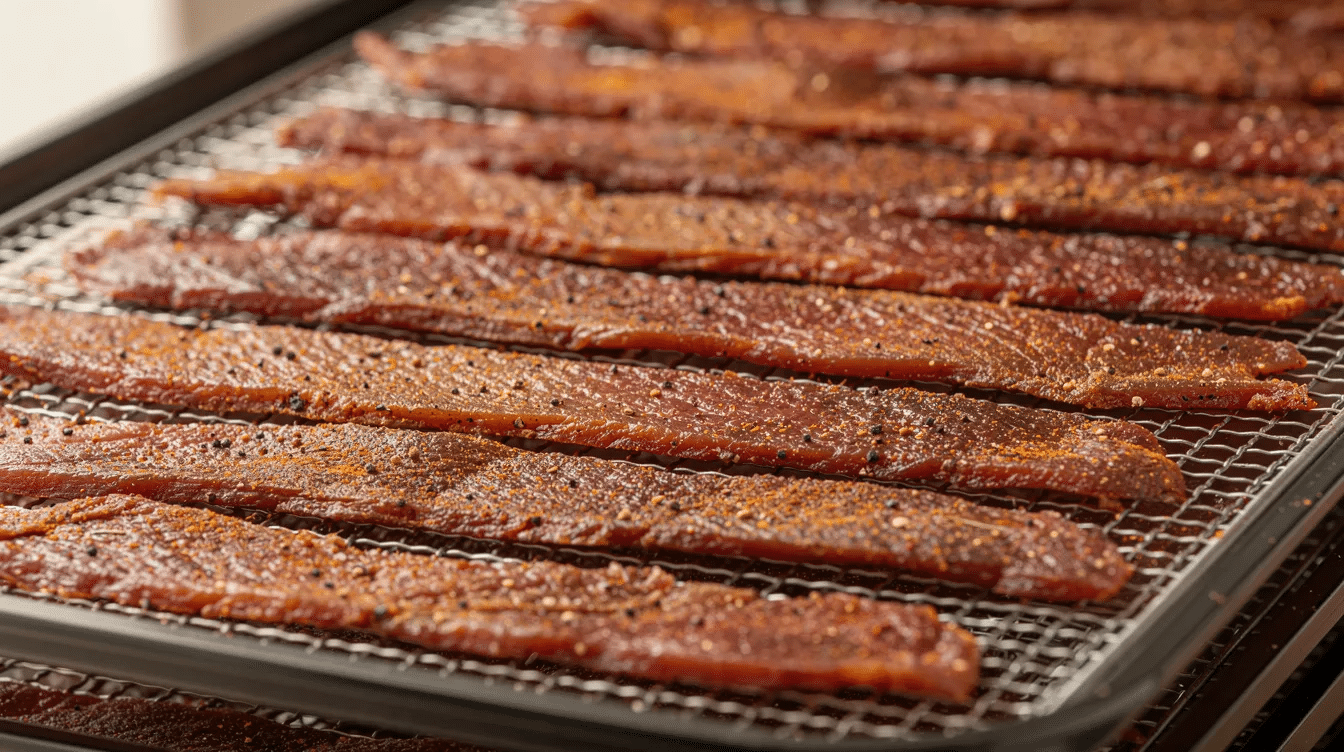
A dehydrator is the easiest method for making jerky because it is designed specifically for low-temperature airflow drying. Set temperature to about 160°F (71°C), arrange slices in a single layer with space between them, and dehydrate cooked meat jerky for about 4 to 10 hours. Dehydrating jerky typically takes 8 to 10 hours for thicker raw strips, but cooked meat often finishes faster; overall jerky dehydration times and best practices depend heavily on thickness and appliance. Check every 30 to 45 minutes after the second hour.
Using an oven:
Ovens can also be used to make jerky effectively. Set to the lowest available temperature, often 170 to 200°F (75 to 95°C). Ovens can be used to make jerky at 180°F as a reliable middle ground. Place slices on wire racks over a baking sheet to catch drips, and prop the oven door slightly open with a wooden spoon to let moisture escape. Expect 2 to 5 hours depending on thickness.
Using an air fryer:
Use the lowest setting, typically 160 to 180°F (70 to 82°C), arrange in a single layer, and flip periodically. Air fryers move air aggressively, so pieces may dry faster and risk becoming brittle. Check often.
Using a smoker:
Using a smoker requires small slotted drying racks for jerky. Keep temperatures in the 150 to 170°F range and allow for longer drying.
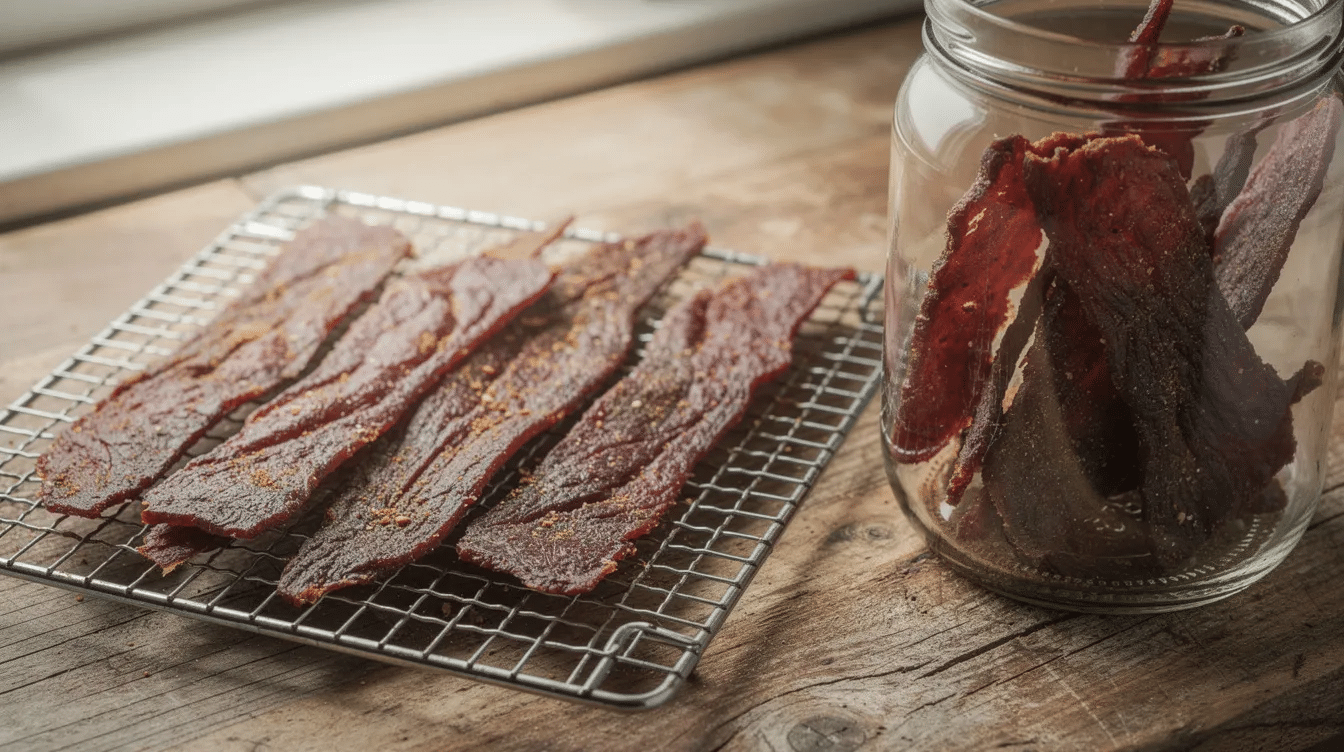
Doneness test: Jerky should bend without breaking when fully dehydrated. Properly dried jerky from cooked meat should bend and crack along the surface fibers but not snap completely in half. Any bead of moisture when squeezed means it needs more time.
Make notes during the first batch: cut thickness, exact time, and appliance used. Those notes are worth their weight in gold when you want to replicate or tweak the process for future batches of homemade jerky.
Storing and Shelf Life of Jerky Made From Cooked Meat
Jerky from cooked meat is less forgiving than classic jerky. Treat it like a high-quality snack that lasts days to a few weeks, not a long-term pantry staple.
Short-term storage: Once completely cool, keep jerky in an airtight container at cool room temperature for up to 3 to 4 days, assuming low humidity. Cooked meat jerky should be stored in an airtight container to maintain freshness. Jerky can be stored in an airtight container for one month under ideal conditions, but cooked-meat versions are more conservative. Beyond a few days at room temperature, move to refrigeration.
Fridge storage: In a sealed container or vacuum bag in the fridge, cooked-meat jerky can typically last 1 to 2 weeks with good flavor and texture. Always label and date the container, and follow general guidance on how long beef jerky lasts in the fridge if you are also making traditional batches.
Freezing for longer storage: For extended storage, freeze in small vacuum-sealed packs or heavy-duty freezer bags, pressing out as much air as possible. Leftover cooked meat jerky is best consumed within 1 to 2 months when frozen. You can also freeze fresh jerky and eat it up to two months later with minimal quality loss. Thaw in the fridge before eating to avoid condensation.
Spoilage signs: Watch for fuzzy spots, unusual sheen, sour or rancid odor, or an unexpectedly soft, sticky surface. Any of these mean the jerky should be discarded immediately.
For comparison, traditional beef jerky from raw meat, when dried to a very low water activity and vacuum sealed, can last several months or even up to a year. That gap in shelf life is exactly why storage expectations must be different for cooked-meat jerky.
Top Tips for Getting Great Texture and Flavor
Small technique details can turn a “just okay” tray of dried leftovers into something that tastes close to professional, store bought jerky.
Texture top tips:
Slice as evenly as possible. Inconsistent thickness means some pieces over-dry while others stay soft.
Keep thickness between 1/8 and 1/4 inch.
Rotate trays halfway through drying.
Never stack or overlap pieces. This traps moisture and creates soft spots.
Flavor top tips:
Focus on concentrated seasonings since cooked meat does not marinate deeply. A punchy dry rub beats a watery soak every time.
Build complexity with a balance of salt, sweet, acid (like a touch of vinegar or citrus), and smoke (liquid smoke or smoked paprika).
A jerky gun works great for ground meat jerky, pushing seasoned ground turkey or ground beef into uniform strips on mesh trays for even drying.
Fat management:
Trim aggressively. Any visible fat can oxidize and go rancid, especially if you plan to store jerky beyond a couple of days.
Test as you go:
Pull a strip out every 30 to 45 minutes near the end of drying, let it cool fully, then taste it. This prevents over-drying that turns your delicious jerky into hard, inedible shards.
Write down what worked best: cut direction, seasoning mix, appliance settings, and drying time. Your next batch will inch closer to your personal version of the best jerky, and before long you will have a reliable easy recipe you can repeat from any leftover dinner.
FAQ
These questions cover practical edge cases and equipment swaps that go beyond the main sections above.
Can I use leftover slow-cooker pot roast to make jerky?
Yes, slow-cooker pot roast can work if it was cooked to a safe internal temperature, cooled quickly, and stored properly. However, pot roast is often richer in fat and braising liquid, so it needs extra trimming and longer drying time. Pat the slices very dry, remove every scrap of fat you can find, and expect a more crumbly, less cohesive finished product. A fresh, lean roast like a round steak will always give better results.
Is it safe to make jerky from meat that sat out on the counter?
No. Any cooked meat left at room temperature for more than about 2 hours (or 1 hour above 90°F / 32°C) should not be turned into jerky and should be discarded. Bacteria multiply rapidly in the danger zone, and drying cannot reverse that. When you stick to proper cooling, you keep your food safe from the start.
Do I need curing salt (Prague powder) for cooked-meat jerky?
Curing salt is optional. It can add an extra safety margin and that classic pink color, but because the meat is already cooked and the jerky is meant for shorter storage, many home cooks skip it and simply rely on refrigeration. If you plan to store jerky at room temperature for more than a day or two, curing salt is worth considering.
Can I make jerky from cooked ground beef or ground turkey?
It is possible but trickier. Fully brown and drain the ground beef or ground turkey, press it into thin, uniform sheets on parchment, season heavily, and dehydrate on mesh trays. A jerky gun helps create even strips. The crumbly structure and higher surface area mean it spoils faster, so refrigerate immediately and eat within a week.
How long will cooked-meat jerky last on a hiking trip?
If dried thoroughly and packed in a bag or airtight container, it should be fine at normal spring or autumn temperatures for 1 to 2 days in a backpack. For trips longer than that, keep it in the freezer until departure and plan to eat it early in the trip. This is a tasty trail snack, not a multi-week ration.
DannyContent Writer
Hey there, since 2016, my mission has been to provide you with the information and guides you need to make food dehydrating simple and fun. Whether you're a newbie or a seasoned pro, my site offers helpful guides, reviews, and recipes to enhance your dehydrating experience. I take pride in only recommending products I believe in, ensuring my readers' trust. As an affiliate of various programs, including Amazon Associates, your support helps me continue providing quality content. Thanks for stopping by, and happy dehydrating!