We earn a commission if you make a purchase, at no additional cost to you.
09/22/2026 04:39 pm GMT
🍊 Dehydrated Food Info Finder — Temperatures & Drying Times
Choose a category, then pick a food to see its drying temperature and time.
⚠️ Safety Disclaimer: Drying times are estimates and vary based on slice thickness, food moisture content, humidity, and your dehydrator model. Always check for doneness before storing — food should feel dry, leathery, or brittle with no moist spots. Improperly dried food can harbour mould and bacteria. For meat and poultry, follow USDA safe internal temperature guidelines: beef and pork to 160°F (71°C), poultry to 165°F (74°C). Use a food thermometer when in doubt. Store all dehydrated foods in airtight containers in a cool, dark place and discard anything showing moisture, mould, or off odours.
How to Dry Apples in the Sun (Step-by-Step Guide to Sun Drying Apple Slices)
Drying apples using sunlight is one of the oldest and cheapest preservation methods still worth doing today. All you need is fresh fruit, a sharp knife, a sunny spot, and a few mesh racks. This guide covers every step: choosing the right apples, slicing, pretreating, setting up racks, and testing for doneness so your dried apples turn out chewy, crisp, or anywhere in between.
Key Takeaways
Sun drying requires at least 2 to 3 consecutive dry days with daytime temperatures around 85 to 95°F (29 to 35°C) and humidity below about 60%. A dry climate with steady sun is ideal.
Slice apples about 1/8 to 1/4 inch thick, soak them in a lemon juice and water solution to prevent browning, and lay them on mesh racks covered with cheesecloth to keep insects out.
Thin apple chips can finish in 1 to 2 days of full sun; thicker slices take up to 3 days. Dehydrated apples should be leathery and show no moisture when torn open.
Compared to oven drying or using a food dehydrator, sun drying costs nothing to run, preserves more nutrients, and concentrates flavor, but it demands more monitoring and favorable weather.
Maintaining cleanliness is important when drying apples to avoid spoilage: use clean tools, wash apples thoroughly, and never use dropped or bruised fruit.
Why Dry Apples in the Sun Instead of in an Oven or Dehydrator?
Drying apples using sunlight is a traditional preservation method that predates ovens and electric dehydrators by centuries. Before refrigeration, households across North America and Europe sliced autumn apples and spread them on racks in the sun for winter storage. The technique works because apples are high-acid fruit (pH roughly 3.0 to 4.0), which makes them safer to dry slowly outdoors than low-acid vegetables.
Here is how the three common methods compare:
Sun drying: Zero energy cost. Gentle heat (typically 85 to 95°F) preserves polyphenols and vitamin C. Dehydrating apples this way preserves their flavor and nutritional value. Requires 1 to 3 days of monitoring.
Oven drying: Oven drying requires a temperature of at least 160°F. Faster than sun, but oven drying may require flipping apple slices every hour, and you must prop the oven door open for air circulation. Uses more electricity than a dehydrator.
Electric dehydrator: Food dehydrators operate at 140°F to 160°F for drying apples. Consistent results with minimal babysitting, but units draw 500 to 1,000 watts over several hours.
Dehydrating enhances the natural sweetness of apples because sugar concentrates as water evaporates. Dehydrated apples also retain more nutrients than canned apples, which lose vitamins during heat processing and syrup packing.
Sun drying is ideal during a late-September apple glut when you have more fruit than you can eat, at an off-grid cabin without reliable electricity, or on a camping trip where mesh racks and cheesecloth fit in a backpack. This guide focuses on making chewy dried apples and crisp apple chips from slices; whole apples do not dry safely in the sun because their interiors stay moist far too long.
Food Safety and Weather Conditions for Sun Drying Apples
Sun drying is safe when you control cleanliness, temperature, and humidity. Treat this section as a checklist before you slice a single apple.
Weather requirements:
Daytime highs of at least 85°F (about 29°C). Ideal conditions for sun-drying apples include temperatures of at least 85°F and humidity below 60%.
Sun drying requires warm, dry, sunny weather for several days; check the forecast for 2 to 3 rain-free days before you start.
A light breeze helps move air across slices without blowing them off racks.
High humidity can prevent successful sun drying of apples. If relative humidity stays above 60 to 65%, apple slices sit in the moisture danger zone long enough for mold to start. Natural sun drying is best suited for high-acid fruits like apples, but even high acidity cannot overcome persistent dampness.
Fruit and equipment sanitation:
Use clean tools and avoid drying during humid or rainy weather for best results. Wash hands, sanitize knives and cutting boards, and rinse mesh racks before use.
Never use fallen apples from the ground. Soil, animal contact, and insect damage introduce contaminants that gentle sun heat cannot eliminate. Select firm, unbruised fruit only.
Positioning:
Set racks 2 to 3 feet off the ground, away from dust, pets, and vehicle exhaust.
Cover with food-safe cheesecloth or netting, not plastic wrap, which traps moisture and creates condensation.
If conditions stay below about 80°F or humidity remains high, switch to oven drying or a dehydrator to finish safely. When researching local extension-service websites for regional guidelines, a security service on the site may flag your browser, performing security verification to block malicious bots. If you see a respond ray id prompt, wait a moment until verification successful appears and the page loads.
Choosing the Best Apples for Sun Drying
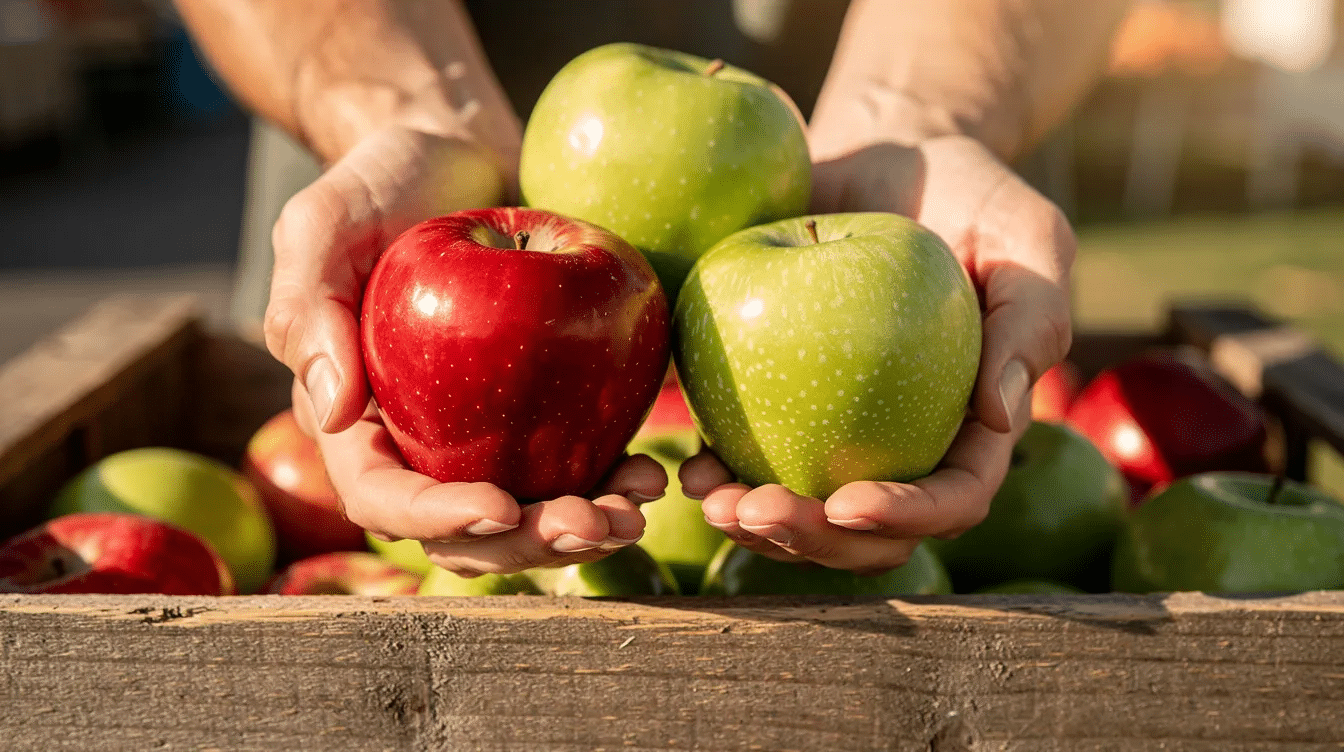
Almost any firm dessert apple can be sun dried, but certain varieties produce especially good dehydrated apples, and some also perform especially well in ovens, dehydrators, or air fryers when you want to know exactly how long it takes to dehydrate apple slices. Look for fruit with dense flesh, moderate juice, and no soft spots.
Varieties to look for:
Granny Smith: Tart when fresh, pleasantly sweet-tart after drying. A reliable choice for first-timers.
Fuji and Gala: Sweet varieties that yield candy-like dehydrated apple slices.
Honeycrisp and Pink Lady: Balanced sweet-tart flavor and firm texture that holds up during the drying process.
Jonagold and Golden Delicious: High yields and mild flavor; good for baking after rehydration.
Tart apples become sweeter as moisture leaves and sugars concentrate. Sweeter varieties turn almost candy-like and are delicious eaten plain.
Apple skins add color, fiber, and anthocyanins (on red varieties), but they slow drying by about 10 to 20% compared to peeled slices. Peeling apples is optional but recommended for tough skins or heavily waxed store apples. If you want more ideas on specific cultivars, explore the best apples for dehydrating. Both approaches work for sun drying; it comes down to personal preference.
Mixing varieties on the same rack is fine, but group similar thickness and juiciness together so drying times stay consistent. If you grow your own fruit, late August through October is peak season; homegrown apples at their freshest make a full weekend of dehydrating apples worthwhile because you skip the mealy texture that sometimes comes with long commercial cold storage.
Preparing Apples: Washing, Coring, and Slicing into Apple Slices
Preparation takes about 15 to 20 minutes per batch and sets up the rest of the drying process for success, whether you are sun drying or following a guide on how to dehydrate fruit using a food dehydrator.
Washing: Apples should be washed thoroughly before drying. Rinse each apple under cool running water, rub the surface with your fingers or a clean produce brush to remove wax residue and field dirt, and dry with a clean towel. Do not use soap or detergent. Wash apples one at a time to inspect for hidden bruises or insect holes.
Peeling: Leave the peel on for chewier dried apples with more fiber, or peel with a hand peeler if skins are thick or waxy. Store apples from supermarket bins tend to have heavier wax coatings, so peeling those often makes sense.
Coring: Core apples by pushing an apple corer straight through from stem to blossom end, which removes the seed cavity in one motion. If you do not own an apple corer, cut the apple into quarters and slice out the core with a paring knife. Discard seeds and tough centers.
Slicing: Core and slice apples into 1/8 to 1/4 inch thick pieces. Slices about 1/8 inch thick produce crispier apple chips; slices up to 1/4 inch thick yield chewier dried apples better suited for snacking and baking. Use a mandoline slicer for uniform apple slices; a hand guard is essential because thin, fast cuts with a mandoline can cause injuries. A sharp chef’s knife works too, but consistency is harder to maintain.
Thinner edge pieces dry faster than center rounds, so group similar sizes together when arranging for sun drying. One apple yields roughly 15 to 25 slices depending on its size and your thickness setting.
Preventing Browning: Simple Pretreatments Before Sun Drying
Cut apples brown within minutes because an enzyme called polyphenol oxidase reacts with oxygen at exposed surfaces. A quick acidic soak slows this reaction and keeps sun-dried apple slices light-colored while also helping you preserve some of the vitamins that can be lost when nutrients in dehydrated fruits are exposed to heat and air.
Lemon juice recipe: Mix 1/4 cup (60 ml) lemon juice with 4 cups (1 liter) cold water in a glass or stainless steel bowl. Soak apple slices in lemon juice and water to prevent browning. This is the simplest approach and uses an ingredient most kitchens already have.
Alternatives: Dissolve 1/2 teaspoon ascorbic acid crystals (about 1,500 mg, or three crushed 500 mg vitamin C tablets) in 1 liter of water. Ascorbic acid preserves color with almost no added flavor. A USDA study found that combining 0.5% ascorbic acid with 0.5% calcium chloride for 5 minutes produced firmer, less browned slices than citric acid alone.
Process: Slice one or two apples at a time, drop slices immediately into the solution, soak for about 5 minutes, drain in a colander, and pat dry with clean towels. Removing visible moisture from the surface matters because excess water slows the start of drying and can create damp patches under cheesecloth.
Optional flavor: Sprinkle cinnamon or a pinch of nutmeg and ginger over damp slices while they are still slightly tacky. The spices stick without any extra binder, producing cinnamon-style dried apples.
Pretreatment is recommended for sun drying because slices spend hours exposed to air outdoors, and the acid dip adds a small extra layer of protection against surface microbes.
Setting Up Racks and Covers for Sun Drying Apples
Proper air circulation and insect protection make the difference between a clean batch of dried apples and a wasted afternoon, and the same principles apply when you experiment with other fruits that are best for sun-drying.
Drying surfaces: Food-grade mesh drying racks, large screens in wooden frames, or metal cooling rack sets over a baking sheet all work. The key is that air can move above and below the apple slices. If your mesh has openings too wide, lay a sheet of parchment paper or clean cotton cloth over the rack to keep slices from falling through while still allowing airflow.
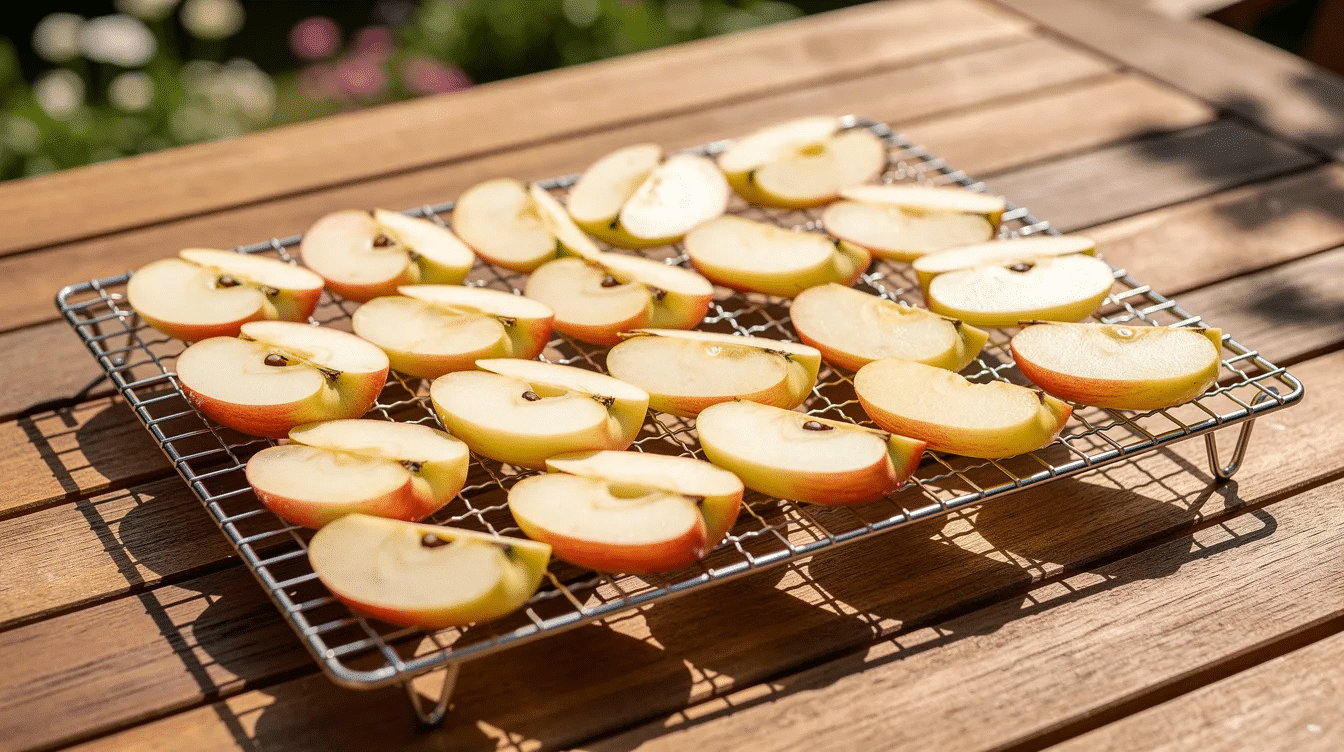
Arrangement: Apple slices should be placed in a single layer for sun drying with no overlapping. Crowded slices trap moisture between them and create conditions for mold. Leave roughly a finger-width gap between pieces.
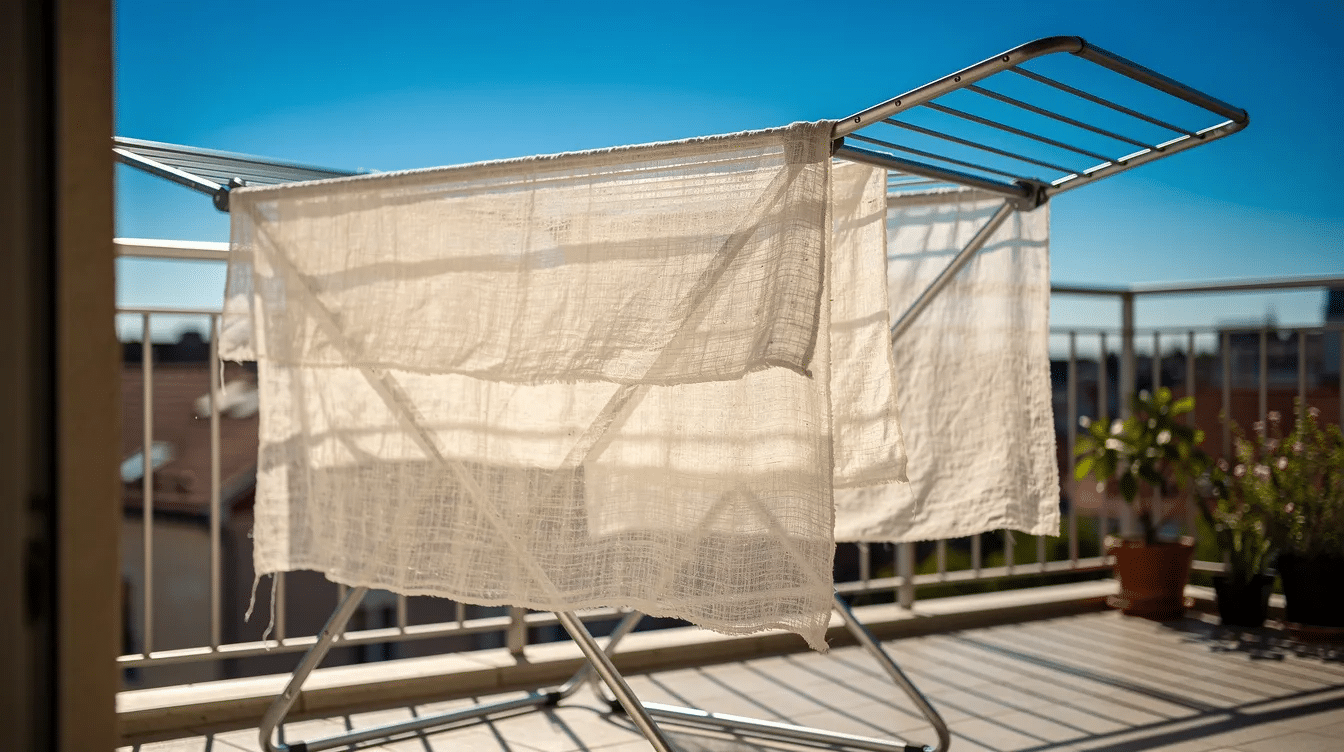
Protective coverings: Cover apple slices with insect netting to prevent pests during drying. Cheesecloth, muslin, or a fine-mesh food net draped over the racks keeps flies, bees, wasps, and birds away. Prop the fabric slightly above the fruit with toothpicks or small blocks so it does not stick to damp slices.
Placement: Choose a flat, sun-exposed area: a patio table, roof terrace, or balcony shelf elevated at least 2 to 3 feet above the ground. Orient racks so prevailing breezes pass across them. A dark-colored surface beneath the rack (like a black tray or dark tablecloth) absorbs extra heat and gently raises the temperature around the fruit without scorching it.
Step-by-Step: How to Sun Dry Apple Slices
This is the core “how to dry apples in the sun” sequence, written as numbered steps you can follow across one or more sunny days.
Step 1: Pick your days. Check the forecast for 2 to 3 consecutive days with highs around 85 to 95°F and no rain. Set up cleaned racks and coverings the evening before.
Step 2: Prepare and pretreat. Early in the morning, wash, core, and slice your apples. Soak slices in lemon juice or ascorbic acid solution for 5 minutes, drain, and pat dry. Arrange slices on racks in a single layer.
Step 3: Place racks in full sun. By mid-morning (around 9 to 10 AM), position racks in direct sunlight and cover with cheesecloth. Note the time. In ideal conditions, apple slices will receive roughly 6 to 8 hours of full sun per day. Sun drying can take several hours to days depending on conditions.
Step 4: Turn slices. Rotate racks and flip apple slices once or twice during the day; late morning and mid-afternoon are good checkpoints. Turning promotes even dehydrating on all sides and prevents slices from sticking to the mesh.
Step 5: Bring racks indoors at night. When direct sun fades in the late afternoon, bring apple trays indoors to prevent moisture from dew. Store racks in a dry, airy room overnight.
Step 6: Continue drying. Air drying apples can take several days to complete. Thin apple chips often finish in 1 to 2 full-sun days; thicker slices need up to 3 days. Continue drying each morning until slices reach the texture described in the next section.
Watch for sudden weather changes. If wind increases or clouds roll in, bring racks inside immediately. Finishing a half-done batch in an oven set to 140 to 170°F is safer than leaving damp slices outdoors overnight.
How to Tell When Sun-Dried Apples Are Done (Texture and Doneness Tests)
Proper doneness matters more than counting hours. Visual and touch tests are the most reliable guides.
Chewy dried apples: A finished dried apple slice should feel dry on the surface, bend without snapping, and show no visible moisture when torn open in the middle. The texture should be leathery-firm; if the interior looks or feels damp, the slices need more time.
Crisp apple chips: Let a test slice cool indoors for 5 to 10 minutes. Then snap it in half. A properly dried chip breaks cleanly with little bending. Slices feel softer while still warm in the sun, which can fool you into thinking they need more time; always cool a test piece before judging.
Check several slices from the center and corners of your racks. Pieces at the edges or in direct sun often dry faster than those near the middle or in partial shade.
Under-drying warning: If any piece feels tacky, thick, or cool and damp in the center when torn, return all slices for more sun time or brief oven drying at about 150°F. For long term storage, err on the side of slightly drier; softer pieces spoil faster in the jar.
Dehydrated apples destined for snacking can be a touch softer than those meant for storage. The difference is small but affects shelf life by weeks.
Conditioning and Storing Sun-Dried Apples
Conditioning evens out residual moisture among pieces and catches any under-dried slices before they cause mold in a sealed jar.
Cooling: Allow dehydrated apples to cool before storing them. Leave all slices on their racks at room temperature indoors until completely dry to the touch and no longer warm. Packing warm slices into a jar creates condensation on the glass.
Conditioning process: Loosely pack cooled dried apples into clean glass jars or food-grade containers, filling each jar no more than two-thirds full. Seal lids. Over the next 7 to 10 days, shake each jar once daily to separate slices. Check for moisture inside storage containers after a few days; if condensation appears on the glass, return the slices to the sun or a low oven to re-dry.
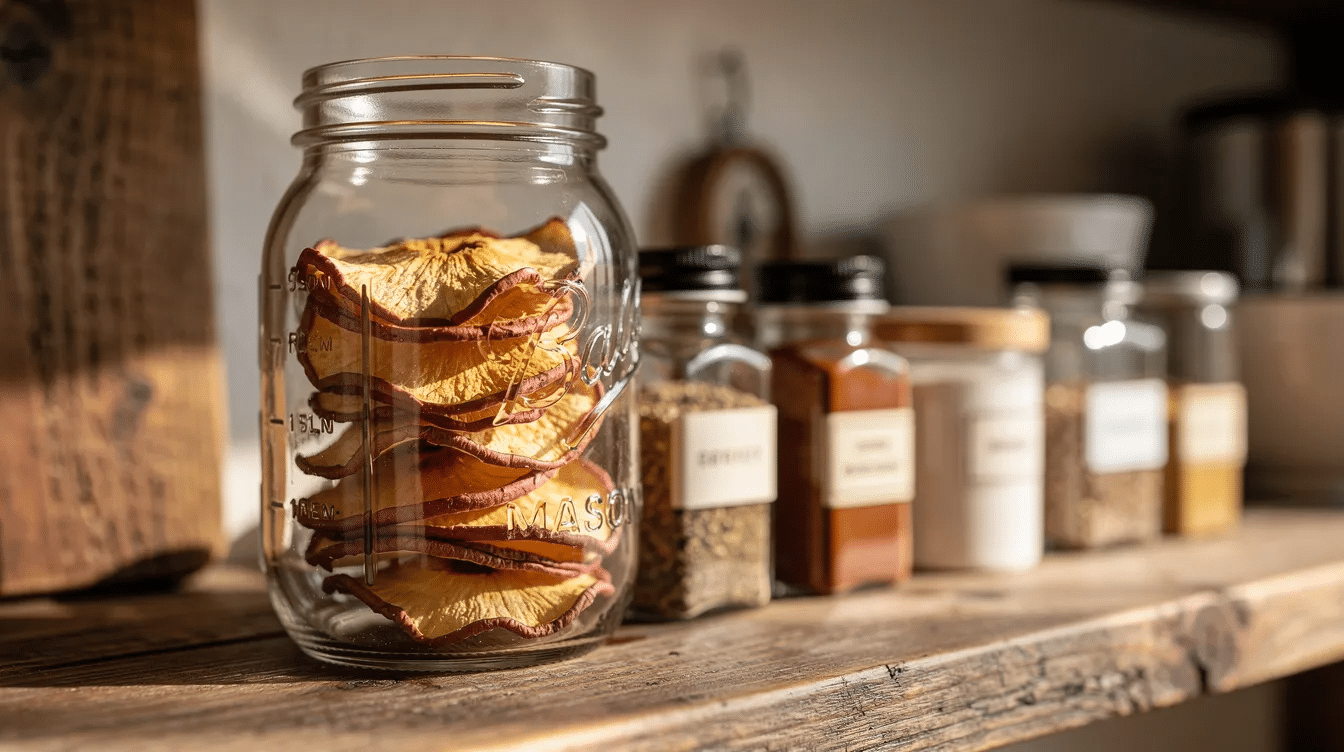
Storage: Once conditioning is complete, store dehydrated apples in an airtight container: a glass jar with a tight lid, a zip-top bag with the air pressed out, or a vacuum-sealed pouch. Store in a cool, dark place to extend shelf life; a pantry or cupboard away from the stove works well. A dark location with stable temperature (ideally below 60°F) is best. Dried apples can last up to a year when stored properly. Vacuum sealing and refrigeration extend that further.
Label each container with the date, apple variety, and whether the slices are chewy or crisp. This helps you plan whether to eat them as snacks, toss them into trail mixes, or rehydrate them for baking.
Troubleshooting Common Sun Drying Problems
Minor issues are normal the first time you dry apples in the sun. Here are quick fixes for the most common ones, and if you decide the weather is too unpredictable, you can compare using a food dehydrator versus an oven for more controlled drying.
Mold or fuzz spots: Visible mold means those slices must be discarded. Causes include humidity above 60%, slices too thick for the weather, overlapping pieces, or sealing jars before conditioning was complete. Improve ventilation, reduce slice thickness, and confirm your forecast next time.
Case hardening (dry outside, soft inside): This happens when intense sun or wind dries the outer surface too fast, sealing moisture inside. Tear a slice open; if the interior is still damp, finish the batch in an oven at about 150 to 170°F with the oven door cracked for air circulation, or extend sun time with more frequent turning.
Overly tough or brittle slices: If snacks turn out too hard to eat, soak them in warm water, apple juice, or tea for 10 to 20 minutes to rehydrate. Rehydrated slices work well stirred into oatmeal, folded into baked goods, or simmered into compote for pancakes.
Pest problems: Ants, wasps, and flies are attracted to fruit sugars. If pests breach your covers, remove affected slices, improve cheesecloth coverage, elevate racks higher, and relocate away from flowering plants or compost bins.
Weather turns mid-drying: Move racks indoors near a fan or transfer slices to dehydrator trays or a baking sheet lined with parchment paper in a low oven to finish safely. Do not leave partially dried slices outdoors overnight in uncertain weather.
Keep brief notes on slice thickness, weather dates, and drying time so each season’s batch turns out more consistent.
Simple Ways to Use Your Sun-Dried Apples
Once you learn how to dry apples in the sun, you end up with a pantry staple that works in dozens of recipes all year. Dehydrated apples are a versatile snack for year-round use and a fantastic way to enjoy autumn flavor in mid-winter, especially when you start branching out into dehydrated fruit recipes for delicious snacks.
Snacks: Eat plain dried apple slices straight from the jar, pack apple chips with cinnamon for lunchboxes, mix into trail mixes with nuts and seeds, or pair with sharp cheddar cheese. They make a nutritious snack that travels well, and many of the same ideas appear in broader dehydrator fruit recipes you can adapt to other fruits.
Breakfast: Chop dried apples and stir into oatmeal, muesli, granola, or yogurt. Simmer pieces in a half cup of water for 5 minutes to make a quick apple compote for pancakes or waffles, or turn pureed fruit into an apple fruit leather recipe for a dehydrator if you want a different breakfast-friendly texture.
Baking: Rehydrate slices briefly in warm water and fold into muffins, quick breads, or rustic pies. Mix into granola bars and energy bites for extra texture and sweetness. Dried apples work in any recipe that calls for fresh fruit but benefits from concentrated, sweet flavor.
Pantry convenience: Keeping a jar of dried apples on hand reduces food waste and makes last-minute desserts easier. Experiment with spices like cinnamon, nutmeg, and ginger, or dip slices in dark chocolate for an occasional treat using the same sun-dried base ingredient. They pair well with pears dried the same way for a mixed fruit snack.
Frequently Asked Questions About Sun Drying Apples
These questions cover details not fully addressed above. Each answer is short and practical.
Can I sun dry apples if my climate is humid?
Consistently humid climates (often above 65 to 70% relative humidity) make safe sun drying difficult because slices stay damp long enough for mold to grow. A workable compromise is partial sun drying for 4 to 6 hours on the best day available, then finishing in an oven at 160°F or on dehydrator trays in an electric dehydrator to bring the moisture down safely. If your region rarely drops below 60% humidity, an electric dehydrator is the more reliable tool year-round.
Do I have to use lemon juice, or can I skip pretreating altogether?
Pretreating is technically optional for safety; apples will not become unsafe without it. Skipping the soak produces brown dried apples that still taste fine and remain a delicious, edible snack. If browning bothers you, ascorbic acid dissolved in water is a neutral-tasting substitute that prevents browning without adding citrus flavor. The choice comes down to how you plan to use and store the finished product.
Is it safe to dry apples on a car dashboard or inside a parked vehicle?
A closed car can reach 140 to 170°F on a hot day, which is warm enough to dry apple slices on a baking sheet. The problem is air circulation: without airflow, moisture released from slices condenses on windows and recirculates. An outdoor rack with open air or a proper food dehydrator produces more consistent, safer results.
How thin should I slice apples if I want very crispy apple chips?
Aim for about 1/8 inch (3 mm) thick slices and use a mandoline for consistency. Slices this thin dry faster in the sun and become fully crisp after proper cooling indoors. Thicker slices yield chewier results, so choose your thickness based on whether you want chips or snacking strips.
Can I sun dry other fruits at the same time as apples?
Many fruits work on separate racks alongside apples. Pears, thin apricot halves, and plum slices all sun dry well. Juicier fruits like peaches take longer, so keep them on their own rack and do not mix different fruits in the same storage container until each type is completely dry and has been conditioned independently for 7 to 10 days. Once you are comfortable with apples, you can also explore how to dehydrate citrus for colorful, tangy slices.
DannyContent Writer
Hey there, since 2016, my mission has been to provide you with the information and guides you need to make food dehydrating simple and fun. Whether you're a newbie or a seasoned pro, my site offers helpful guides, reviews, and recipes to enhance your dehydrating experience. I take pride in only recommending products I believe in, ensuring my readers' trust. As an affiliate of various programs, including Amazon Associates, your support helps me continue providing quality content. Thanks for stopping by, and happy dehydrating!