No offense to the sturdy, sensible cabbages and root vegetables of winter, or the first delicate shoots of asparagus that signal spring’s arrival, but harvest time is unquestionably the best time of year if you’re a foodie.
It’s easy to get wrapped up in picking apples, canning tomatoes, and figuring out what to do with all of that zucchini and forget about preserving the abundance of fresh herbs!
Herbs are very expensive when you buy them in the store, so if you have a garden, why not grow your favorites? Drying your own herbs not only improves flavor and saves costs but also minimizes food waste by allowing you to utilize fresh herbs before they spoil. Then follow this guide, which explains how to dehydrate herbs. You’ll be able to appreciate your garden’s bounty all year long.
Introduction to Drying Herbs
Drying herbs is a simple and effective way to preserve the vibrant flavors and aromas of your garden’s bounty. By removing moisture from fresh herbs, you can prevent spoilage and enjoy their culinary and medicinal benefits long after the growing season has ended. Whether you’re a seasoned gardener or a kitchen enthusiast, drying herbs is a skill worth mastering.
There are several methods to dry fresh herbs, each with its own set of advantages. Air drying is a traditional and energy-efficient method, perfect for herbs with sturdy stems like rosemary and thyme. Oven drying offers a quicker alternative, ideal for those who need results in a shorter time frame. For the best control over temperature and drying conditions, using a food dehydrator is highly recommended.
In this section, we’ll explore the basics of drying herbs and provide you with essential tips to get started. From selecting the right herbs to understanding the drying process, you’ll be well-equipped to savor the flavors of your garden for months to come.
Should You Dehydrate Herbs or Freeze Them?
First, should you dehydrate your herbs or freeze them? Herbs don’t take up a lot of freezer space, so unlike the decision of whether to freeze or can tomatoes, it might seem like a tossup. However, gardening and cooking experts say that the choice you make is dependent on which herb you’re talking about!
Lighter, brighter herbs that are often used as a way to finish or garnish a dish, should be frozen. Parsley, cilantro, mint, basil, and chives fall into this category.
If you grow mostly hardier herbs like rosemary, thyme, sage, or oregano, drying is the way to go. Tender-leaf herbs like lemon balm are better suited for drying due to their high moisture content, which makes them prone to molding if not dried quickly. Not sure which category your herbs fall into? Freeze a small portion for a few days, then use it in a dish to see how it works. Then you can dehydrate or freeze the remainder accordingly.
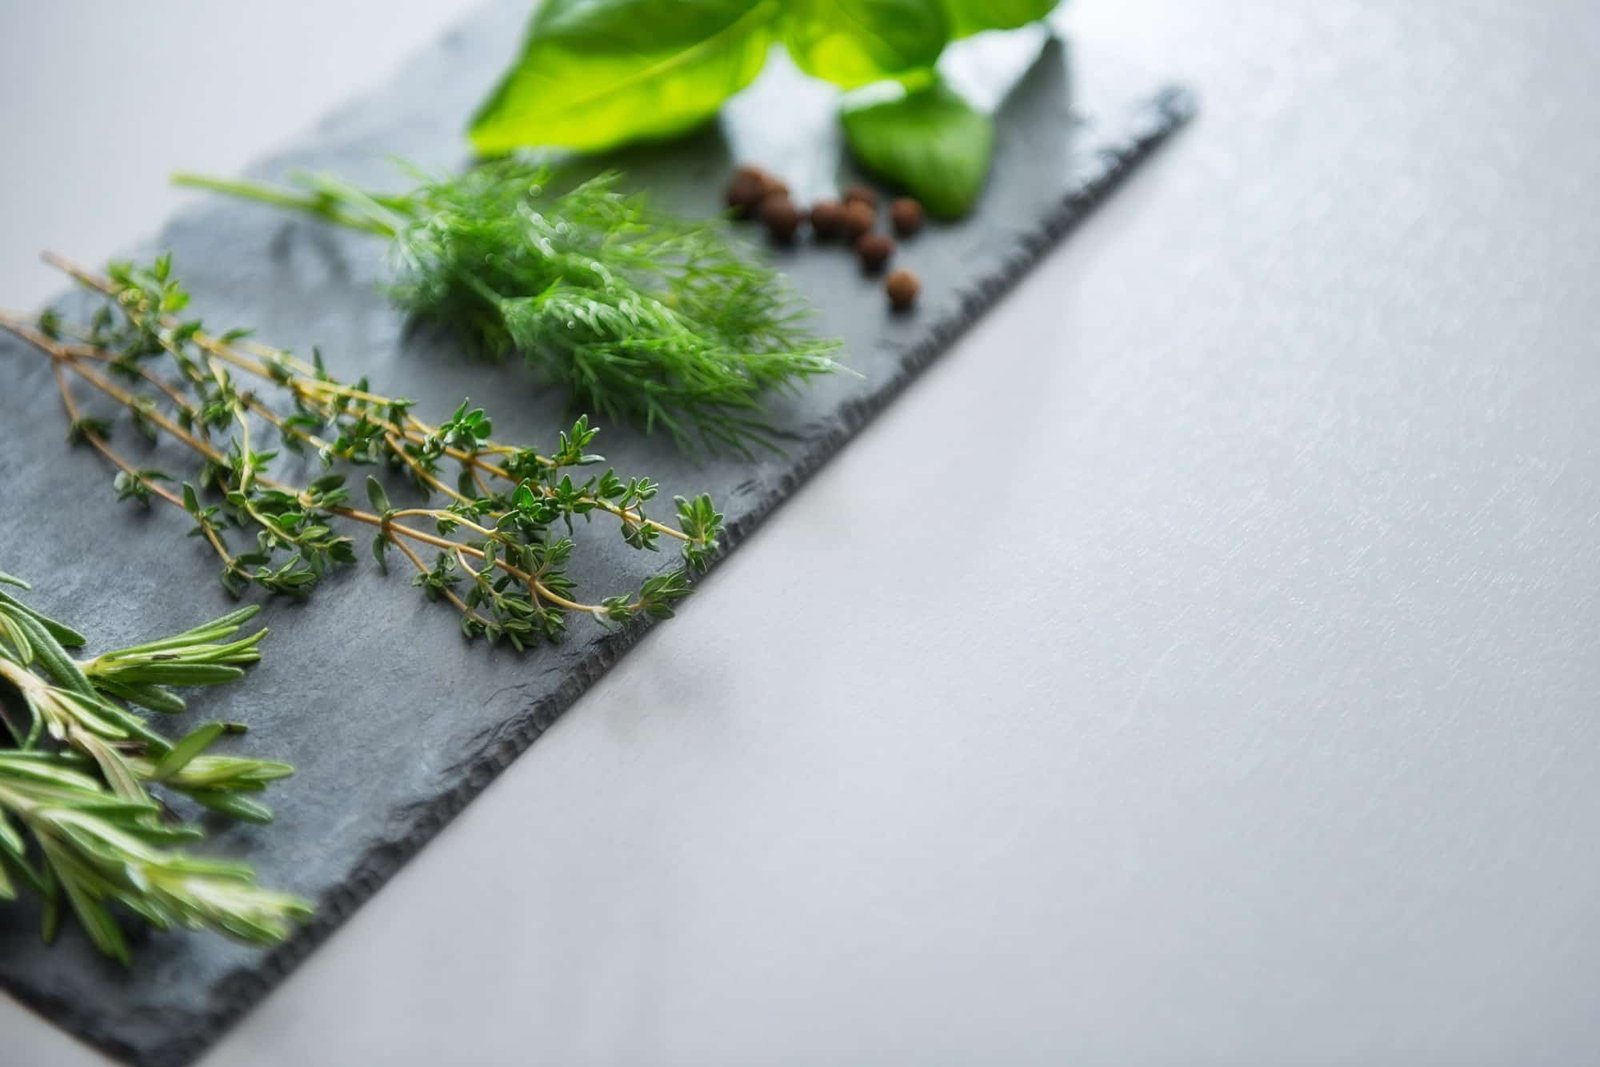
Choosing the Right Fresh Herbs for Dehydrating
Not all fresh herbs are created equal when it comes to dehydrating. Some herbs, like basil and mint, have a high moisture content, making them more challenging to dry effectively. On the other hand, herbs such as rosemary, thyme, and sage have a lower moisture content, making them ideal candidates for dehydrating.
When selecting fresh herbs for dehydrating, look for those that are vibrant, fragrant, and free from pests or diseases. Avoid herbs that are wilted, bruised, or showing signs of mold, as these will not dry well and may compromise the quality of your dried herbs.
For the best results, choose herbs that are at their peak freshness. Harvest herbs in the morning after the dew has evaporated but before the sun’s heat can wilt them. This ensures that the herbs retain their essential oils and flavors, making your dried herbs more potent and aromatic.
Preparing Herbs for Dehydrating
Proper preparation is key to successfully dehydrating your fresh herbs. Start by gently washing the herbs under cool, running water to remove any dirt or debris. Shake off excess moisture and lay the herbs on a clean kitchen towel to air dry. Avoid using a salad spinner or wringing the herbs between towels, as this can cause bruising and damage.
Next, inspect the herbs and remove any stems or leaves that are damaged, discolored, or showing signs of disease. This step is crucial to ensure that only the best parts of the herbs are dehydrated, resulting in higher quality dried herbs.
To enhance the drying process and retain the herbs’ flavor and aroma, consider chopping or bruising the herbs slightly. This helps to release their essential oils and flavor compounds, ensuring a more even and efficient drying process.
By following these preparation steps, you’ll be well on your way to creating a stash of dried herbs that will elevate your culinary creations for months to come.
Methods of Dehydrating Herbs
Dehydrating herbs is a simple process that involves setting up your dehydrator and following a few steps. The method you choose for drying herbs depends on the type of herb, climate, and tools available.
Air-Drying Fresh Herbs
Air-drying is a simple and natural way to dry herbs. This method is ideal for drying herbs like oregano, thyme, and rosemary. Herbs can be dried in a few days to two weeks using this method. Herb bundles can be hung upside down to dry.
Oven Drying and Sun Drying Dried Herbs
Avoid oven drying, as even the lowest temperature destroys much of the herbs’ flavor, oils, and color. Do not use sun drying in high-humidity areas, where it hinders the rapid removal of moisture. Oven drying can be used for herbs like oregano, thyme, and rosemary, but it’s not the best method.
Using a Dehydrator to Dry Fresh Herbs
Drying herbs in a dehydrator is a fast and easy way to preserve your harvest. The dehydrator method is ideal for drying herbs like oregano, thyme, rosemary, and basil. Herbs can be dried in a dehydrator on a low setting for 1-2 days. Dehydrators are a convenient way to quickly dry and preserve the integrity of fresh herbs.
What We Need
The first step, of course, is harvesting your herbs. It’s best to do so in the morning, but wait until any dew has evaporated.
Bring your herbs inside and rinse them in cool water. Give them a gentle shake to remove excess moisture, then lay them on a clean kitchen towel. Letting them air dry for a little while will reduce the amount of work your needs to do. However, don’t spin them in a salad spinner or wring them between towels. That can lead to bruising.
You’ll also want to remove any leaves that have spots, bruises, or other damage. Remove long stems, as well. You can leave shorter stems in place, as they’re easy to remove after dehydrating.
Place your herbs in the dehydrator in a single layer. Make sure that there’s plenty of room for the air to circulate around the herbs. Depending on the type of dehydrator you have, this may require removing some of the trays.
Dehydrate herbs on the lowest possible temperature, to retain as much of their flavor as you can. Shoot for 95 F to 115 F. If it’s particularly humid, you might go with a slightly higher temp, say 125 F.
Your herbs will take a few hours to dry. Once the leaves are brittle and crush easily, remove them from the dehydrator and package in jars or plastic bags.
Testing for Dryness in Dried Herbs
Make sure the herbs are full dry to prevent mold growth during storage. Herbs are sufficiently dehydrated when leaves are crispy and crumble easily between your fingers. Test for dryness by rubbing a leaf between the fingers – it should be able to crumble easily.
Troubleshooting Common Issues with Dehydrated Herbs
If your dry herbs get moldy, compost them and start over. If some herbs become discolored during the drying process, compost the discolored herbs and continue drying the rest.
Dehydrated Herbs: Storing for Maximum Taste and Longevity
Storing dried herbs correctly is key if you want to maximize their shelf-life by preventing moisture and odor transfer. Follow these steps to ensure that your dried herbs taste great for months to come!
Cool Before Storage:
After drying, let the herbs cool completely before transferring them to their storage container.
Remove Stems:
To ensure the herbs stay fresh, remove stems before storing.
Whole over Crumbling:
For extra flavor, store herbs whole instead of crumbling them prior to usage. This will also help preserve their shelf-life for longer.
Air Tight Container:
Transfer the herbs into an air-tight container. This will help prevent moisture from getting inside and ruining the herbs.
Vacuum Seal:
If you want to further extend shelf-life, vacuum seal the container for maximum protection against air and moisture.
Moisture Absorbing Desiccant Packet:
In areas with high humidity levels, or when opening and closing the container often, add a small desiccant packet. This will help absorb any moisture that might enter the container.
Label:
Finally, label the container with the date, name of the herb, and other important details.
Location:
Place the container in a cool, dark, and dry place – like a pantry cabinet. This will help to keep the herbs fresh for months to come. Most dried herbs keep well for up to a year if stored in optimal conditions.
By following these simple steps, you’ll be able to store your dried herbs as if they were freshly picked from your garden! Not only will the herbs last longer, but their flavor and texture will also remain intact. Enjoy!
What Are The Best Containers To Store Dried Herbs
Your herbs are precious, and their storage deserves your attention. Here’s how to ensure they remain fresh and potent for longer:
1. Shield from Oxygen
Oxygen is the enemy of freshness. Over time, it will degrade the quality of your herbs. So, keep them in air-tight containers to maintain their potency.
2. Choose the Right Containers
Different containers offer different levels of protection:
-
Glass Jars: These are excellent choices, especially ones with clamp-on lips. They provide a tight seal that keeps oxygen out.
-
Metal Tins: If you prefer a more rustic look, opt for metal tins with screw-top lids. They’re just as effective in keeping your herbs safe.
3. Avoid Plastic
While plastic containers might seem convenient, they could be detrimental to your herbs. Toxins from plastic materials can seep into your herbs, affecting their quality and safety.
Remember, your herbs deserve the best care. By following these simple yet effective strategies, you’ll ensure their longevity and potency, enhancing your culinary or medicinal experiences.
Mastering the Use of Dehydrated Herbs
Harness the full potential of dehydrated herbs. Their concentrated flavor can bring a bold twist to your culinary endeavors. When drying herbs in the oven, it is important to keep the oven door ajar to allow for proper air circulation and prevent the herbs from cooking. Here’s how you can integrate them into your recipes with confidence and authority.
Substituting Dehydrated for Fresh Herbs in Recipes
Dehydrated herbs pack a significant punch. They’re more potent than their fresh counterparts, so use them sparingly. A good rule of thumb: replace one tablespoon of fresh herbs with just one teaspoon of the dried variety.
Use these amounts as guidelines for substituting one form of an herb for another. You can substitute dill seed for fresh dill or dill weed in some cases. Use 2 to 3 teaspoons of dill seed or dill weed to match the flavor of one head of fresh dill. Dehydrated herbs can be used the same way as dried herbs from the store, but use ⅓ the amount called for if substituting for fresh herbs.
Innovative Ways to Use Dehydrated Herbs
Don’t limit yourself to just substituting dehydrated herbs for fresh ones. Get creative and experiment. Here are some ideas to get you started:
-
Revive Your Pesto or Chimichurri: Soak dehydrated herbs in warm water, drain, and add them to your homemade pesto or chimichurri. It’s an easy way to add depth and intensity.
-
Elevate Your Iced Tea: Sprinkle some dried mint into your iced tea. It’ll add a refreshing twist that’s perfect for a hot day.
-
Enhance Marinades and Rubs: Infuse your marinades and rubs with dehydrated herbs. They’ll help you achieve that bold flavor you’re after.
-
Upgrade Your Camping Meals: Who said backpacking meals have to be bland? Try adding dehydrated herbs to dishes like Cold Soak Pasta Salad or Dehydrated Pasta Primavera. You’ll be surprised at the difference they make.
Remember, cooking is an art, and dehydrated herbs are another tool. Use them wisely, and your dishes will be the talk of the town.
The Shelf Life of Dried Herbs: A Definitive Guide
The flavor of your dishes hinges on the quality of your ingredients, and dried herbs are no exception. Understanding their shelf life is crucial. Here’s your authoritative guide:
Sun drying is a method often considered for preserving herbs, but it has limitations due to environmental factors such as high humidity. In regions like Pennsylvania, moisture removal is insufficient to maintain the herbs’ flavor and color.
How Long Does Dried Herbs Last?
Factors Affecting the Shelf-life
Storage Tips for Extended Shelf Life
Identifying Aging Herbs
-
Over time, herbs lose their potency.
-
A faded color or lost aroma indicates it’s time for a replacement.
In essence, while the shelf life of dried herbs can stretch to a few years, they’re at their prime in the first year. Proper storage can prolong their life, but always be mindful of their appearance and scent to ensure the best flavor for your dishes. Remember, the quality of your herbs directly influences the taste of your culinary creations. So, keep them fresh, use them wisely, and enjoy the burst of flavors they bring to your table.
Wrapping Up
Dehydrating herbs is an incredibly simple way to savor the fresh garden flavor for months. It’s also an economical way to jazz up even ordinary dishes. Now that you know how to dehydrate herbs, you can start imagining all the delicious dishes you will make with them throughout the year!
What are your favorite herbs to cook with? What do you like to store your herbs and spices in? Let us know your thoughts in the comments!
Frequently Asked Questions about Dehydrating Herbs
Do you have questions about drying fresh herbs at home? Check out this section for answers to common questions.
Should I wash herbs before drying them?
Washing herbs before drying them is not always necessary.
What should I do if my dry herbs get moldy or have discolored leaves?
If your dry herbs get moldy, compost them and start over.
Hey there, since 2016, my mission has been to provide you with the information and guides you need to make food dehydrating simple and fun. Whether you're a newbie or a seasoned pro, my site offers helpful guides, reviews, and recipes to enhance your dehydrating experience. I take pride in only recommending products I believe in, ensuring my readers' trust. As an affiliate of various programs, including Amazon Associates, your support helps me continue providing quality content. Thanks for stopping by, and happy dehydrating!