

How to Make Dehydrated Flower Magnets
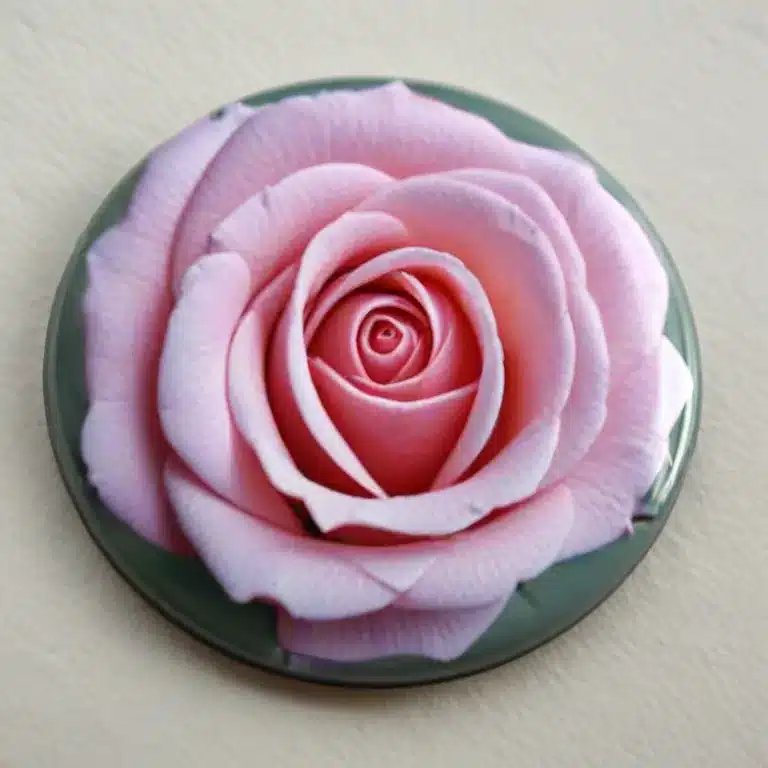
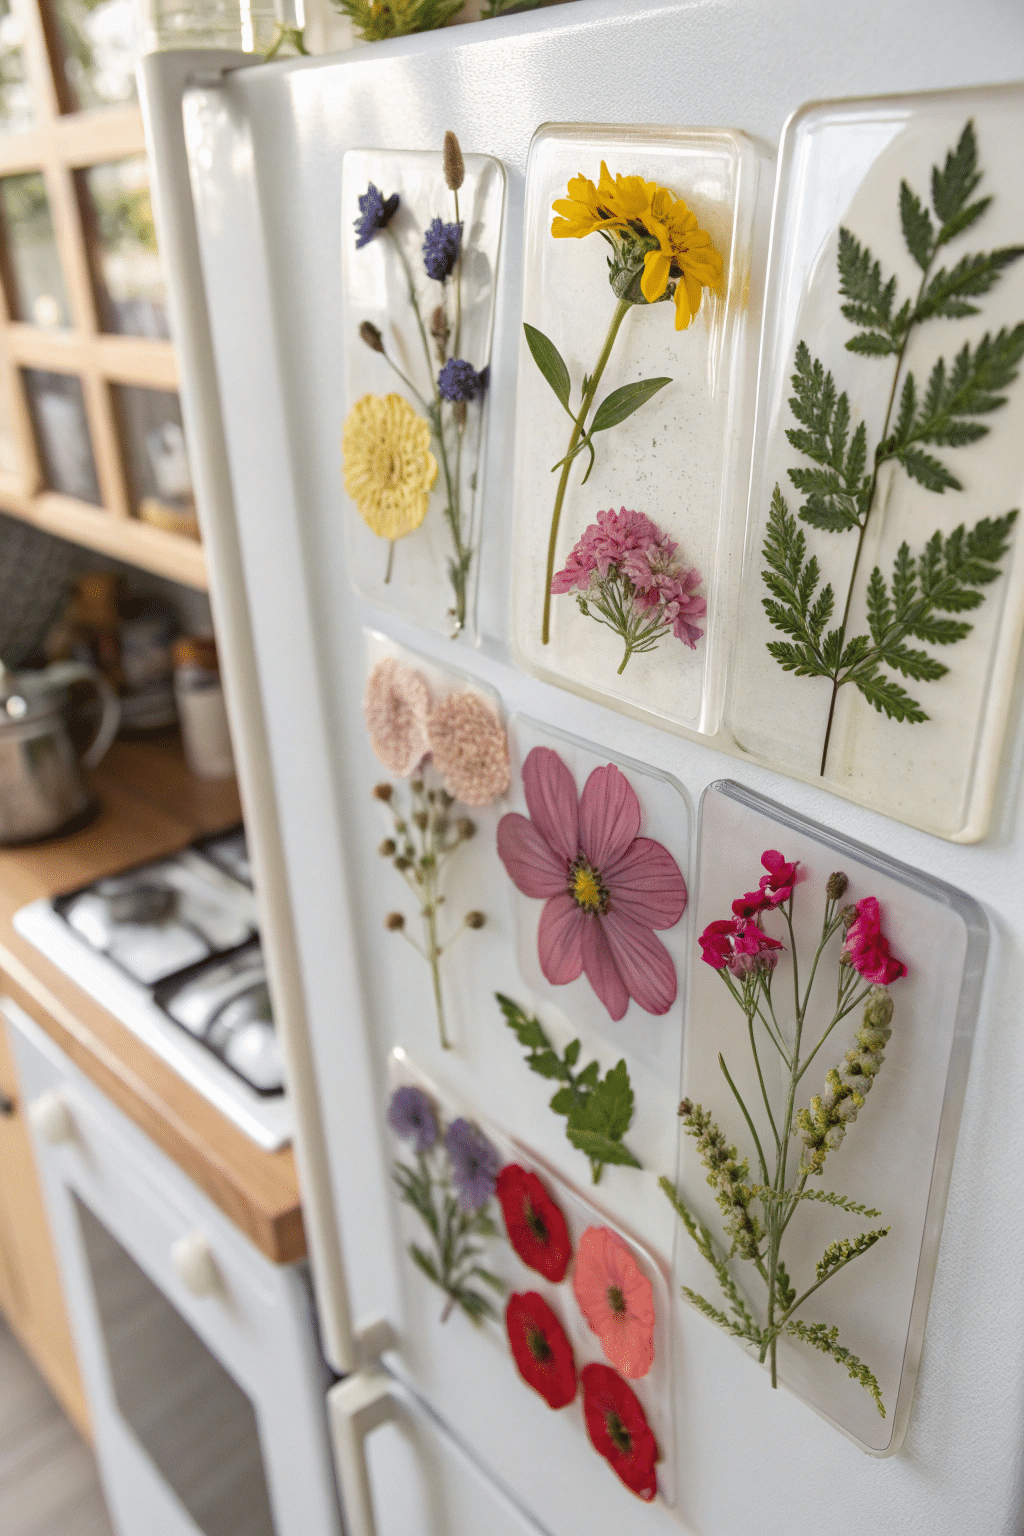
Are you looking for a unique and beautiful way to preserve your favorite flowers? Look no further! Dehydrated flower magnets are a fun and creative DIY project that not only keeps the beauty of your blooms alive but also adds a touch of nature to your fridge or any magnetic surface. Follow this step-by-step guide to create your very own dehydrated flower magnets.

Materials Needed
- Fresh flowers with sturdy petals (roses, daisies, lavender, etc.)
- Silica gel for drying flowers
- Scissors
- Magnets
- Glue
- Airtight container for drying flowers
- Parchment paper or wax paper
- Small paintbrush or tweezers
Step-by-Step Guide
1. Choose Your Flowers
Select fresh flowers with sturdy petals for the best results. Roses, daisies, and lavender are excellent choices. Ensure the flowers are at their peak, just before full bloom, to retain their color and shape.
2. Cut the Flowers
Using scissors, carefully cut the flowers, leaving a short stem for easier handling.
3. Prepare the Silica Gel
Pour a layer of silica gel into the airtight container. Place the flowers on top, making sure they do not touch the sides of the container or each other.
4. Cover the Flowers
Gently pour more silica gel over the flowers, ensuring they are completely covered. Seal the container and leave it for 3-7 days to allow the flowers to dry completely.
5. Remove and Clean the Flowers
After the drying period, carefully remove the flowers from the silica gel. Use a small paintbrush or tweezers to brush off any excess silica gel from the petals.
6. Prepare the Magnets
Apply a small amount of glue to the back of each magnet. Avoid using too much glue to prevent it from seeping through the petals.
7. Attach the Flowers to the Magnets
Place the magnet on the back of the flower, holding it in place for a few seconds to ensure it adheres properly.
8. Set the Magnets
Lay out a sheet of parchment paper or wax paper and arrange the finished flower magnets on it. Leave them to dry for an hour to ensure the glue sets properly.
9. Enjoy Your Dehydrated Flower Magnets
Once dry, your dehydrated flower magnets are ready to use. Add them to your fridge or any magnetic surface to enjoy a touch of natural beauty in your home.
Tips and Tricks
- Choose Peak Flowers: Select flowers just before full bloom for better color and shape retention.
- Ensure Complete Drying: Make sure the petals are completely dry before removing them from the silica gel to prevent wilting.
- Airtight Containers: Use airtight containers to prevent moisture from affecting the drying process.
- Vibrant Colors: For a more vibrant look, consider adding a few drops of food coloring to the silica gel.
- Avoid Excess Glue: When gluing the magnets, avoid using too much glue to prevent it from seeping through the petals.
- Proper Storage: Store your dehydrated flower magnets in a cool, dry place to maintain their beauty.
Creating dehydrated flower magnets is a delightful way to preserve the beauty of nature and add a personal touch to your home decor. Not only are they easy to make, but they also make wonderful gifts for friends and family.
Ready to get started? Grab your materials and start crafting your beautiful dehydrated flower magnets today! And don’t forget to share your creations with us—we’d love to see your work!

