The magical world of sourdough bread, with its tangy character, dense richness, and unique flavor, has lured many into the realm of bread-making. But have you ever predicament yourself stuck between the necessity of feeding your sourdough starter daily and the craving to go on vacation without any concerns of spoiling your precious “ingredient”? We have the answer for you!
“Imagine your active, bubbling starter dried into flakes or small chunks that can be stored at room temperature, ready to be revived and used again when needed!”
This article provides a simple yet comprehensive guide to dehydrating sourdough. It equips you with knowledge and essential tips, making the process approachable for all home bakers.
Before we delve into the process of dehydration, it is vital to comprehend what a sourdough starter is and its key importance in bread making. In the most rudimentary terms, a sourdough starter is a live culture of flour and water. It utilizes natural yeast present in the air and flour, leading to a unique, tangy flavor representative of sourdough. This, dear reader, is the magic of sourdough – the flavor that sets it apart from every other bread.
The Process of Dehydrating Sourdough Starter
Dehydrating sourdough starter is a rather straight-forward process, although it does require careful attention to detail and the unique behavior of your particular starter. When you dehydrate a sourdough starter, you effectively remove all the water content, leaving behind the wild yeast and bacteria that are integral to your sourdough’s flavor profile and leavening power. This is a fascinating process and is actually one of the most secure ways to preserve your starter for long-term storage or for sharing with others.
It’s important to remember that the process requires a fair amount of preparation, including feeding your sourdough starter to ensure it’s at peak activity. The dehydration process not only involves drying the sourdough starter, but also crushing it into a fine powder. The fineness of the dried sourdough starter can significantly influence the time it takes to rehydrate and reactivate it later.
As you may anticipate, using the right temperature is a critical part of this entire process. You want to ensure that the temperature is just right—neither too hot that the beneficial bacteria and yeast are killed, nor too cold that the drying process becomes too prolonged. Using the Sourdough Home or a Folding Proofer can make this easier and more consistent, but you can also achieve good results using a conventional oven with careful monitoring.
Timing is equally imperative. Typically the dehydration process can take anywhere from 6 to 8 hours depending on the thickness of your starter and the exact temperature used. However, patience in this process is vital to ensure that you’re left with a completely dried and viable product. Lastly, the use of tools such as a parchment paper or silicone mat, as well as a scale, can help streamline your process and improve accuracy.
Before embarking on the exciting journey of dehydrating your sourdough starter, it’s essential to gather all necessary tools and ingredients. Setting up a workspace with everything you need within arm’s reach will help the process go smoothly.
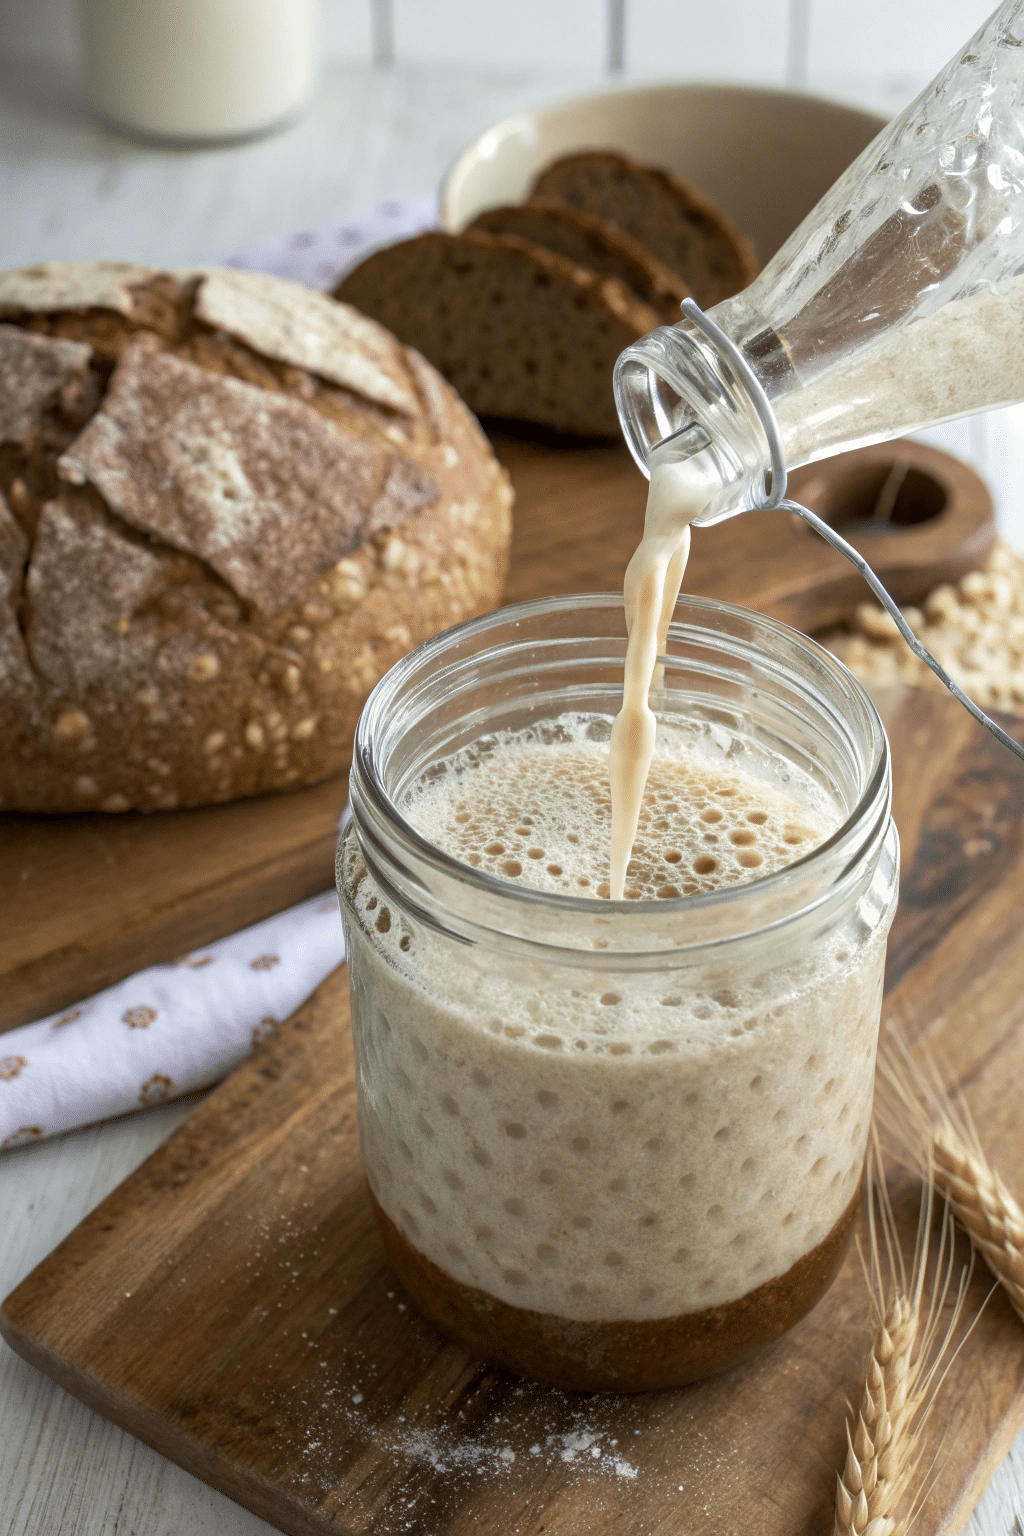
Active Sourdough Starter: To start, you’ll need an active sourdough starter that has been fed recently. If your starter has been sitting in the fridge, take it out, feed it, and let it sit at room temperature until it’s bubbly and active. Remember, a strong and lively starter translates to a more effective end product.
Dehydrator: A dehydrator provides the advantage of having a more consistent temperature control.
Silicon Mats or Parchment Paper: You’ll need something to spread your sourdough starter on during the drying process. Silicon mats are ideal because they are non-stick and reusable, but parchment paper works as well.
Thin Edge Spatula or Knife: A tool to easily spread the sourdough starter evenly on the mat or paper. The thinner you can spread it, the quicker it will dry.
airtight container: Once dried, the sourdough starter needs to be kept in an airtight container to ensure it remains dry and free of contaminants until you’re ready to use it.
With your toolbox ready, let’s explore the step-by-step procedure for dehydrating your sourdough starter. Just imagine, in a few simple steps, you’ll be able to make your own dehydrated sourdough starter flakes, ready and waiting for your next baking adventure!
Step-by-Step Guide to Dehydrating Sourdough Starter
Mastering the art of dehydrating sourdough starter isn’t just about seizing control of your baking schedule. It also provides the fantastic opportunity to share your unique starter with other passionate bakers around the globe. Here’s a comprehensive, step-by-step guide to help you dehydrate your sourdough starter properly.
1. Preparing for Dehydration
Firstly, line a baking sheet with parchment paper. Spread your active starter on this sheet as thinly as possible aiming for a layer no thicker than 1/8-inch. This step is essential as a thinner spread speeds up the drying process and ensures full dehydration.
2. Dehydrating the Starter
The ideal setting for the dehydrator should be set to 31°C (~78°F). Your starter will take around 4-7 hours to dry, so patience is key here.
3. Checking for Full Dehydration
How do you know when dehydration is complete? You would need to ensure that your sourdough starter is thoroughly dry. It should crumble easily, and there shouldn’t be any sticky or soft spots. If such spots are present, continue dehydration until they disappear.
4. Grinding the Dehydrated Starter
After your starter is fully dried, crumble it into small pieces. At this stage, you can either store the starter as is or grind it into a finer powder using a blender or food processor. Be sure to let it cool to room temperature before grinding, as the process may heat it up.
This entire procedure takes a bit more time than the usual feeding routine, but it’s worth it for the eventual convenience and versatility. So dare to experiment and walk this less-travelled path of sourdough baking!
Storing Dehydrated Sourdough Starter
Once you’ve dehydrated and ground your sourdough starter, it’s crucial that you store it correctly to maintain its vitality and effectiveness for future uses. Proper storage isn’t just about practicality; it safeguards your starter’s microbiome, which is responsible for giving your sourdough its unique flavor and leavening power.
When it comes to storing your dehydrated sourdough starter, dry and cool environments are your best bet. You want to minimize potential moisture, heat, and light exposure to prevent unwanted bacterial growth. An airtight glass jar or food-grade plastic container are both excellent options. If using a glass jar, opt for one that’s colored or opaque to block out light, and don’t forget to label your container with the date of dehydration to keep track of its lifespan.
Pantry: An optimal choice if your ingredients’ storage space is cool and dark.
Keep in mind that although the dehydrated sourdough starter is significantly more shelf-stable than its hydrated counterpart, it’s not immortal. Depending on its storage conditions, you can expect to use your dehydrated starter effectively for several months up to a year post-dehydration.
Additionally, consider backing up your starter by dividing it into separate containers. This way, you’re protecting it from potential mishaps, such as accidental spoilage or overuse. Backups are also perfect for sharing with fellow sourdough enthusiasts, or nurturing multiple starters if you love experimenting with various sourdough flavors and textures.
Conclusion: Dehydrate Your Sourdough Starter with Confidence
In conclusion, dehydrating sourdough starter is not only possible, it’s a practical and clever way to ensure that you always have a backup of your nourishing yeast and bacterial colony. With the right steps, you can safely put your sourdough starter into a dormant state, allowing for easy storage and travel compatibility.
Remember, backup your starter by dividing it. The division protects your reservoir of taste and aroma elements from potential culinary accidents. It also offers a fantastic way to spread the sourdough love by sharing with friends or fellow baking enthusiasts. Plus, let’s not forget about the fun and intriguing opportunity to play with different sourdough flavors and textures.
Dehydrating your sourdough starter is a smart move on your baking journey. It provides a level of security that helps you bake with peace of mind knowing there’s always a starter to fall back on. So, embrace this technique and keep honing your baking skills!
DannyContent Writer
Hey there, since 2016, my mission has been to provide you with the information and guides you need to make food dehydrating simple and fun. Whether you're a newbie or a seasoned pro, my site offers helpful guides, reviews, and recipes to enhance your dehydrating experience. I take pride in only recommending products I believe in, ensuring my readers' trust. As an affiliate of various programs, including Amazon Associates, your support helps me continue providing quality content. Thanks for stopping by, and happy dehydrating!