Need to know “how to dehydrate vegetables in oven”? Cut straight to the chase with our thorough guide, which breaks down the simple steps for turning fresh veggies into long-lasting, dehydrated treats straight from your kitchen oven.
Key Takeaways
Use a convection oven if possible to ensure even dehydration of vegetables, prepare the oven with low heat, and preheat before starting.
Clean and blanch vegetables before drying, slice them thinly for efficient dehydration, and arrange them in a single layer on the tray with space in between.
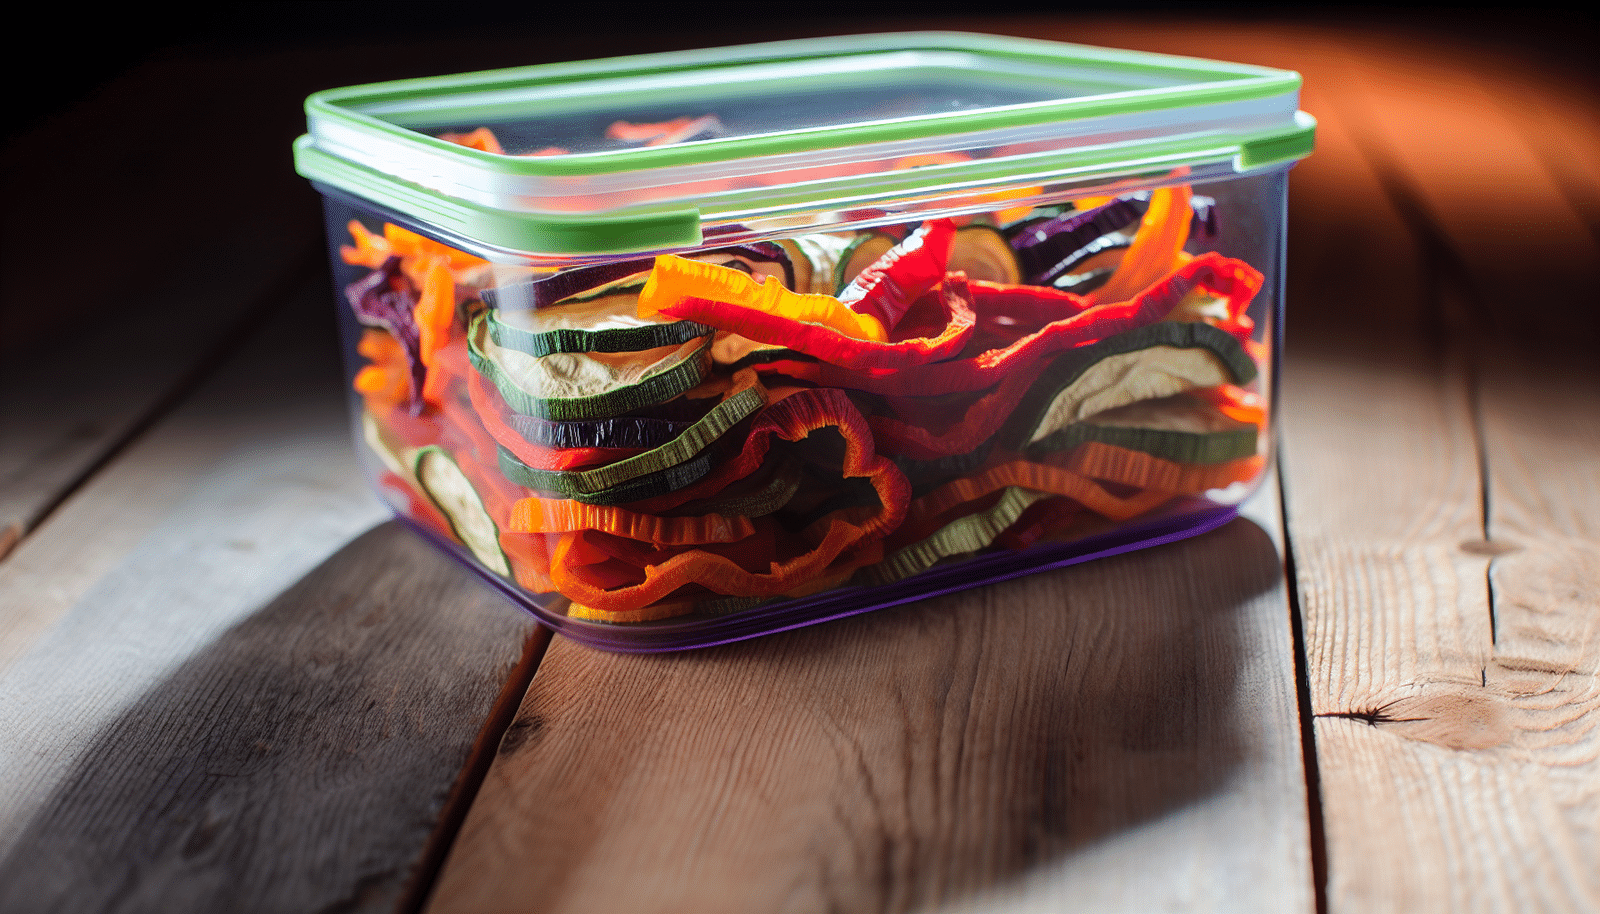
Store dehydrated vegetables in airtight containers in cool, dark places for a shelf life of up to a year, or vaccum seal for longevity up to 25 years.
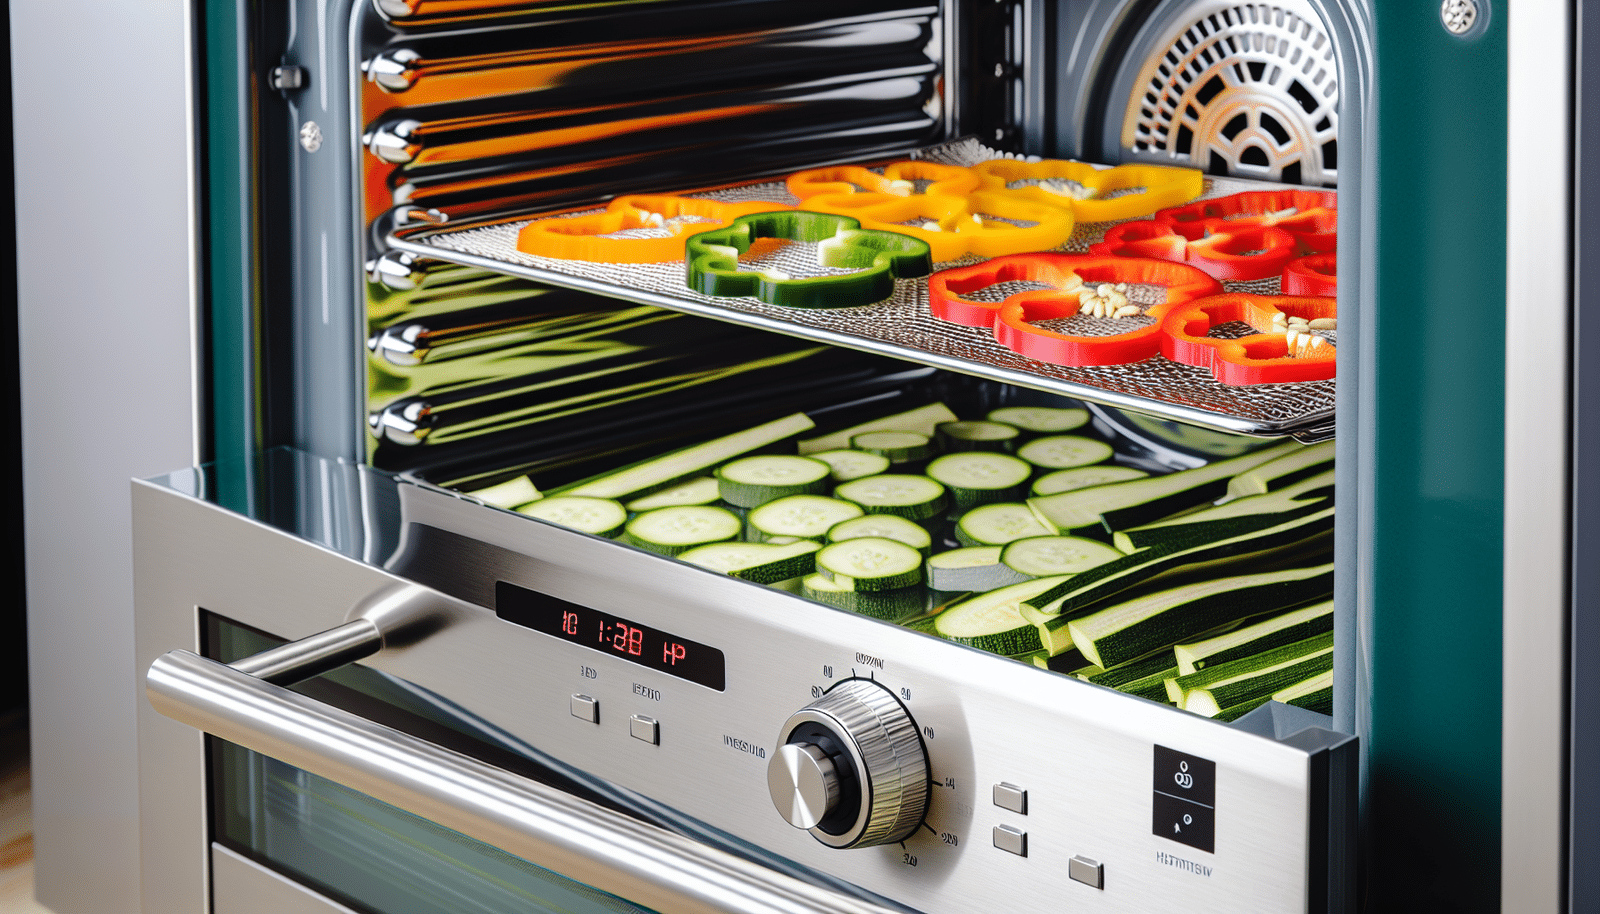
Setting Up Your Oven for Vegetable Dehydration
The initial stage of vegetable dehydration involves preparing your oven. The significance of this step lies in the necessity to maintain a constant heat source for drying, facilitating the removal of moisture without actually cooking the food. Now, did you know a convection oven can be a game changer for dehydrating veggies? The fan in convection ovens circulates hot air, leading to a more even drying process, and helping to prevent bacteria growth by removing water from the vegetables.
To prepare your conventional oven for drying, follow these steps:
Preheat the oven to the minimal setting.
Lay the veggies out on a wire rack or a baking sheet with a cooling rack on top to allow air to flow around them.
If your oven has a convection feature, use it to help dry the veggies uniformly and ensure the best results.
Remember to preheat the oven prior to initiating the dehydration process for vegetables. This ensures the temperature is stable and ready for the veggies to dry out properly. Especially if you are using a convection oven, preheating can make a big difference, as it provides better air circulation.
Preparing Your Vegetables for Drying
With your oven ready, you can now start preparing the vegetables. Start by giving them a good rinse with cool water. If they’re firm, you can use a brush under running water to ensure they are thoroughly clean. This procedure is vital for eliminating any dirt or bacteria that may disrupt the dehydration process. After rinsing, you can blanch the vegetables in boiling water to enhance their color and texture.
Next, it’s time to blanch your vegetables. You might wonder why this extra step is necessary. Blanching plays a key role in:
Halting enzymes that could alter the vegetables’ flavor, color, and texture
Ensuring dirt and microorganisms are eliminated, enhancing the color, preserving vitamins, and making the vegetables softer for packing
Providing adequate air circulation during drying, which is vital for uniform dehydration.
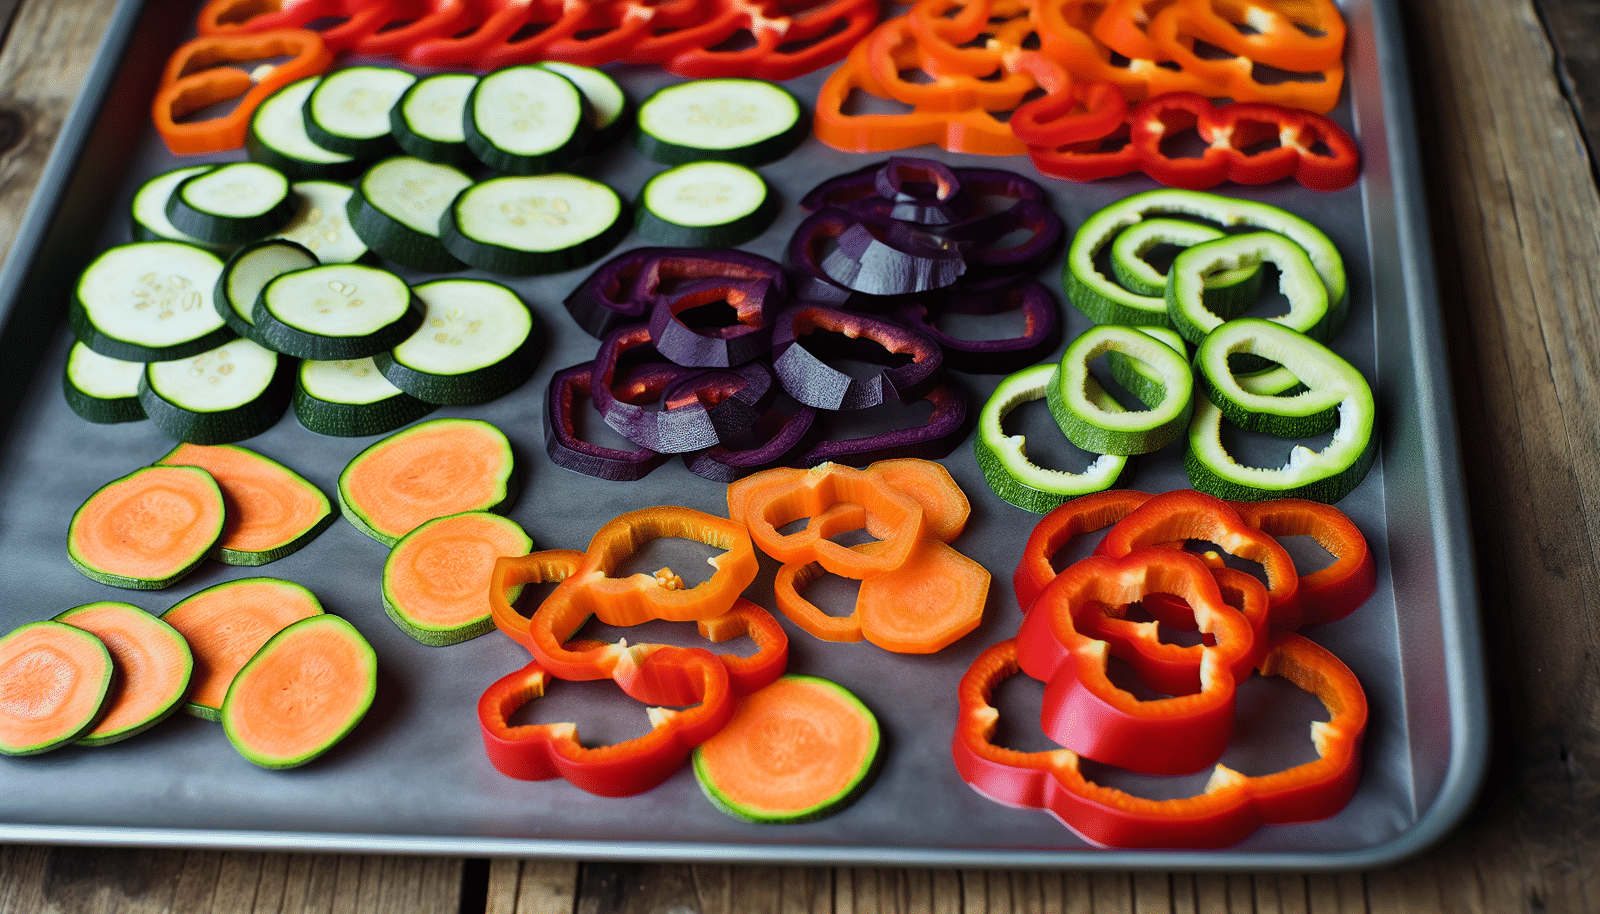
Lastly, slice your vegetables thinly. Thin slices dry faster, reaching the target temperature quickly and making the dehydration process more efficient overall. Once sliced, lay the vegetables on baking sheets ready for the oven.
While dehydrating vegetables, oven drying requires you to ensure you leave some space between the pieces. This space helps the air to circulate better, which is key to getting them evenly dried and helps to dehydrate vegetables effectively.
Lastly, the size and cut of the veggies significantly affect how they dry on the tray. Sliced pieces dry faster and more evenly than bigger cuts. Hence, it’s advisable to uniformly chop your veggies prior to dehydration for optimal results.
Monitoring and Timing the Dehydration Process
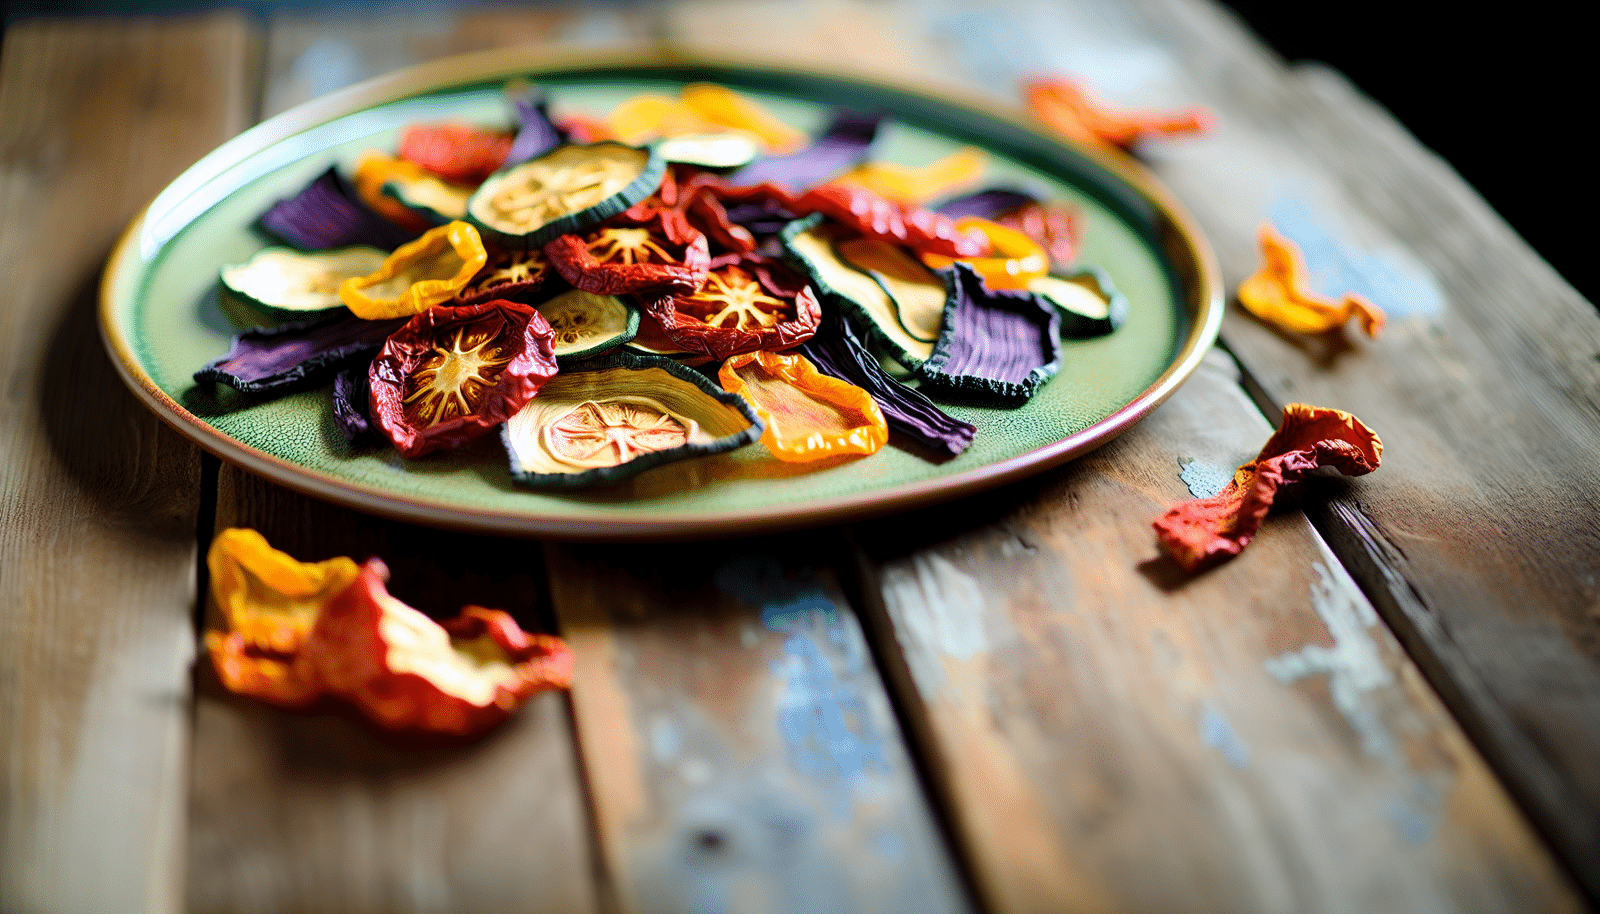
Keeping track of and timing the dehydration process is key to achieving the desired texture in your dehydrated vegetables. But how can you tell if your veggies are dry enough? If they are properly dried, they’ll be super crispy, might turn a bit brown if you overdo it, and you can store them for six to 12 months.
The dehydration time can vary for different types of vegetables. It usually takes less than 6 hours to dehydrate most vegetables in the oven. If you’re using frozen vegetables, remember to thaw them before dehydrating – no need to blanch them.
You can adjust the dehydration time for veggies of different sizes and thicknesses by considering the type of veggies and the size of the pieces. Here are some tips:
Sliced pieces will dry faster than whole or halved veggies.
Pieces of the same size and thickness will dry quicker.
Store dehydrated veggies in a cool, dark place with good ventilation. This will protect them from:
Light
Heat
Oxygen
Excess moisture
Maintaining low humidity is of utmost importance to prevent mold and bacteria growth due to moisture.
With proper preparation and storage, most home dehydrated foods, like veggies, can last for months or even up to a year. But if you vacuum seal them and keep them in a cool, dry spot, they can last up to 25 years. Amazing, isn’t it?
Creative Uses for Your Oven-Dried Veggies
Now that you have your dehydrated vegetables, it’s time to get creative. Here are some ideas for how to use them:
Toss dehydrated vegetables into soups and stews to amp up the flavor, fiber, and nutrition.
Mix them with your go-to recipes for added texture and taste.
Whip up some garden veggie soups and stews for a healthier option compared to store-bought mixes.
If you are a fan of pasta dishes, why not try adding your oven-dried veggies? You can rehydrate dried vegetables and add them to quickly cooked pasta, or you can mix them with olive oil, salt, pepper, and herbs, then roast them to make a tasty topping for pasta.
But the fun doesn’t stop there. You can use dehydrated vegetables in all sorts of baking like:
quick breads
yeasted breads
cookies
cakes
fruitcakes
They give a really intense flavor and can be used in soups, casseroles, and stews too.
Ensuring Safety and Quality in Dehydrated Foods
Ensuring safety and quality is paramount when dehydrating foods. To do this, you should start the dehydration process at 145°F (62°C) and then lower it to 135°F (57°C) to 140°F (60°C) after an hour for proper drying.
There are also some things to watch out for when using a food dehydrator. Don’t cram too much on the dehydrator tray, steer clear of dehydrating creamy or cheesy meals, and avoid stacking food too high during dehydration. All these steps help to maintain the quality and safety of dehydrated food.
Moreover, correctly preparing and storing dehydrated vegetables guarantees their safety for consumption and preserves their flavor. It’s all about keeping them clean and keeping their nutrients from getting lost in the process.
Additional Tips and Tricks for Successful Oven Dehydration
If you want to dry veggies in the oven without using too much energy, simply set the oven temperature at 140°F (60ºC), prop the oven door open, and rotate and turn trays every hour.
Finally, to prevent your veggies from sticking to the oven trays, avoid slicing them too thin. Flip them over after an hour and consider using cooking spray or a bit of oil on the trays.
Summary
In conclusion, dehydrating vegetables in your oven at home is a simple process that can yield delicious and nutritious snacks. By following the step-by-step guide provided, you can ensure that you are preparing, dehydrating, and storing your vegetables correctly.
Remember, dehydrating vegetables is not just about preserving them for longer periods. It’s also about unlocking new flavors and textures, and discovering creative ways to use them in your everyday meals. So why not give it a try? You might just find that dehydrating vegetables becomes your new favorite hobby!
Frequently Asked Questions
What temperature do you dehydrate vegetables in the oven?
You should dehydrate vegetables in the oven at the lowest setting, which is typically around 140 to 150 degrees F. Make sure to prop the oven door open to maintain a consistent temperature and allow moist air to escape.
How do you dehydrate vegetables without a dehydrator?
You can dehydrate vegetables without a dehydrator by sun drying them. Simply slice them thinly, place them on a baking sheet in a sunny spot, and cover them with a mesh material to keep flies away. This process may take a few days.
How do you dehydrate vegetables quickly?
To dehydrate vegetables quickly, spread them evenly on the dehydrator tray and set the temperature to 125°F, then dehydrate for 8 to 12 hours until they are completely dry and hard to the touch. Happy dehydrating!
Can I use a convection oven to dehydrate vegetables?
Yes, you can use a convection oven to dehydrate vegetables. The fan circulates hot air for even drying, preventing bacteria growth by removing water from the vegetables.
DannyContent Writer
Hey there, since 2016, my mission has been to provide you with the information and guides you need to make food dehydrating simple and fun. Whether you're a newbie or a seasoned pro, my site offers helpful guides, reviews, and recipes to enhance your dehydrating experience. I take pride in only recommending products I believe in, ensuring my readers' trust. As an affiliate of various programs, including Amazon Associates, your support helps me continue providing quality content. Thanks for stopping by, and happy dehydrating!