If you’re wondering how to dehydrate dill quickly and effectively, you’ve come to the right place. This article will walk you through the simple steps to dry dill, ensuring you retain its aromatic flavor for culinary use. We’ll cover harvesting techniques, preparation tips, and dehydrator settings—giving you the confidence to dehydrate dill with ease.
Key Takeaways
Harvest dill early in the morning before it flowers for higher oil content and optimal flavor.
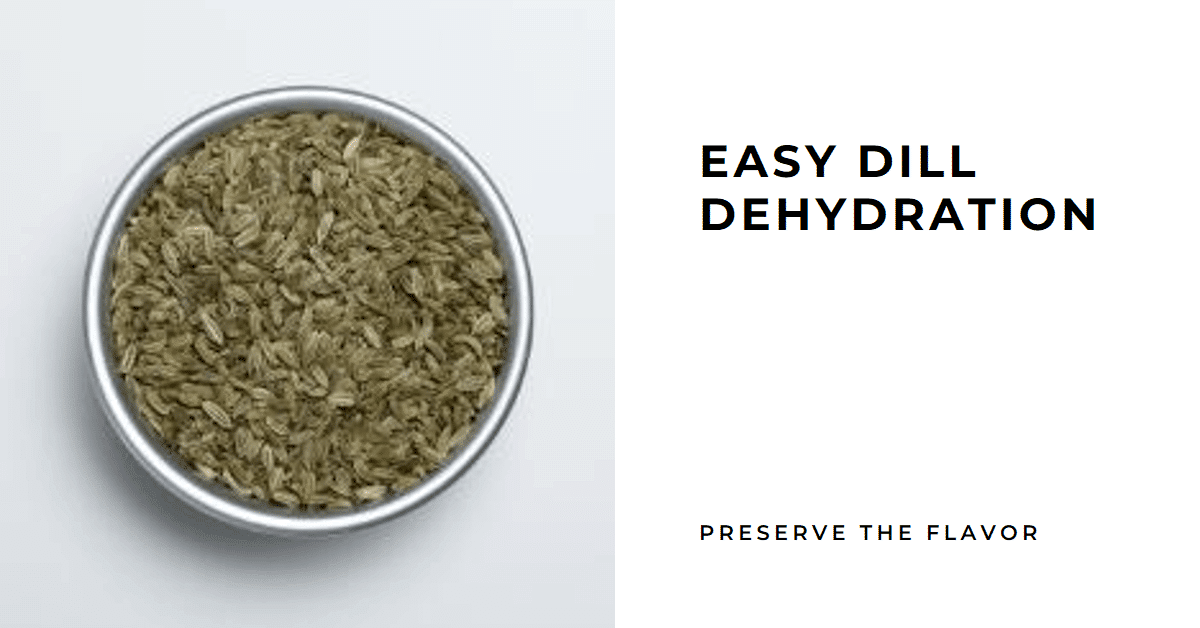
Store dehydrated dill in airtight containers in a cool, dark place to preserve flavor, and use in cooking in reduced amounts compared to fresh dill.
Harvesting Your Dill for Dehydration
Dill is a fascinating plant. As you watch it grow tall and lush in your garden, you may find yourself wondering, “When is the right time to harvest it?” Well, the optimal time to pick dill for drying is early in the morning when the plants are at least 6” tall or 4-8 weeks after planting. But why the early morning, you may ask?
The reason is simple: the flavor and oil content of dill are at their peak in the early morning. However, once the plant starts flowering, the carvone content in the oil increases. This change doesn’t affect the flavor but does alter the oil content. So, if you’re planning to dry fresh dill, harvesting before flowering is a good idea.
Preparing Fresh Dill for Dehydration
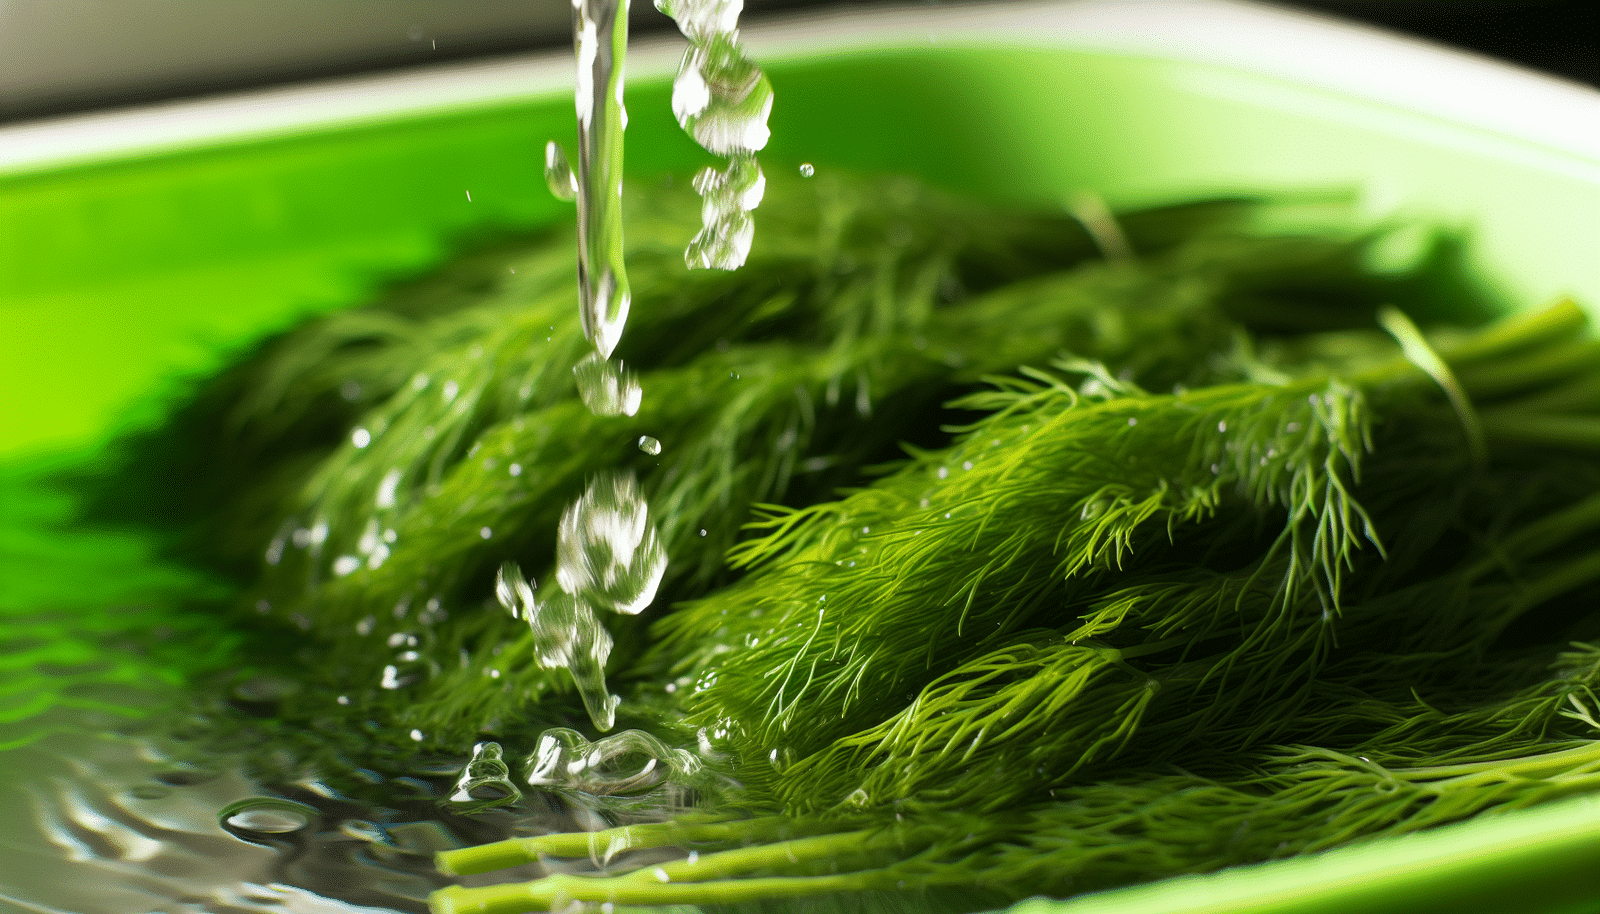
Having harvested your dill, the next step involves preparing it for dehydration. But before you do, there are a few things you need to take care of. First, you need to remove any bugs, weeds, or eggs from the dill. Then, soak the leaves in a mix of vegetable wash and water to ensure they’re spotlessly clean before you transform them into dry dill weed, also known as dried dill weed.
Once cleaned, ensure the dill is thoroughly dried. You can do this by air drying or placing the washed dill on dehydrator trays and pre-drying it at 95°F / 35°C for 4-6 hours. This method removes the moisture from washing and preps the dill for the dehydration process.
The Dehydration Process Explained
The subsequent stage is dehydration. This process is where the magic happens, as your fresh dill sprigs transform into dried dill weed. To achieve consistent results, using a food dehydrator is recommended. Food dehydrators, like the Electriq digital dehydrator EDFD08 and the BioChef Arizona Sol, are excellent options for drying dill.
However, why the specific temperature range, you may wonder.
Setting Up Your Dehydrator Trays
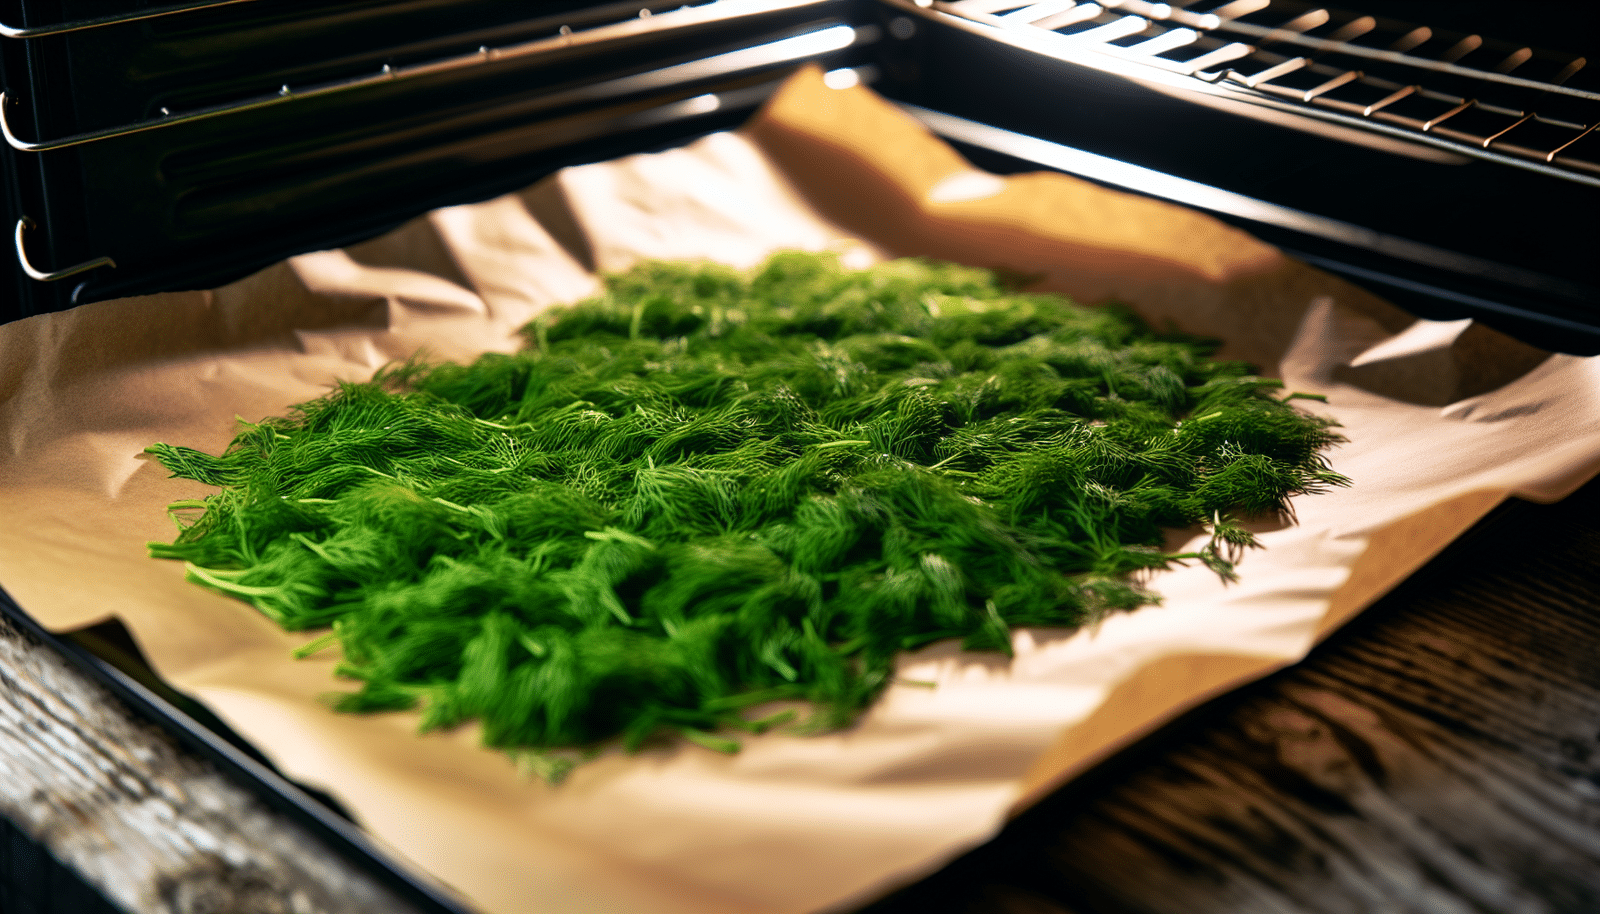
Next, we’ll explore the dehydration process in more detail, beginning with the arrangement of your trays. Here’s the thing: how you arrange your dill on the dehydrator trays greatly affects the outcome. You need to spread the dill evenly on the trays, ensuring they are in a single layer. This allows the dill to dry out evenly, preserving the flavor and color while keeping the foliage and blooms intact.
Additionally, leaving ample space between the dill sprigs for adequate air circulation is vital. This aids in proper drying and prevents the herbs from sticking together. Moreover, using liners or parchment paper on the trays can help prevent small or sticky items like fresh dill from adhering to the trays, making cleaning easier and prolonging the lifespan of your trays. To preserve fresh dill effectively, following these guidelines is essential.
Monitoring the Drying Progress
After setting up your trays, the drying process should be closely monitored. Keeping a close eye on your dill is essential to ensure it dries correctly. So, how often should you check? It’s a good idea to take a peek after 1 hour and then periodically until the dill becomes crisp and crumbly to the touch.
But how can you tell if the dill is adequately dehydrated? The leaves should feel brittle, easily crumble, and the stems should snap easily. Also, the dill should be completely dry and brittle to the touch. This will ensure you store dried dill properly. However, to avoid over-drying and to preserve its aromatic qualities, it’s best to handle the dill gently and use the lowest temperature setting.
Typically, dehydrating dill takes about 4-6 hours at 95°F/35°C.
Alternative Method: Oven Drying Dill
In case you lack a dehydrator, there’s no need for concern. You can still dry your dill using an oven. To prepare your dill for oven drying, spread it out on a baking sheet lined with parchment paper in a single layer to ensure even drying. Consider using a salad spinner to remove excess water before oven drying.
When it comes to drying dill, here are some tips:
The ideal temperature setting is 225°F or as low as your oven can go, usually between 150°F and 200°F.
To prevent burning, consider using a cooling rack over an oven tray and spread the dill out evenly on the rack, or use a brown paper bag with holes for air circulation to protect the dill during drying.
Remember to check the dill every 15 minutes to avoid over-drying or burning.
This process usually takes around 25 minutes to 4-6 hours, depending on the freshness of the herb and environmental humidity.
Storing Dehydrated Dill for Long-Term Use
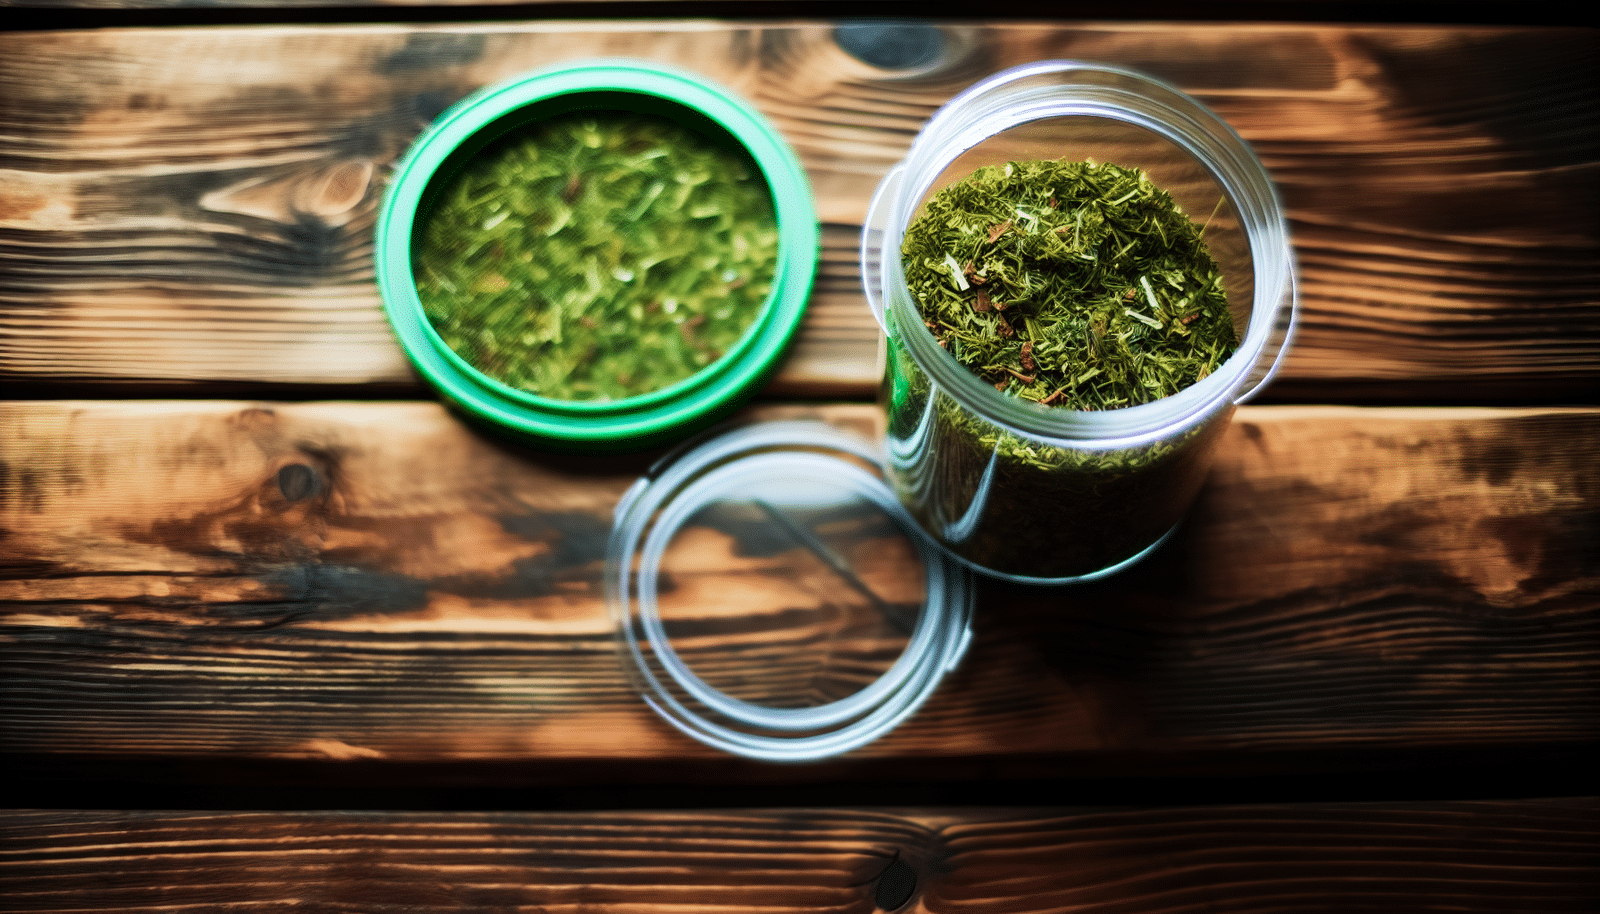
When your dill is adequately dehydrated, you can proceed to store it. The best way to store dehydrated dill is in airtight containers like glass jars or ones with tight-sealing lids. This will ensure your dill stays fresh and flavorful for a long time, ready to add a touch of magic to your culinary creations.
But what about sunlight? Well, sunlight can alter the color and flavor of the dill, so it’s best to store it in a cool, dark place. For even longer storage, consider vacuum sealing your dill. This step is optional but can significantly extend the shelf life of your dehydrated dill, especially if you also freeze it.
Creating Flavorful Dishes with Dried Dill
With your stock of dried dill and dry dill ready and a bunch of fresh dill at hand, you can start utilizing them in your cooking. Dried dill is incredibly versatile and can be used in a myriad of dishes, such as:
Tartar Sauce
Lemon Dill Salmon
Dill Pickle Dip
Cucumber Dill Potato Salad
The possibilities are limitless.
Remember, dried dill has a more concentrated flavor than fresh dill. So, when substituting fresh dill with dried in your recipes, use one-third of the amount of dried dill as you would fresh. This will ensure your dishes have the perfect balance of flavors without overpowering your palate.
Preserving the Bounty: Freezing vs. Dehydrating Dill
Apart from dehydration, freezing also serves as an effective way to preserve your surplus dill. Freezing dill keeps its flavor and nutrients for about a year. However, dehydrating dill has its own merits. It makes the flavor stronger, saves space, and can last even longer, from 1 to 3 years.
But what about the flavor? Well, frozen dill tends to pack a more powerful punch in terms of flavor and aroma, while dehydrated dill has a more intense but mellow taste. This makes it great for recipes that need a more subtle herb flavor. As for texture, frozen dill keeps more of its original texture, while dehydrated dill gets all brittle and works better in dry mixes or when you want a less noticeable texture.
Maximizing Your Herb Garden: Growing and Drying More Herbs
Whether you’re a seasoned gardener or planning to establish your herb garden, it could be beneficial to grow and dry a variety of herbs. Some of the best herbs to grow for drying include:
Bay
Lavender
Lemon balm
Oregano
Rosemary
Thyme
These fresh herbs have strong flavors, making them excellent choices for drying.
When it comes to harvesting and drying these herbs, the process may differ slightly from dill. For instance, when drying rosemary, remove the leaves from the stems and let them dry in a dark, warm place. For parsley, hang it to dry upside down in a cool, dark place with good air circulation.
Keeping It Fresh: Best Practices for Harvesting and Storing Other Herbs
Similar to dill, other herbs require appropriate harvesting, drying, and storage methods to preserve their freshness and flavor. Harvesting times may vary depending on the herb. For instance, medicinal herbs are best harvested before they flower, while roots are best collected at the end of the first Summer/Autumn.
When it comes to storing dried herbs, here are some tips to keep in mind:
Use airtight containers like glass jars or metal tins with tight-fitting lids.
Keep them in a cool, dry spot, away from any heat sources to preserve their flavor.
Give your dried herbs a good rub between your palms before using them. This helps to release the essential oils and enhance their flavor.
The Wonders of Dill: From Plant to Plate
Having traced the journey of dill from plant to plate, we can explore more about its culinary uses. Dill is a key ingredient in many cuisines, from Scandinavian and northern, central, and eastern European to traditional Indian. It’s typically used in salads, dressings, seafood, pickling, and fermentation, offering a unique flavor to each dish.
Pairing dill with the right foods can elevate your culinary creations to a whole new level. Dill goes really well with a variety of grains and vegetables, as well as in dill bread. Some examples include:
Barley
Quinoa
Wheat berries
Apple
Asparagus
Avocado
Beetroot
And let’s not forget about pickling! Love dill is used to give that distinct flavor to the pickled vegetables during the pickling process, and you can even use your own dill for a personal touch.
Summary
In conclusion, the journey of dill from plant to plate is a fascinating one. From growing and harvesting to drying and storing, each step is an integral part of the process. Drying dill not only allows you to preserve its unique flavor for a long time but also opens up a world of culinary possibilities. So, why wait? Start your herb-drying journey today, and let the magic of dill transform your dishes from ordinary to extraordinary!
Frequently Asked Questions
How do I dehydrate fresh dill?
To dehydrate fresh dill, simply hang the dill sprigs upside down in bundles in a dry area for one to two weeks, checking the texture after this period. Enjoy!
Dehydrated dill can last for 4-6 months if stored in an airtight container in a cool, dark area.
Is dill better fresh or dried?
Fresh dill is better for salads, while dried dill is better for soups and stews. Choose based on the type of dish you’re preparing.
What’s the best time to harvest dill for dehydration?
The best time to harvest dill for dehydration is early in the morning when the plants are at least 6″ tall or 4-8 weeks after planting. This time ensures the highest oil content and flavor in the dill.
DannyContent Writer
Hey there, since 2016, my mission has been to provide you with the information and guides you need to make food dehydrating simple and fun. Whether you're a newbie or a seasoned pro, my site offers helpful guides, reviews, and recipes to enhance your dehydrating experience. I take pride in only recommending products I believe in, ensuring my readers' trust. As an affiliate of various programs, including Amazon Associates, your support helps me continue providing quality content. Thanks for stopping by, and happy dehydrating!