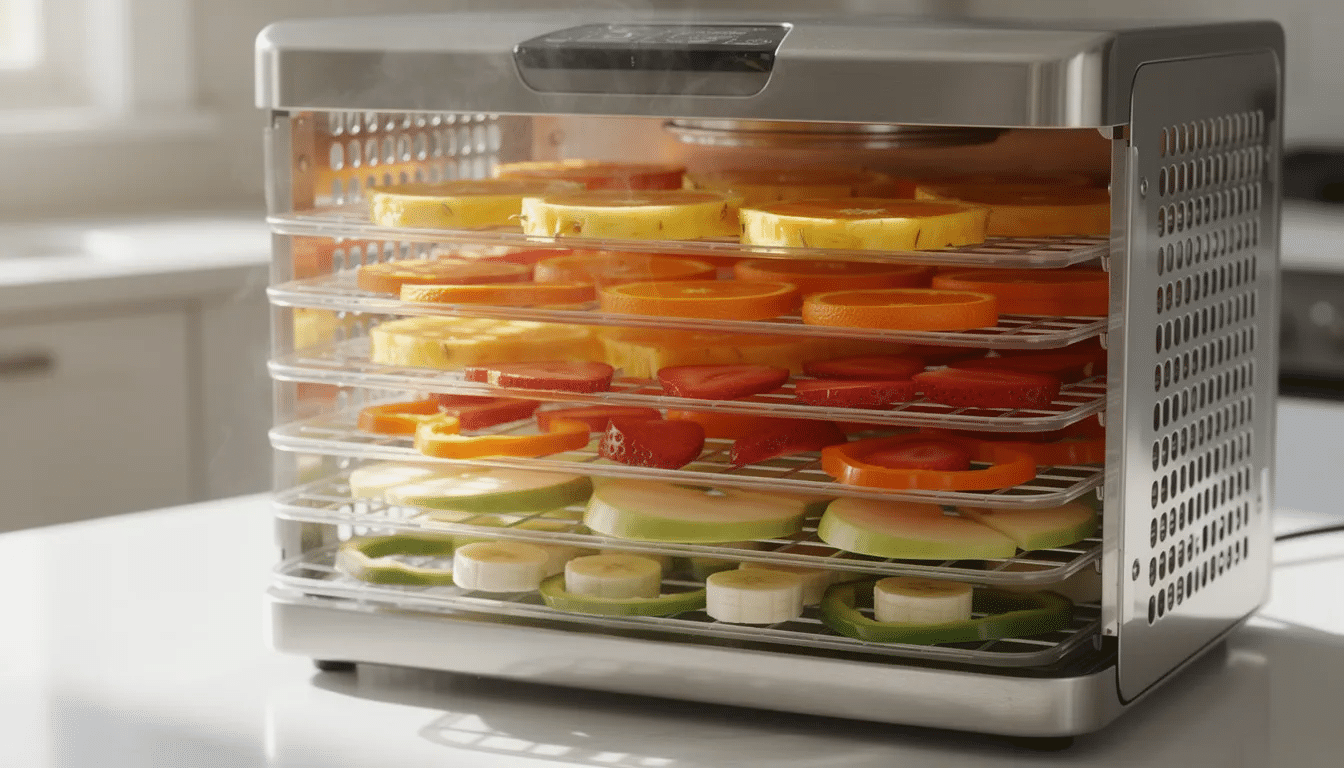
If you’ve ever pulled a tray of apples from your food dehydrator and wondered whether they’re actually done, you’re not alone. The truth is, dehydrating times are ranges—not exact countdowns—and they depend heavily on slice thickness, starting moisture content, temperature accuracy, and the humidity in your kitchen.
Most fruits dry somewhere between 6–18 hours at 125–135°F (52–57°C). Vegetables typically fall in the 6–14 hour range at similar temperatures. Meats and jerky require higher temperatures of 145–160°F (63–71°C) and usually finish in 4–10 hours. These are starting points, not guarantees.
This article provides a practical dehydrating food time chart you can reference for dozens of common foods, plus guidance on how to adjust it for your specific dehydrator and conditions. Published times—including these—are exactly that: starting points. Your real indicator of doneness is always texture (leathery, brittle, crisp), not the clock.
Time charts help you plan batches and avoid constant checking
Every dehydrator, kitchen, and batch of produce behaves differently
Texture tests (bending, snapping, squeezing) are more reliable than hours alone
Keeping a personal drying log will eventually outperform any generic chart
Identical foods can finish drying hours apart in different homes—or even in the same home on different days. Understanding why helps you interpret any time chart more intelligently.
Slice thickness: Very thin slices (1/8 inch) may finish in 8–10 hours, while 1/4-inch cuts of the same fruit can stretch to 12–15 hours
Starting moisture content: A freshly picked tomato holds more water than one that’s been sitting on your counter for a week
Sugar content: High-sugar fruits like bananas and mangos take longer than low-sugar apples at the same temperature
Oil and fat content: Fatty foods such as cheese, nut butters, and meats with extra fat are poor candidates for long term storage regardless of dry time—fats can turn rancid
Tray load: Overcrowding dehydrator trays restricts airflow and extends drying time significantly
Airflow pattern: Back-fan dehydrators dry more evenly than top- or bottom-fan models, which may require more frequent tray rotation
Room humidity and temperature: High ambient moisture can double your drying time by slowing evaporation
Dehydrator age and accuracy: Older units with a single “high/low” dial may run hotter or cooler than labeled, shifting actual times by hours
Recommended Dehydrating Temperatures by Food Type
Temperature and time work together like a seesaw: lower temps mean longer drying time but often better color, nutritional value, and texture. Higher temperatures speed things up but increase the risk of case hardening and nutrient loss, which is why understanding ideal temperature settings for food dehydration is so important.
Fruits: 125–135°F (52–57°C) — preserves flavor, enzymes, and color while achieving leathery texture while minimizing nutrient loss in dehydrated fruits
Vegetables: 125–135°F (52–57°C) — most vegetables dry well at the same range as fruits; blanching before drying helps retain color and nutrition
Herbs: 95–110°F (35–43°C) if your dehydrator allows — herbs are delicate and scorch easily at higher temperatures
Meats and jerky: 145–160°F (63–71°C) — some safety guidelines recommend starting at 155–160°F for the first 1–2 hours to kill surface bacteria, then maintaining 145°F until fully dry
Case hardening warning: Exceeding 140°F (60°C) for fruits and veggies can cause the outer layer to dry too quickly, trapping interior moisture that leads to spoilage later
Single-temperature dehydrators: If your unit is factory-set to 145–160°F and cannot be adjusted, compensate by cutting food thinner, rotating trays every 2–3 hours, and checking for doneness earlier and more frequently
Dehydrating Food Time Chart: Fruits, Vegetables, Herbs, and More
The following chart organizes common foods alphabetically by category. All times assume a consistent temperature, good airflow, and food prepared as described, as you would when following a solid beginner’s guide to using a food dehydrator. Treat these ranges as starting points—your dehydrator and climate may shift results by several hours in either direction.
Each entry includes a concrete doneness test phrase. Rely on how the food feels after cooling for 5–10 minutes, not just how long it’s been running, especially as you explore what foods can be dehydrated for snacks and meals beyond this chart.
Fruits
Food
Prep (Slice/Blanch)
Temp (°F/°C)
Approx. Time Range
Doneness Test
Apples
1/4” (6 mm) slices, spray with lemon juice
125–135°F / 52–57°C
6–10 hours
Leathery, no visible moisture when torn
(More fruits)
See also what fruit varieties you can dehydrate effectively
Whole, pre-crack skins by brief boiling water dip or freezing
125–135°F / 52–57°C
12–24 hours
Hard and raisin-like, rattles on tray
Mango
1/4” strips
125–135°F / 52–57°C
8–16 hours
Fully leathery, bends without breaking
Pineapple
Rings or chunks
125–135°F / 52–57°C
10–18 hours
Chewy-leathery, no sticky wet spots
Strawberries
1/4” slices
125–135°F / 52–57°C
6–12 hours
Leathery, slightly tacky but not wet
Tip: For fruit leather, puree raw fruit, spread thinly on nonstick sheets or parchment paper, and dry at 135°F for 6–12 hours until pliable but not sticky.
Vegetables
Food
Prep (Slice/Blanch)
Temp (°F/°C)
Approx. Time Range
Doneness Test
Beets
Steam or boil until tender, slice 1/8”
125–135°F / 52–57°C
8–10 hours
Brittle, snaps cleanly
Bell peppers
Strips or diced
125–135°F / 52–57°C
6–10 hours
Leathery to brittle
Carrots
Shredded or 1/8” coins, blanched
125–135°F / 52–57°C
6–10 hours
Brittle, snaps easily
Corn
Cut from cob, steam-blanched
125–135°F / 52–57°C
8–14 hours
Hard kernels, no soft center
Mushrooms
Sliced 1/4” thick
125–135°F / 52–57°C
6–10 hours
Dry and leathery or brittle
Onions
Slices or dices (expect strong odor)
125–135°F / 52–57°C
6–10 hours
Brittle, papery texture
Peas
Shell, steam-blanch briefly
125–135°F / 52–57°C
8–12 hours
Hard, wrinkled, no soft center
Tomatoes
1/4” slices or halved cherry tomatoes
125–135°F / 52–57°C
8–16 hours
Leathery to crisp, no moisture when squeezed
Zucchini
1/4” slices
125–135°F / 52–57°C
6–12 hours
Crisp or leathery depending on thickness
Note:Dehydrating vegetables like onions produces strong odors. Consider running your dehydrator in a garage or well-ventilated area.
Herbs
Food
Prep
Temp (°F/°C)
Approx. Time Range
Doneness Test
Basil, parsley, mint
Whole leaves, stems removed
95–110°F / 35–43°C
2–6 hours
Very brittle, crumbles between fingers
Thyme, oregano, rosemary
Whole sprigs
95–110°F / 35–43°C
2–6 hours
Leaves strip easily, crumble to powder
If your dehydrator cannot go below 125°F, check herbs every 30–60 minutes starting at hour one. Most will finish in 1–4 hours at higher temperatures and can scorch quickly.
Meat and Protein
Food
Prep
Temp (°F/°C)
Approx. Time Range
Doneness Test
Beef jerky
1/8–1/4” strips, lean meats only, marinated
145–160°F / 63–71°C
4–10 hours
Firm, dry, bends and cracks but doesn’t snap
Ground beef “gravel”
Cooked, crumbled, drained of extra fat, patted with paper towel
145–160°F / 63–71°C
6–10 hours
Hard dry granules, no soft spots
Chicken
Pressure-cooked or canned chicken, shredded
145–160°F / 63–71°C
6–10 hours
Very dry and fibrous
Shrimp
Medium size, pre-cooked
145–160°F / 63–71°C
6–10 hours
Hard and completely dry throughout
Turkey
Cooked, shredded, no skin or fats
145–160°F / 63–71°C
6–10 hours
Dry, fibrous, no moisture when pressed
Safety note: For meat, ensure internal temperature reaches safe levels during preparation. The drying process alone does not guarantee pathogen elimination in raw meat.
Grains and Legumes
Food
Prep
Temp (°F/°C)
Approx. Time Range
Doneness Test
Cooked rice
Spread thin in single layer
135–145°F / 57–63°C
5–8 hours
Hard, no soft center when bitten
Cooked beans or lentils
Single layer, well-drained
135–145°F / 57–63°C
6–12 hours
Very dry and firm, rattles on tray
These dried food staples rehydrate well in soup, stews, chili, or any dish where they’ll simmer in broth or tomato sauce for 15–30 minutes.
How to Use and Adjust the Time Chart
Treat this dehydrating food time chart like a road map: it shows you the general route, but road conditions—your specific dehydrator, humidity, and produce—determine your actual arrival time.
Test for doneness properly: Remove a sample piece, let it cool for 5–10 minutes on the counter (warm food feels softer than it actually is), then bend, squeeze, or break it to check for any remaining moisture or steam
Adjust for slice thickness: For very thin slices (1/8” / 3 mm), start checking at the low end of the time range; for thicker cuts (1/4” or more), expect the upper end or beyond
Rotate trays regularly: Every 2–4 hours, rotate trays top-to-bottom and front-to-back, especially in stackable dehydrators without rear-mounted fans
Keep a drying log: Record food name, date, slice thickness, temperature setting, start/finish time, and notes about texture—after a few batches, your personal times will be more reliable than any published chart
Calibrate with test batches: Choose one fruit (like apples) and one vegetable (like carrots) and run a few batches solely to learn how your machine performs versus the published ranges
Don’t rely on appearance alone: Dried food can look done while the center still holds moisture; the cool-and-bend test catches what your eyes miss
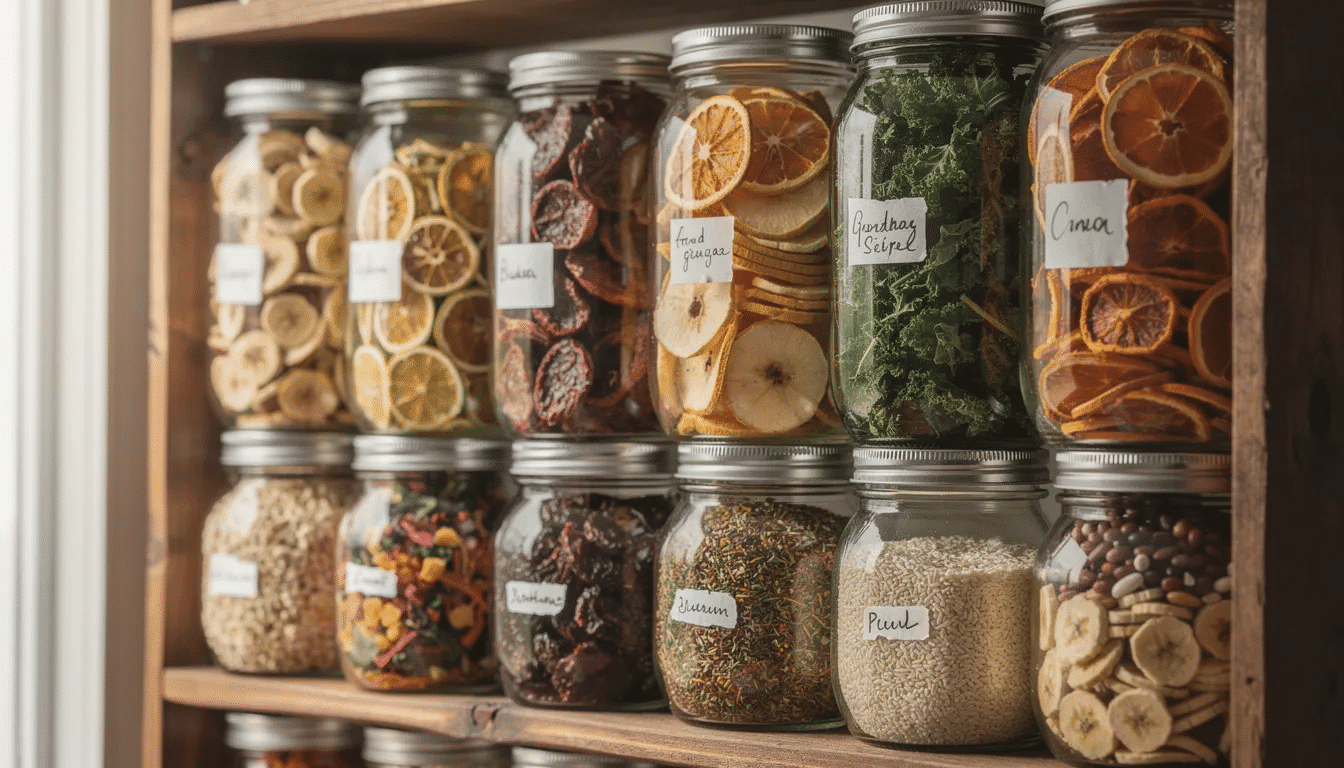
Food Safety, Storage, and Shelf Life After Dehydrating
Correct dryness plus proper storage is what gives dehydrated food its impressive shelf life. Rush the drying process or store improperly, and you’re inviting spoilage, mold, or worse, so it helps to understand the best foods to dehydrate for long-term storage and how they behave over time.
Moisture targets for safe storage:
Most fruits are safely stored when 10–20% moisture remains—they should feel leathery with no visible moisture appearing when you cut or tear them
Most vegetables and meats for storing dehydrated food long-term should be much drier (crisp or brittle) with minimal residual moisture
Storage best practices:
Store in a cool, dark place below 70°F (21°C) if possible—cooler temperatures extend longevity significantly
Jerky and meats: a few weeks at room temperature, several months refrigerated, up to a year frozen when vacuum-sealed
Spoilage check: Periodically inspect stored dried food for off smells, visible mold, or texture returning to soft/sticky. Any of these signs mean the batch should be discarded—no exceptions.
Frequently Asked Questions About Dehydrating Times
Many readers find their actual drying time doesn’t match “book” times exactly. Here are the most common questions and practical answers.
“Why did my apples take 20 hours when the chart says 6–10?” Several factors can extend drying time dramatically: slices thicker than 1/4 inch, a dehydrator running cooler than its dial indicates, overcrowded trays restricting airflow, or high ambient humidity in your kitchen. Check your slice thickness first—it’s usually the culprit.
“Can I speed up dehydrating by increasing the temperature?” You can, but there are trade-offs. Higher temperatures risk case hardening (dry outside, moist inside), tougher textures, and greater nutrient loss. For most vegetables and fruits, staying at 125–135°F produces better taste and nutritional results even if it takes longer.
“Is it safe to stop the dehydrator overnight and resume in the morning?” For high-moisture foods, this is generally not recommended. Partially dried food left at room temperature becomes a breeding ground for bacteria. Continuous heat is safer. If you must pause, refrigerate the partially dried food and accept that texture may suffer.
“My jerky feels dry after only 3 hours—am I done?” Probably not. Properly prepared jerky should be dried long enough that it bends and cracks without snapping. More importantly, jerky safety depends on both time and reaching appropriate internal temperatures during the process. A quick surface dry doesn’t ensure the interior is safe. Follow your dehydrating manual guidelines for meat.
“Do I need to pre-treat or blanch vegetables if I’m just watching the time?” Pre-treatments like blanching in boiling water, then cooling in cold water, affect more than just drying time. They help retain color, flavor, nutrients, and sometimes reduce drying time by breaking down cell walls. Skipping this step for most vegetables means duller color and sometimes off-taste after rehydration.
“Can I dehydrate prepared dehydrated meals like soup mixes all at once?” You can dry individual ingredients (veggies, rice, beans, cooked beef) and combine them later into dehydrated meals. Drying pre-mixed wet dishes is trickier because different components have different moisture levels and drying times. Dry components separately, then combine for best results.
“What about sauces and spices?” Sauces can be spread thin on nonstick sheets and dried into “leather” that rehydrates with hot water. Spices are typically already dry, but fresh herbs benefit greatly from low-temperature dehydration to preserve their flavor and nutrients.
The best approach is to start small: pick one or two foods, run test batches, and take detailed notes. After a handful of sessions, you’ll have a personalized dehydrating food time chart that’s more accurate for your setup than any published guide.
Your food dehydrator is a tool—and like any tool, you’ll get better results as you learn its quirks. Track your trays, trust the texture tests, and before long you’ll be preparing shelf-stable fruits, veggies, and even complete meal ingredients with confidence.
DannyContent Writer
Hey there, since 2016, my mission has been to provide you with the information and guides you need to make food dehydrating simple and fun. Whether you're a newbie or a seasoned pro, my site offers helpful guides, reviews, and recipes to enhance your dehydrating experience. I take pride in only recommending products I believe in, ensuring my readers' trust. As an affiliate of various programs, including Amazon Associates, your support helps me continue providing quality content. Thanks for stopping by, and happy dehydrating!