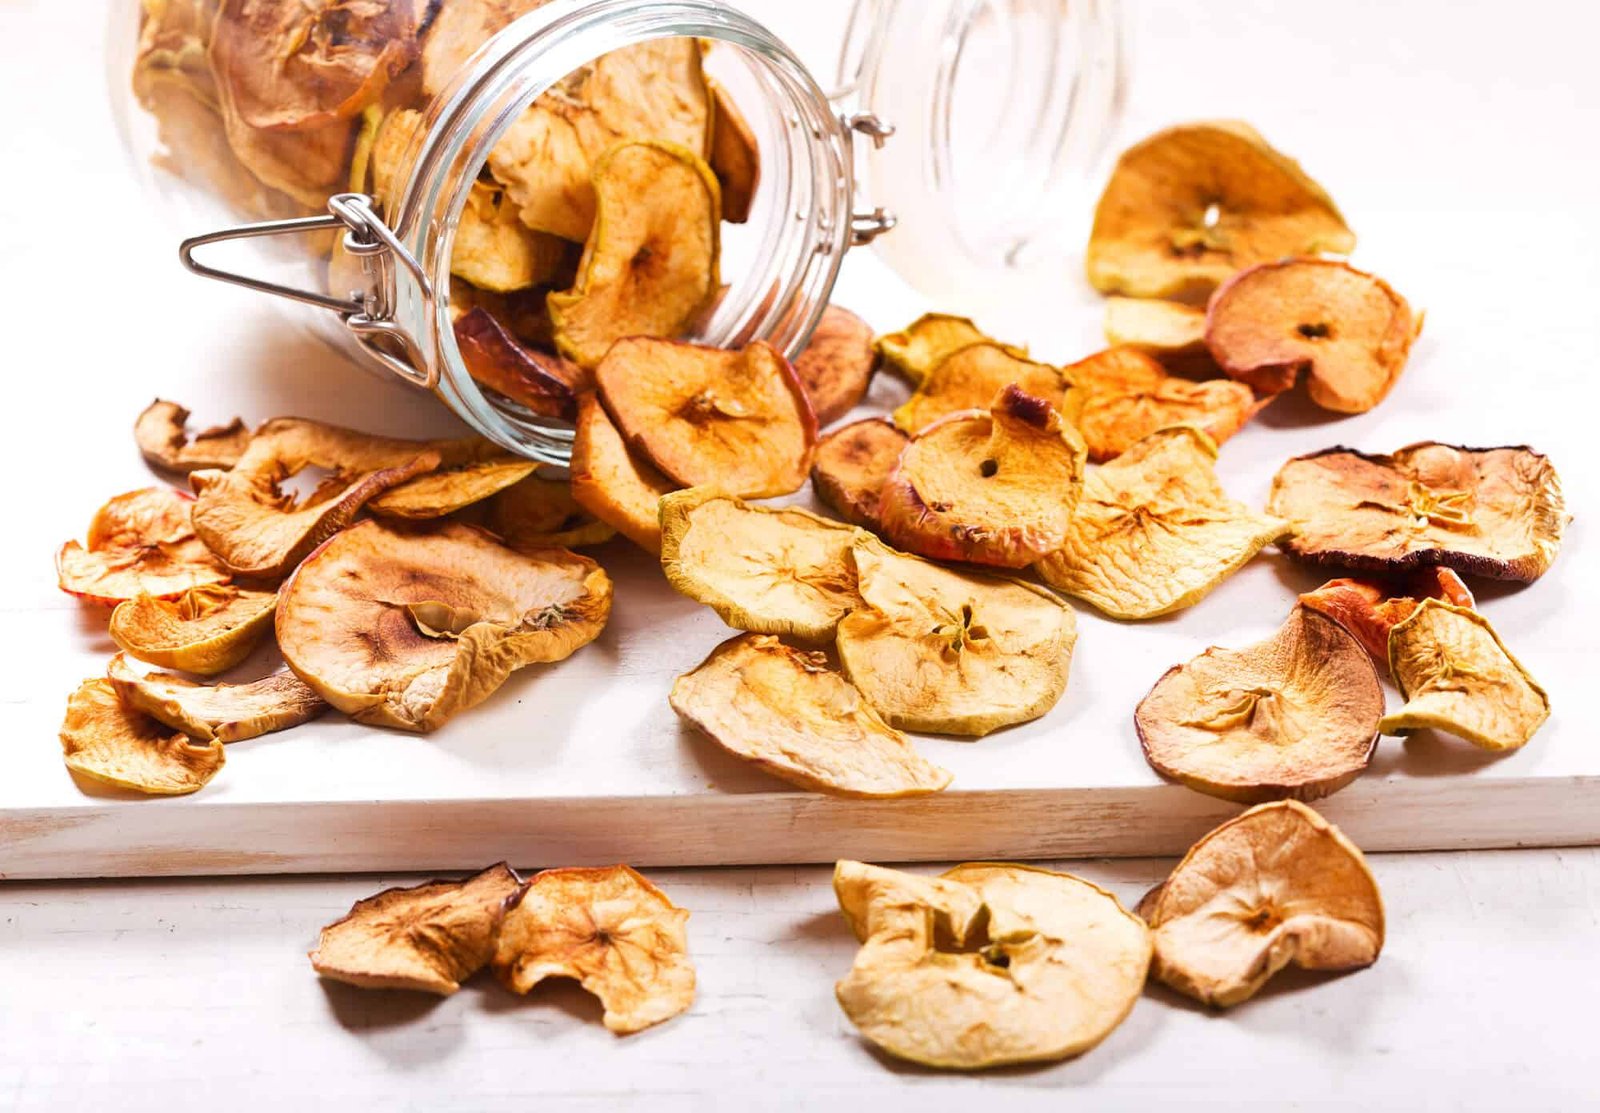
Looking for a healthy snack that’s as delicious as it is easy to make?
If so, then you need to keep on reading this post.
In it, we’ll tell you how to make homemade fruit leather using only three cups of the fruit of your choice, your food dehydrator, and a few other simple ingredients.
You don’t have to spend hours perfecting the right snacks to keep your family happy. You also don’t have to spend half of your paycheck at organic food stores, when you can just as easily make awesome snacks in your kitchen.
Read on to learn more about the process of making fruit leather.
Why DIY Fruit Leather is a Healthy Choice
With nearly 20% of children in the United States meeting the qualifications for obesity, we know that you’re interested in learning more about how to encourage your family to eat healthier foods.
However, with so many delicious — and seriously high-fat — snacks on the market today, sometimes that’s easier said than done.
Making organic fruit leather with your kids is the perfect compromise when it comes to a snack that’s good for them and lots of fun to make.
Plus, when you teach your children about the importance of making their own food, you’re teaching them healthy habits they’ll carry way into the future.
Fruit leather is low in sugar, high in fiber, and keeps everyone in your family fuller for longer.
Now that you know the benefits of this tasty snack, let’s move onto talking about how to make fruit leather.
How to Make Fruit Leather
Believe it or not, making fruit leather strips isn’t nearly as complicated as you might think.
First, let’s take a look at the list of potential ingredients you’ll need to pull it off, and the process of putting it all together using your food dehydrator.
Choosing a Fruit
The best thing about making fruit leather?
You can select from a huge variety of different flavors. These can include combinations like watermelon and mango, pineapple and cherries, and even bananas and apples.
There’s pretty much no limit to the number of flavors that you can create. Just make sure that you’re using organic fruit in your leather. This will help you to lower your family’s exposure to potentially dangerous pesticides and other toxic chemicals.
If the fruit you’re choosing is on the bitter side, you can always throw in a tablespoon of agave nectar or honey to sweeten things up.
Putting it all Together
If you’re choosing two fruits, measure two cups of what you’d prefer to be your “dominant flavor” and add one cup of what you’d like the secondary flavor to be.
You can use either fresh or frozen fruit. However, if you choose the latter, make sure that it’s reached room temperature before you start making your fruit leather.
In a pan on your stovetop, pour in the fruit, and then add a tablespoon of lemon juice and mix well.
You should then add about two tablespoons of water. If the mixture seems like it needs more water, you can add up to three more tablespoons.
Once you have the consistency you want, cover the pot and bring it to low heat. Usually, this will take about ten to fifteen minutes. Stir every once in a while to make sure the flavors mix well together.
Once the mixture is thick, you can remove it from the heat and let it cool.
Then, put the mixture into your food processor or a blender, and blend until everything is smooth.
Now, it’s time to put it in your dehydrator.
Making Fruit Leather In Dehydrator
First, make sure that you line your dehydrator with some parchment paper. Then, spread an even layer of your fruit mixture onto your sheet, making sure that it’s spread around evenly.
When your mixture is tacky, you know you’ve done everything right. If the leather is already hard, you may need to add a little more water and remix it.
In general, you’re looking to have a layer that’s about an eighth of an inch thick for the best results.
Turn your dehydrator to anywhere between 135-140 degrees. Then, let things start to soak in. The entire process of making fruit leather should take anywhere from six to twelve hours.
So, it’s one of those recipes that’s usually best made the night before you plan on eating it.
We strongly suggest that, if possible, you take the time to turn your dehydrator tray about once every three hours. This will ensure that everything dehydrates evenly, and will improve the overall taste of your fruit leather.
After the leather has had the required time needed to properly dehydrate, it’s time to eat!
Slowly and gently peel the leather off the sheet. You should have enough to cut it into about twelve strips, or more if you’d like a thinner option.
To preserve the strips, all you need to do is roll them up in parchment paper and stick them in the fridge.
How to Make Fruit Leather: Wrapping Up
We hope that this post has helped you to better understand how to make fruit leather.
As you can see, the process isn’t nearly as complicated as you might have initially thought.
Of course, the real secret ingredient to this simple recipe isn’t the fruit that you choose at all.
Instead, it’s the quality of the food dehydrator that you choose to work with.
Looking to learn more about how to buy the right dehydrator for the foods you want to make?
We can help.
Check out our website for reviews on the most popular food dehydrator models.
Then, be sure to read our blog for even more awesome recipes that will please even the pickiest eaters in your family!

