Dehydration as a method of food preservation is nothing new. In fact, the history of dehydrated foods dates back to ancient Egypt. Since at least 12,000 BCE, people have experimented with a variety of food dehydration methods.
The first method used to dehydrate food relied on the sun’s heat. In the middle ages, Europeans began constructing buildings designed for food dehydration purposes. Then, a couple of French inventors created a technique that involved heating and compressing foods.
Today, food dehydration is gaining popularity in homes across America. If you’ve never tried it, it might surprise you how simple the process can be with the help of a food dehydrator.
Read on to learn how to use a food dehydrator for yourself!
How to Use a Food Dehydrator
Before you begin, make sure that you clean the counter space and other areas where you will be working with an antibacterial cleanser. Also, wash your hands, as well as the fruits or vegetables that you will be using.
After cleaning your hands, it’s a good idea to wear gloves so that you don’t transfer any oils from your hands to the foods.
1. Cut the Fruits or Vegetables into Thin Slices
Always be sure that the fruit or vegetables are completely dry after rinsing them before you begin. Then, slice the individual pieces, such as apples or potatoes, into thin slices using a knife or mandolin.
2. Spritz Fruits With Lemon Juice
If you are dehydrating fruits that have a tendency to turn brown, such as bananas, you can preserve their color by spritzing them with lemon juice before placing them into the dehydrator.
This technique also works well with carrots.
3. Blanche or Steam Vegetables
You should steam many of the vegetables that you might use for 10 minutes before dehydrating them. This is the case for broccoli, eggplant, and carrots. You will need to blanch other vegetables, such as cauliflower, potatoes, and squash.
There are some veggies, such as zucchini, that won’t require steaming or blanching before beginning the dehydration process.
If necessary, it’s important that you do not skip this step because it ensures that the vegetables maintain their nutritional value and naturally-occurring enzymes.
4. Place Foods on Racks in the Food Dehydrator
Check to see what temperature it takes to dehydrate the specific fruits or vegetables you’re using. Set the temp on the dehydrator accordingly.
Place the slices onto the rack without overlapping, then put the racks in the food dehydrator.
Most foods will need to heat for several hours to remove adequate moisture. The amount of dehydration time necessary will depend on both the environment and the type of food dehydrator you are using.
Upon removal, foods should be at least 95% dehydrated so that they do not spoil during storage. Excess moisture will cause foods to ruin much sooner.
If the temperature is set too high, it can also cause foods to keep moisture within, even if their outer layer appears to be completely dehydrated.
Temperature Settings
Different temperatures are more accurate for drying different types of foods. For example, herbs should be dried at about 95 degrees F while a higher temperature of 155 degrees works better for meats and fish. A more middle range temperature of 135 degrees is best when dehydrating many fruits. Be sure to choose the best temperature for the type of food you’re dehydrating.
Don’t raise the temperature thinking that you can reduce the drying time. This can lead to the outside drying faster, making you think the food is ready. The inside of the food, however, is still moist — potentially leading to spoilage.
5. Test the Food
To help avoid this problem, watch for signs that the inside is not done. The best (and most delicious) way to check is to simply take a bite of a piece of your dried food.
Otherwise, check the items with your fingers. Soft, spongy feeling foods need more time. A breakable, chip-like consistency, depending on the food you’re drying, is good, although some foods won’t ever get that crisp so use good judgment.
Use the Time as a Guideline
Humidity in the air will vary the drying time for foods. Higher humidity in the air will make it more difficult to remove the moisture, causing a longer drying time.
For best results, place your dehydrator in a warm, dry location. Always test the food before removing as we described in the previous section to check for doneness.
6. Remove the Dehydrated Food & Place in Air-Tight Storage Container
Once the process is complete, remove the foods from the dehydrator and place in an air-tight storage container.
Most fruits and vegetables will keep for months using this simple, effective method.
Want More Food Dehydration Tips?
Once you know how to use a food dehydrator for fruits and vegetables, the possibilities are endless.
But, when you’re ready, you can also use your dehydrator with meats, and to create tasty recipes, such as fruit leather and beef jerky.
Check out our site for more easy food dehydration tips!


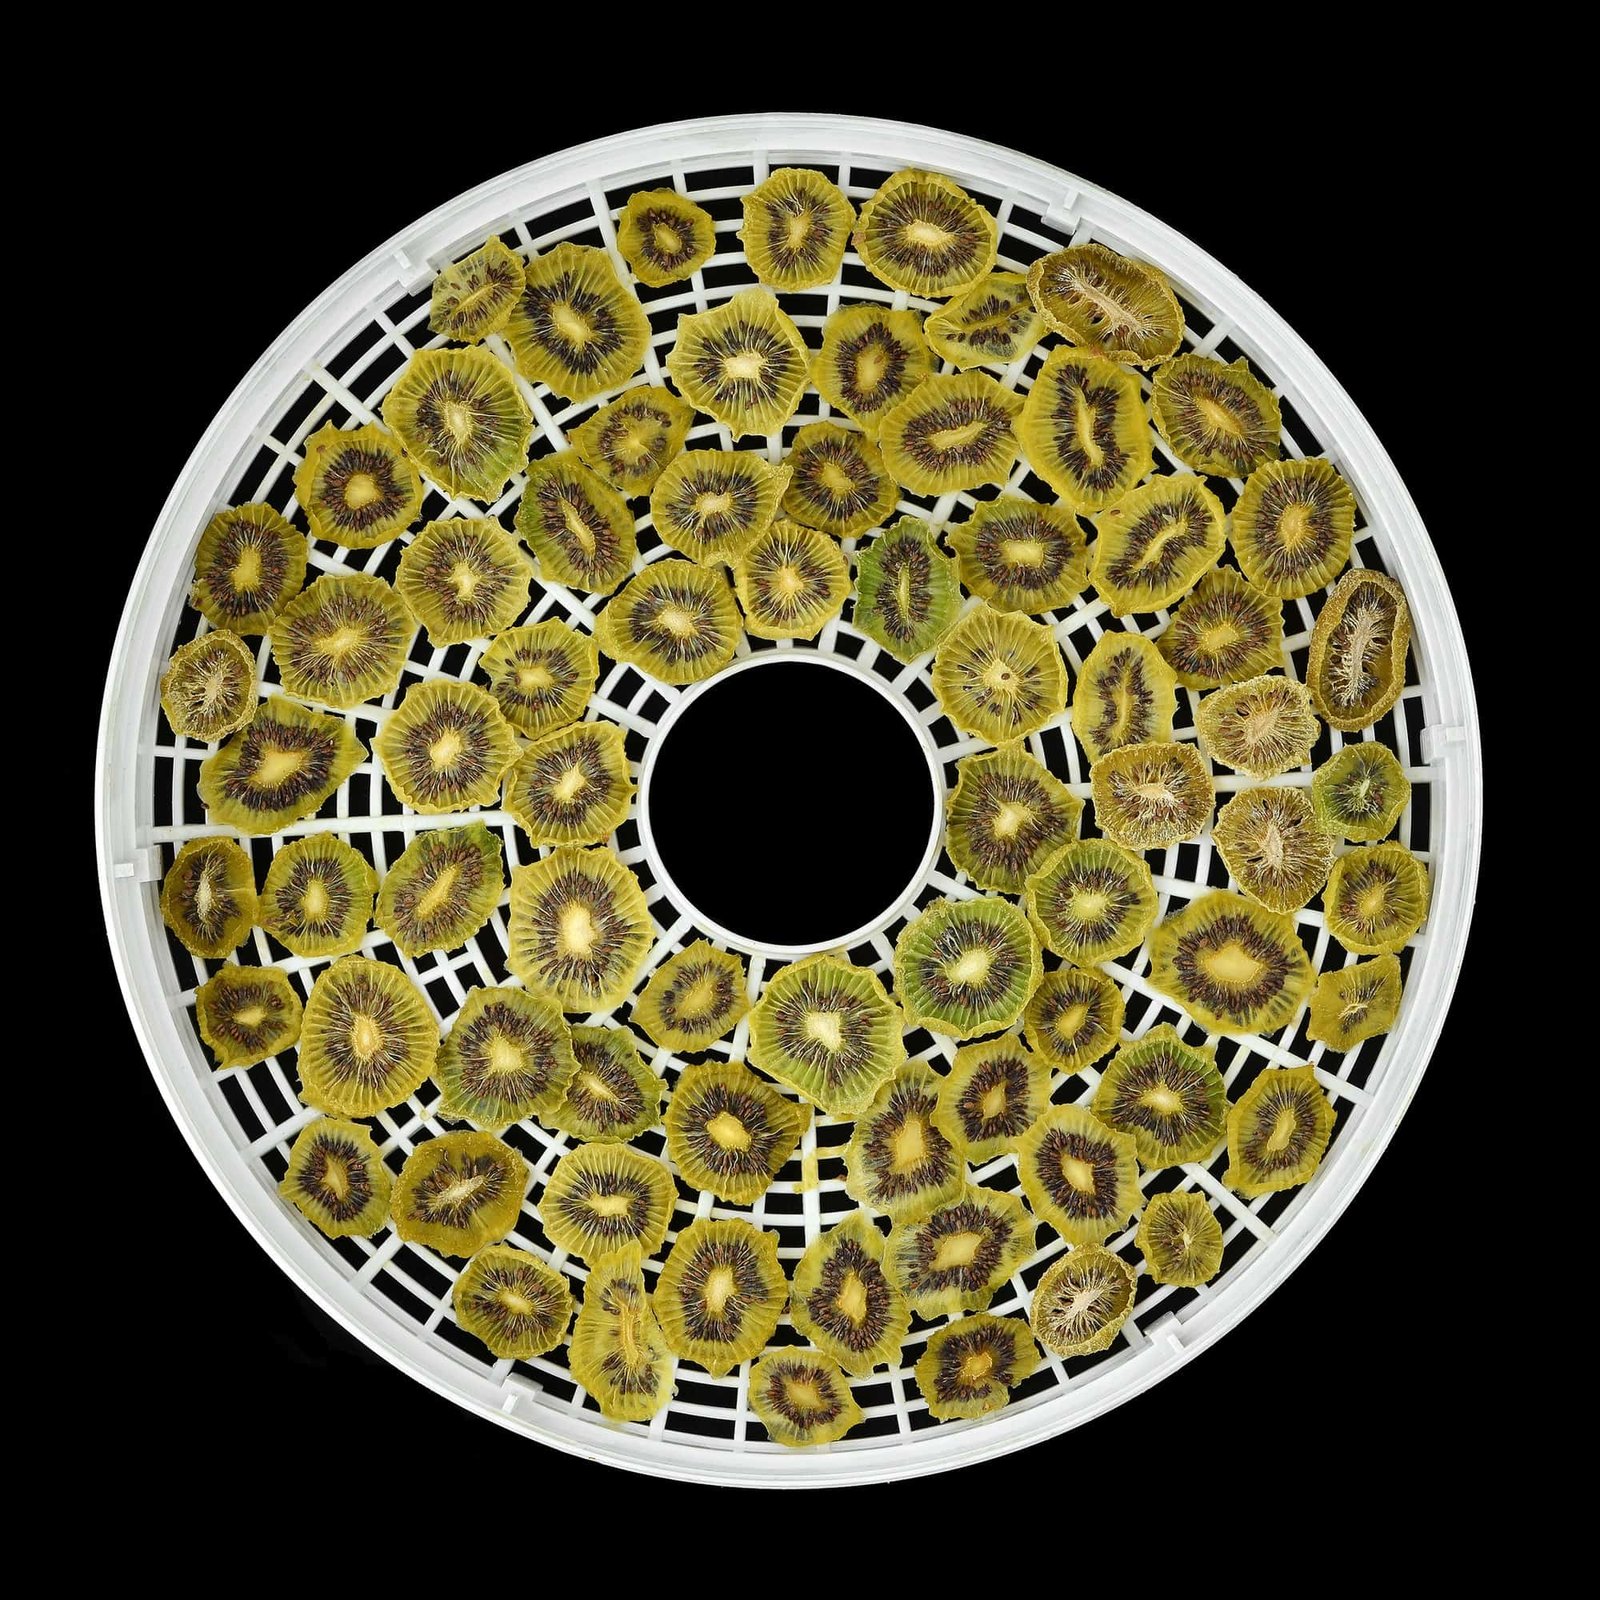
Do you need to peel the skin from fruits. You have kiwi in a photo. I don't know about you, but I don't want to eat kiwi skins.
Hi Rob,
Thank you for your message.
You can peel the skin from the fruits if you like.
I hope this helps.
Regards
Dehydrated Foodz